How to Make a Vintage Button Heart Frame!
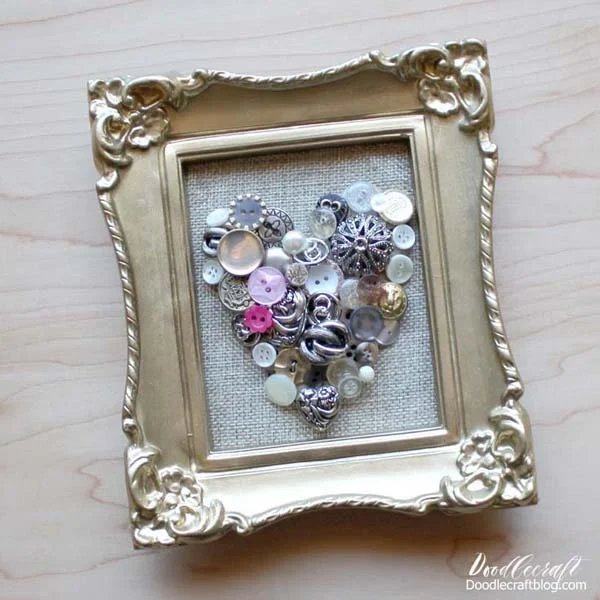
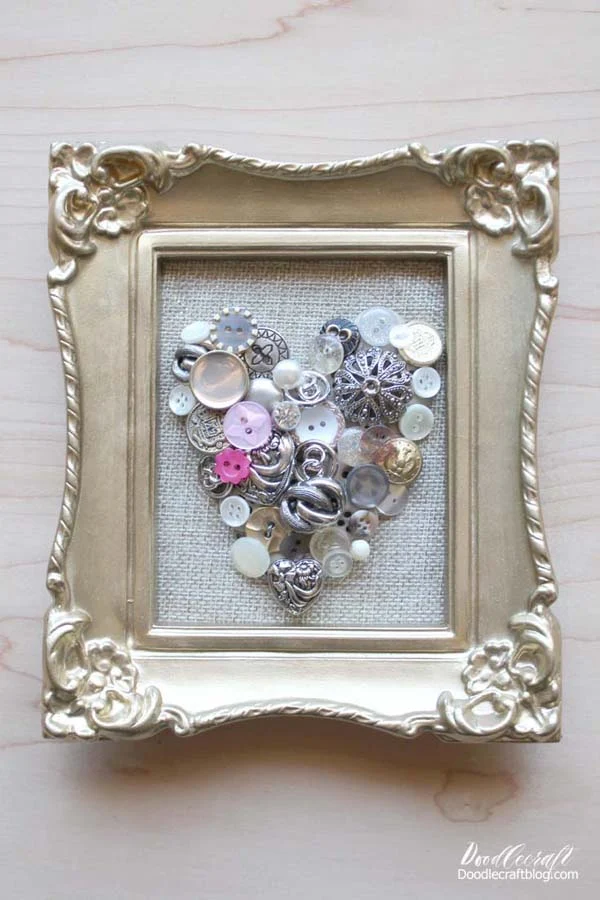
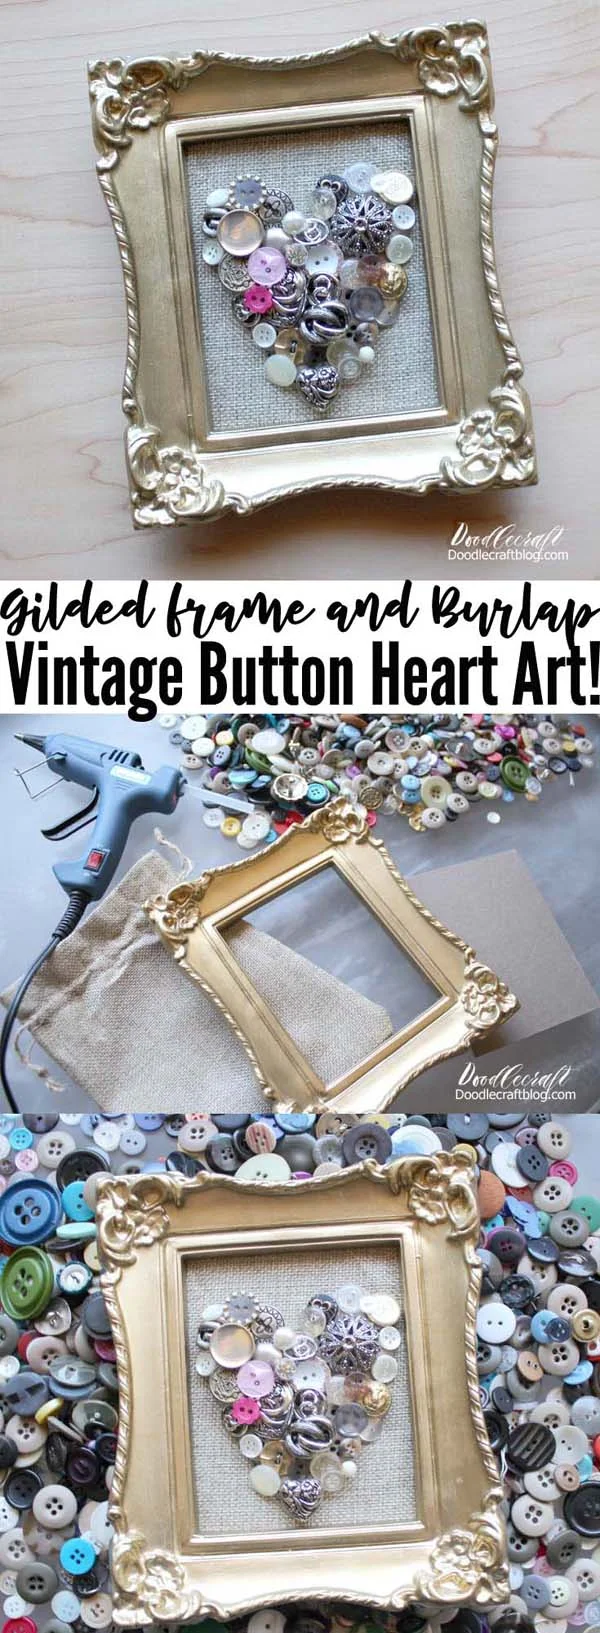
Learn how to make a vintage button heart in an ornate frame. Pull out those old vintage buttons in the cookie tin and turn them into a beautiful piece of decor for the home. Gather a few supplies from around the house or take a trip to the dollar store to get the necessary items for this craft.
It's a great handmade gift, perfect decor for Valentines day or year round, and can be done as a kids craft project too!
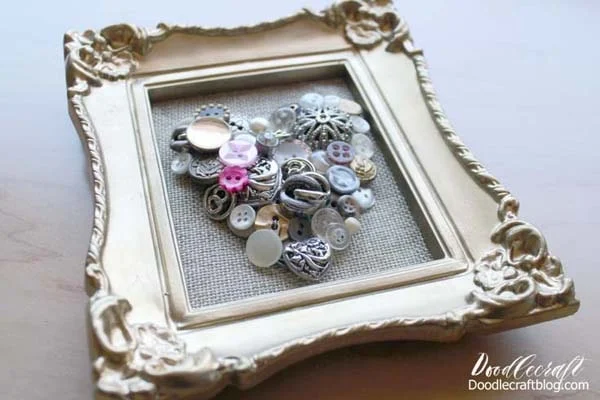
I love the combination of old and new. Rustic and polished. Those polar opposites make the perfect pairs. This button art is sparkly and vintage...with rustic burlap and a gilded frame!
It's easy to make and can you believe it just takes 15 minutes!?
Quick crafts are my favorite. Just a few supplies and a little bit of time make this a super darling decoration for Valentine's day or any day of the week. We could all use a little extra love in our life, right!? This heart is perfection.
Make this heart as personal as you want to. Clip buttons from the clothes of a loved one passed away and make a little treasure decor piece for members of the family.
Use grandma's old button collection and vintage frames to add that heirloom touch.
Have all the grandkids help pick buttons for you to glue on the frame for a gorgeous handmade gift made with love.
Let's get started!
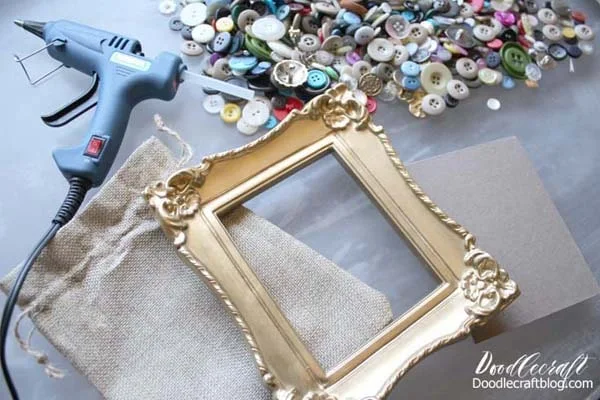
Supplies Needed for Vintage Button Heart Frame:
Vintage frame (or similar)
Chipboard to fit in the frame
Burlap to cover chipboard
Buttons
Hot glue/gun
Step 1: Burlap
Begin by cutting the burlap about 1/2 inch bigger on each side than the chipboard. Run some glue along the edge and fold the burlap over. Repeat for all four sides.
Clip the corners and hot glue them down to prevent fraying.
Place the burlap covered chipboard back inside the frame.
Step 2: Button Base
Now it is ready to fill with buttons! I selected silver, gold, glitter and sparkly buttons. But get creative! Rainbow Colors, ombre finish, random mix of grandma's old buttons--so many fun ideas!
First, hot glue down some plain buttons to build up the level a little bit. Hot glue them in a heart shape. If you need a guide, go ahead and draw a heart on the burlap using a light pencil.
I am using old Army uniform buttons...the color is great and blends right into the burlap.
My husband saved all the buttons off old, destroyed, used military fatigues when he was in the Army. He brought me home a jar full of these light tan buttons, better than a bouquet of flowers. I put them as the base of my heart because I had so many, and they are pretty boring...
But, I also realize that he is my heart, my foundation and my love...so it works.
Step 3: Fancy Buttons
Now fill in the spaces with fancier buttons. Just add a little hot glue to the backside or post of a button and stick it in place.
Fill in with big and little buttons to make a rounded heart shape.
Continue adding buttons until the base buttons are not as visible.
Step 4: Color Buttons
Then add a little dash of color just for fun! I did 2 pink buttons.
That's it!
Now it is ready to hang up, prop up and display in the home! I {heart} this cute shabby chic piece!
Makes a fun gift too!
Like, Save, Share, Comment, Follow, and Pin!
Check out this button art too:
Button Christmas Tree Decor!
Pumpkin Button Decor!
Happy Crafting!






-min.jpg)


Comments