DIY Halloween Tree Ornaments with Crow Topper on Bright Blue Tree
I love Halloween but have never decorated a Christmas tree for Halloween before. This was a fun challenge and adds so much fun and haunting holiday spirit in our home.I did this tree for Treetopia's DIY Queen's and Kings Halloween Tree Series in 2018, and feel like it needs to be shared again this year. Have you ever set up a holiday tree for something other than Christmas? It's super fun...and oddly addicting!
I'm sharing this as part of Creative Halloween Crafts!

Let me show you what I did with this bright blue Christmas tree!
Supplies for this Halloween Tree:
Treetopia Basics - True Blue Tree (mine is 6 feet tall)Beaded Ornament Set Red with Passion Ornaments
Feathered Crow for Topper (here or here)
2 Skull Heads 5 Dollar Store Pumpkins
Gold and Copper Spray Paint
5 Lengths of Dollar Store Plastic Chain Garland
2 Packages of Mini Skulls
Wire for hanging skulls
6-8 Fuzzy Dollar Store Spiders
1 Skeleton Framed Mirror for Chalkboard
Black Paper and White
Chalkboard Marker
Cauldrons
Letterboard
Potion Bottles
Candelabra
Pumpkins
Spider Web Tablecloth for Tree Skirt
Gold Picture Frame
Ornament Wreath
Gold Tassel Banner
First off, there was a short list of available trees for this campaign. The white tree that I really wanted was already selected. I settled on this blue tree because it was "slim" style and would fit in my home better...and actually, this turned out much better than a white tree would have.
Besides, Blue and Orange are complimentary colors, so it just makes good sense...plus I will have a fabulous Christmas tree in a couple months.
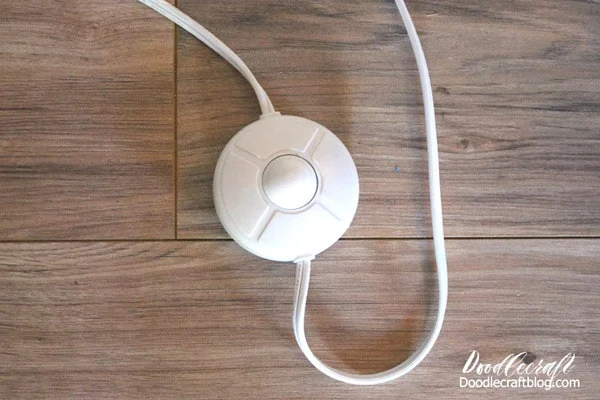
The tree is in 3 segments and attaches easily. The plug has this awesome foot button, so the lights can be easily turned on and off as needed...this is so awesome.
This blue tree needed some toning down, so I draped some black net fabric around it a few times.
The ornaments I received were red, gold and green. I used gold and copper spray paint and painted them to match the theme.
I bought some foam pumpkins at the dollar store and painted them copper as well.
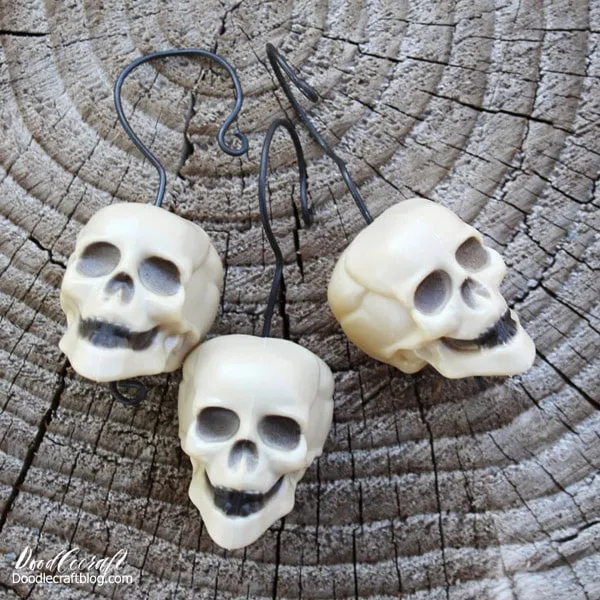
Let me walk you through the ornament making process for these little skull heads. You will need wire, clippers, a small poking tool like an awl, and the plastic skulls.
Begin by poking a hole in the base of the skull.
Then poke the tool into the top of the head.
Cut 6 inches of wire with the clippers. Use the pliers to make a little curl on the end of the wire.
Then thread the wire through the head from the base to the top of the skull. Then curl the other end of the wire the same as before.
Leave 1.5 inches on the underside of the skull and bend the wire horizontally over the top of the skull head.
Then curl the top of the wire into a "C" shape.
Finally push the wire up until the curl is at the base of the skull.
Now these little ornaments are ready to hang on the tree!
Fill the tree with the big ornaments first and then add small ones. Remove the skeleton mirror in the plastic frame and paint it gold. Then cut a piece of black paper the same size.
Write "Trick or Treat" on the paper in white chalkboard marker and fit it inside the frame. Add it to the tree with the other ornaments and finish off the tree with spiders.
Top the tree with a full feathered crow and some gold grass sprigs. Perfect tree topper for this spooky tree. I love crows, there are hundreds around my home this time of year and I love their chilling "caw caw" call.
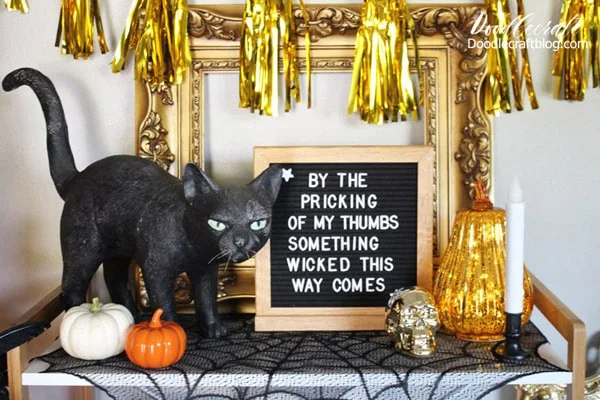
Fill your house with other fun elements! Letterboards, vintage frames, pumpkins and a spooky cat!
A Spider web tree skirt is perfection for finishing off the tree. Instead of presents, cauldrons and chalices of fog are very fitting. Dry ice is such a fun haunting element...for a couple hours!
Skulls, jars and pumpkins--this is Halloween!
See how amazingly the blue Christmas tree has transformed into a Haunting Halloween tree!? You almost forget that it was a bright blue Christmas tree!? Right!
By the Pricking of my Thumbs, Something Wicked this way comes! --William Shakespeare
What is your dream holiday tree like?
Like, Pin and Share!


-min.jpg)


Comments
sallstun
at
hotmail
dot
com