-min.JPG)
Mini Leather Journal with Pen Holder with Cricut Maker
Hey friends, I am sharing an amazing gift--mini leather journals with pen holder--made with the Cricut Maker. Make a leather wrap journal with pen holder with the Cricut Maker.
Getting a Cricut Maker is an investment, but it's worth it...and it's easy to get the full value out of it over and over again. For starters, you can make amazing gifts for everyone on your list.
Handmade gifts are my favorite...but I want to make sure they are top quality. That's why the Maker is amazing--it can cut fabric, wood, leather, faux leather, chipboard and more!
Here's a great project that I designed, and I'm giving you the project file free! Please use this for personal use only and not for business or profit.
Supplies for Mini Leather Journal:
- Cricut Maker Machine --Get the Cricut Maker 3
- Scoring Wheel
- Fine Point Blade (included with machine)
- Cricut Faux Leather in your color choice (Pictured Silver and Blue)
- Cricut Iron-on Foil Cricut EasyPress 2 Small
- Cricut EasyPress Mat
- Cricut Bright Pad
- Cricut Essential Tools
- Cricut Normal Cutting Mat
- Cricut Iron-On Protective Sheet
- Mini Composition Books
- Rubber Cement Glue
- This Cricut Design Space Project Designed by me! (Personal use only please)
-min.JPG)
This scoring wheel is amazing! Makes a smooth deep line, perfect for beautiful folding--even on pebbled faux leather!
The Cricut Maker has the Adaptive Tool feature, meaning there are so many different tools to use interchangeably. I love the versatility of the Maker!
-min.JPG)
Step 1: Cricut Design Space Project
Open up this project in Cricut Design Space...isn't this awesome? I designed it myself using shapes, slicing and welding. You can thank me by sharing my post or leaving a comment!
Then place the faux pebble leather face down on the Cricut mat. No need to mirror the project, it's all ready to go.
Step 2: Score the Leather
Slide the mat in and put the scoring wheel in the holder. The project will score first.
Step 3: Cutting Blade
Then remove the scoring wheel and replace it with the fine blade...don't remove the mat during this process. Just replace the blade and click the C button.
The Cricut Maker will quickly cut the shapes and then you can remove it from the mat.
Step 4: Iron On Vinyl
Cut some images out of iron on vinyl. The images just need to be 1.75 inches wide or less. I used Cricut Access to find some flourishes and compass rose to decorate my journals.
Find whatever image you love and size it to fit on the front of the journal.
Step 5: EasyPress
Heat your EasyPress 2 up to 300* and place the journal cover with the iron-on on the EasyPress mat.
Cover with the protective sheet and press on the EasyPress 2 for 15 seconds. That's it!
Let the iron-on cool down completely...then peel back the carrier sheet.
Step 6: Leather Slits
Now it is time to use the rubber cement and the mini composition books.
Begin by cutting a scrap piece of the faux leather that will cover the slits on the journal.
Add some rubber cement to the backside of the journal cover and the top side of the piece cut...don't put glue on the piece between the slits.
Let the rubber cement dry and cover the slits with the smaller piece of pebbled leather.
Step 7: Book Binding
Next, put rubber cement on the top of the composition book and the inside of the journal cover. Let them dry to tacky.
**Note** The rubber cement will hold the book in place for years, however it's also very easy to peel the composition book out of the leather cover and replace with a new book!
Then line up and press the comp book on the rubber cement of the leather. Apply rubber cement to the backside of the comp book and inside of the leather.
Do not put any rubber cement between the scored lines. Let the rubber cement dry and then line them up and press them together.
Press down firmly to secure the book in place. The composition book will stay perfectly until you want to peel it out and glue in a new filler book. This way the leather can be reused!
Now fold over the top flap and insert a mini pen or regular pen in the slit loop.
It makes the perfect clasp closure for the journal! Never sit down to write or sketch without a pen.
With the Cricut Maker set up and ready to go, this project only takes 15 minutes to make. That makes this the best handmade gift for any and every occasion!
-min.JPG)
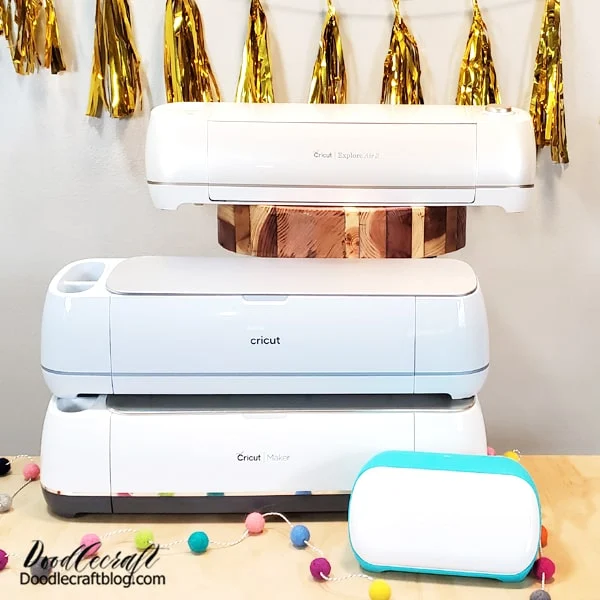
Is the Cricut Maker on your wish list--maybe the Cricut Maker 3
This is a great bundle to get started:
It won't be long before the machine pays for itself...more details on this post.
Learn how to make mini leather journals with a pen holder clasp using the Cricut Maker and the adaptive tools. Cricut Maker 3 is perfect for making handmade gifts!
These little journals are perfect for slipping in a bag and taking everywhere.
Let me know in the comments if you make one! This post has been updated from 2018 because I had so many people ask me to update the Cricut Design Space file. So it's ready to use--free project file designed by me!
Please thank me by:
Like, Pin and Share!
Who would you make a mini leather journal for?
Here's everything you need to know about Cricut!
What machine to buy, where to buy blanks, how to start a Cricut business and much more!

-min.JPG)
-min.JPG)
-min.JPG)
-min.JPG)
-min.JPG)
-min.JPG)
-min.JPG)
-min.JPG)
-min.JPG)
-min.JPG)
-min.JPG)
-min.JPG)
-min.JPG)
-min.JPG)
-min.JPG)
-min.JPG)
-min.JPG)
-min.JPG)
-min.JPG)


-min.jpg)


Comments
Thanks so much!