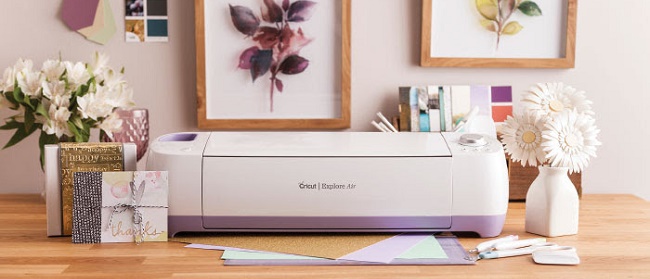
Supplies for this post from Cricut. Affiliate links included, all opinions are my own.
Aladdin Magic Lamp Shirt with Cricut Maker & EasyPress 2
Plus, how to upload a JPG or JPEG into Cricut Design Space
Have you seen the live action Aladdin yet? I'm going tomorrow and knew I needed a new shirt to wear! Making T-shirt is my all-time-favorite craft. It's so fast. It makes a great gift. It is so fun to make personalized shirts in minutes! I'm going to show you how simple it is to use Cricut Design Space™ to make a magic shirt from a jpeg in minutes.
Supplies Needed:
Metallic Foil Iron On
Cricut Maker
Cricut EasyPress 2
Cricut EasyPress Mat
Cricut Design Space™
If you don't have a Cricut Maker yet, they are amazing! Read about making money with your Cricut here...and 100 projects to make and sell using the Cricut here.
~
Here's the video of the Cricut Design Space process:
Here's the jpeg I used for this project. Right click to save it off for personal use only. If you can get a png file where the background is already removed, this process goes even faster!
Once it's loaded, background removed, color changed, sized and mirrored, select the material you are cutting, in this case it's foil iron-on. Then place the iron-on on the mat with the colored/shiny side down. Load it into the maker...and click the cut button.
Remove the mat and weed the excess iron-on from the image.
Then warm up the shirt with the EasyPress 2. Seriously, invest in an EasyPress for shirt making. I wasted so many supplies using a household iron...they just do not get hot enough or consistent enough heat for actual adhesion. The EasyPress 2 is a game changer!
Place the iron-on on the warm shirt. I like mine about 2 inches from the top of the collar.
Press the EasyPress on the iron-on for the recommended settings found here. Then turn the shirt over and press the other side for 10-15 seconds.
Then let the shirt cool down completely and remove the plastic carrier sheet.
Now the shirt is ready to wear! I can make a shirt from start to finish in 10 minutes. I keep a stash of kids t-shirts in my craft room in case we need a last minute gift. Seriously so effortless!

Using the Cricut Maker and EasyPress 2 to make a shirt is truly Magic!
Like, Pin and Share!
If you don't have a Cricut Maker yet, they are amazing! Read about making money with your Cricut here...and 100 projects to make and sell using the Cricut here.
~
Here's the video of the Cricut Design Space process:
Here's the jpeg I used for this project. Right click to save it off for personal use only. If you can get a png file where the background is already removed, this process goes even faster!
Once it's loaded, background removed, color changed, sized and mirrored, select the material you are cutting, in this case it's foil iron-on. Then place the iron-on on the mat with the colored/shiny side down. Load it into the maker...and click the cut button.
Remove the mat and weed the excess iron-on from the image.
Then warm up the shirt with the EasyPress 2. Seriously, invest in an EasyPress for shirt making. I wasted so many supplies using a household iron...they just do not get hot enough or consistent enough heat for actual adhesion. The EasyPress 2 is a game changer!
Place the iron-on on the warm shirt. I like mine about 2 inches from the top of the collar.
Press the EasyPress on the iron-on for the recommended settings found here. Then turn the shirt over and press the other side for 10-15 seconds.
Then let the shirt cool down completely and remove the plastic carrier sheet.
Now the shirt is ready to wear! I can make a shirt from start to finish in 10 minutes. I keep a stash of kids t-shirts in my craft room in case we need a last minute gift. Seriously so effortless!

Using the Cricut Maker and EasyPress 2 to make a shirt is truly Magic!
Like, Pin and Share!
Check out this fun shirt using holographic iron-on too!

Get a Cricut Maker today if you don't have one! You will love it!


Get a Cricut Maker today if you don't have one! You will love it!


This post published on Doodlecraft first


-min.jpg)


Comments