How to use Cricut Infusible Ink Transfers on Tote Bag DIY
Hi Doodlecrafters, Cricut just released their newest product, Cricut Infusible Ink.
It is the newest type of iron on that is seamless, smooth and just becomes part of the base it is pressed on. This darling tropical tote bag can be made in less than an hour and looks stunning! I am sold, I love it!
The Cricut Infusible Ink works in 2 parts, the actual transfer and the base (tote, shirt, coasters, etc...) They can not be used on regular shirts or bags in the closet.
Cricut Infusible Ink was released at Michaels stores on June 21st and I was first in line at my local Michaels. I did an insta-live that you might have seen!
After thoroughly analyzing each item I found the pattern I like the best.
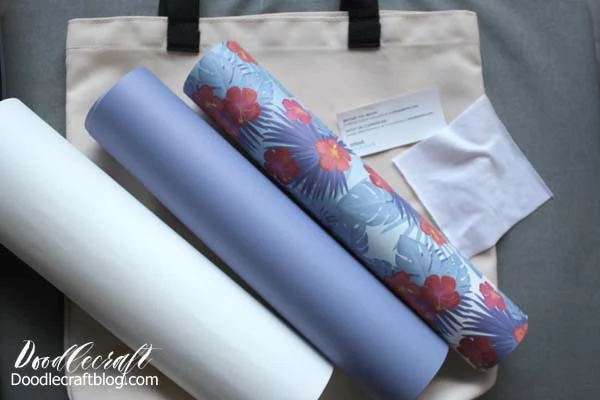
I purchased, not sponsored, these 2 products to test out. The 14X14 tote bag and the tropical pattern Cricut Infusible Ink. I love the bright vivid colors and of course, the hibiscus flowers!
Supplies Needed:
(affiliate links included)
Lint Roller or Tape
Infusible Ink Tips:
- Don't rush, make sure you have plenty of time for the project
- Make sure your hands are dry (not sweaty or moist)
- Touch the transfer paper as little as possible
- Don't forget to mirror the image
- The Cricut Infusible Ink will brighten after pressing, so don't panic if it's dull
- Only make an image the size of your EasyPress (Double pressing does not work well)
- All instructions can be found here: http://infusibleink.com/
I designed this cute image on my ipad pro with my hand-lettering. Sunshine! Right click to save off, personal use only please. You can thank me by sharing this post! 😉
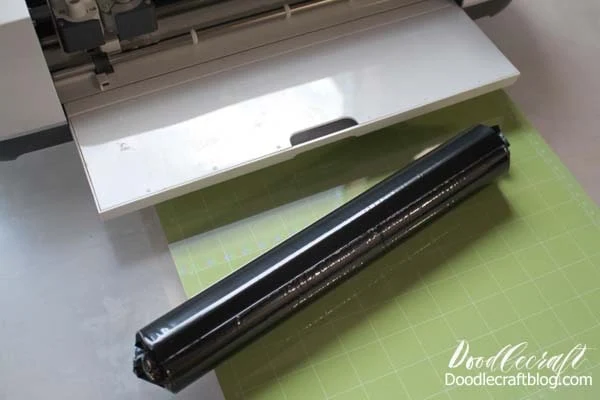
Begin by opening the package...inside the Cricut Infusible Ink transfers are sealed in a plastic bag. It comes with the transfer paper as well as some butcher paper and instructions.
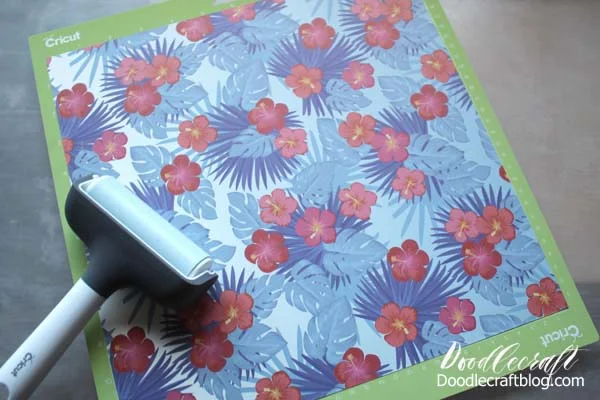
Carefully place the Cricut Infusible Ink transfer paper on the mat with the patterned side up. Use a brayer to smooth the paper down...touch it as little as possible with your fingers.
Then insert the mat in the Cricut Maker and cut the image mirrored.
Then carefully remove the Cricut Infusible Ink from the mat and weed the image. It peels off kind of rough, like paper stickers.
I had some rough edges...as long as the ink is removed, the paper will come off later.
The weeding was not as easy as weeding iron-on vinyl...but easier than glitter cardstock! If you have an EasyPress 2, set the temperature to 385*F and set the timer to 40 seconds.
Put the EasyPress mat inside the tote (9X9 size) and mine's also sitting on my large EasyPress Mat.
Place the butcher paper over the tote and press with the EasyPress 2 for just 15 seconds to warm up the tote.
Then move the butcher paper and place the Cricut Infusible Ink pattern side down on the tote. This should make the image readable.
Then cover the image with the butcher paper.
Press with the EasyPress 2 for 40 seconds with gently pressure.
Slowly remove the EasyPress 2, then carefully remove the butcher paper. Then gently lift off the transfer paper backing.
If done right, you'll have a vibrant, stunning and gorgeous--seamless tote!
If you have any questions, please email me (maildoodlecraft@gmail.com) or message me on facebook!
Like, Pin and Share!
Here's some more helpful Cricut Posts:
Check out this link for tons more things you can make with your Cricut!






-min.jpg)


Comments