Acrylic Pouring Abstract Painting on Organizer Caddy DIY!
Have you tried Acrylic Pouring yet? This is a super fun and trending craft and it's perfect for beginners too! Acrylic pouring/painting is just that---pouring out acrylic paint onto a surface! It's a great way to create abstract pieces using the colors you love.
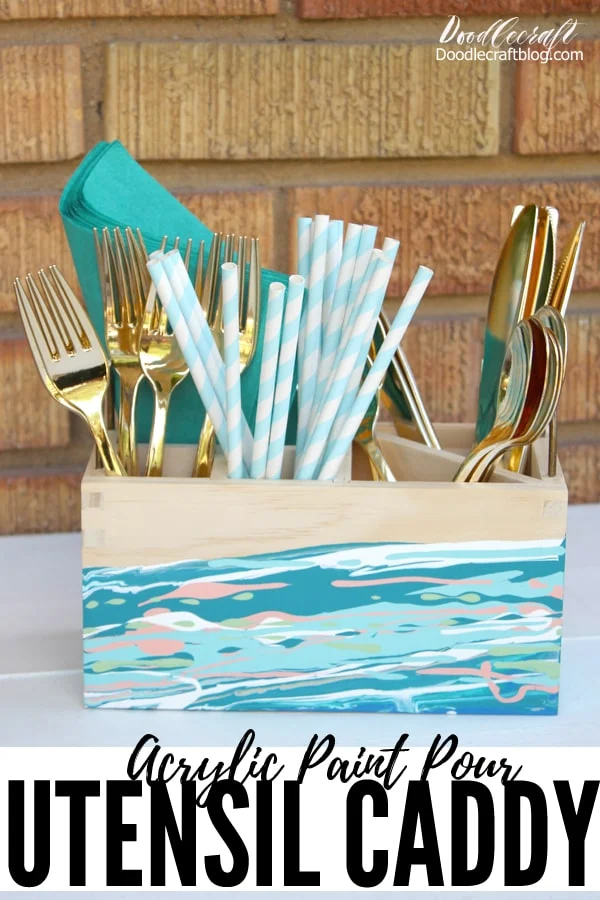
This utensil caddy is perfect for parties or keeping things organized--great to fill with back-to-school supplies to keep your desk organized too! Paint pouring is a simple technique and doesn't take a lot of supplies to get started. Just try it, you will love it.

This post was sponsored by Plaid back in 2019. Supplies for this project are from Target! Using Delta Ceramcoat acrylic craft paint and Handmade Modern wood blanks.
I picked this utensil caddy and knew a 3D paint pour would be an impressive way to finish it off. Head off to your nearest Target and see the fun collection of wood surfaces and colorful paints!
Here's the process sped up so you can see the technique! Try it, it's easier than you think!

Supplies Needed:
- Handmade Modern Utensil Caddy (from Target)
- Delta Ceramcoat Acrylic Craft Paint (from Target)
- 5 oz. Paper Cups
- Popsicle sticks for stirring Water

I picked paint colors that are reminiscent of the beach and ocean. I just don't go far from teals and blues---ever. Pick paint colors that you love--what colors would you choose?

Step 1 Paint Mixing:
Begin by pouring some paint in paper cups. The surface of the wooden utensil caddy is not huge, so not a lot of paint is needed for this project. I mixed the green with blue to create a bold teal color. I used more of the blue shades than the green or peach.

Add some water into the paper cups with paint. This is not an exact science. Mix the paint with the water until it runs off the stirring stick with a "warm honey" like consistency. If it is too runny, it won't stick to the wood project. If it is too thick, it won't move around once poured.

Let it drip off the stick into the cup to check how thick the paint is. It would be better to be a little too runny as opposed to being too thick. I think I added about as much water to the paint as the amount of paint I put in the cups.

Once all the colors are blended to the correct consistency, it's time to pour! Acrylic pouring is fluid and random. Do not get hung up on perfection...it's wild, random and a great way to express yourself. If you don't like how it turns out, you can scrape it off and do it again!

Step 2 Acrylic Pouring:
Start with an empty paper cup. Then pour out the acrylic paint into the cup in a "bullseye" pattern. It does not have to be precise. Just add some of this and some of that!

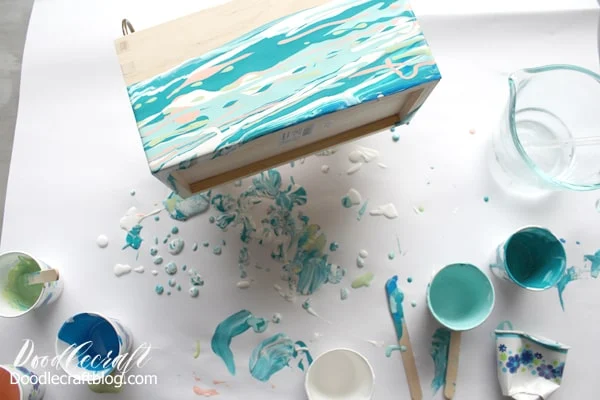
Once the paint is all poured into a single cup, pour it out on the wooden caddy. Make sure there's a drop paper underneath because it will drip off the edges.

Next, pick up the caddy and tilt it this way and that, to make the paint run together and off the edges.

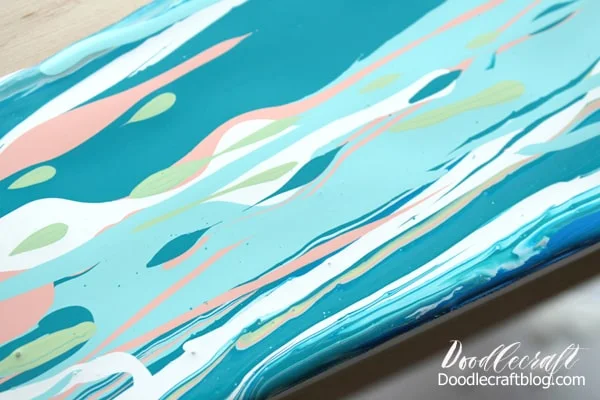
Use the stirring sticks to plop any extra paint on the caddy as desired. I went in and added some more peach and light green. Repeat the process on the sides so they look intentionally painted as well.
Touch up any blank spots with a stirring stick. Then prop up the caddy on a couple empty cups while it dries.

Allow the caddy to dry overnight or a couple days. Thick layers of paint need to dry slowly or they will crack, so don't warm it up or try to dry it faster.

Once it's dry, you can finish it off with some clear acrylic sealer and then fill it up with utensils, napkins, straws and host a party! Or load it up with pens, pencils, markers, highlighters and a calculator and use it on the desk to keep those back-to-school supplies in order.

That's it!
Paint pouring is the perfect paint style for any age range. It's easy to match themed colors and make a gorgeous statement piece for parties or home decor.
Like, Pin and Share!
Now you will want to pour on everything!
Acrylic Flo Painting on Tray --by using a try there is not an edge for excess paint to fall off of...so have a piece of plastic on standby and empty the remains of your cup onto it after pouring onto the tray.

Dirty Pour Marbling with Plaid Paint (in fact, it's actually this exact pour that I made this pendant with)

Rainbow Paint Pour (this canvas board warped a little bit...so use a piece of MDF or a stretched canvas)

Check out these fun videos of paint pouring too!
Acrylic Pour Serving Tray
Rainbow Poured Canvas


-min.jpg)


Comments