Galaxy Painted Shark Silhouette with Watercolors DIY!
This galaxy painted shark silhouette is the perfect way to combine Shark Week and Space Week from the week before! This technique is a fun way to use watercolors and simple enough for kids to try it too. Just a few supplies and you'll have the greatest shark in the galaxy. This is a fun painting project to try while watching shows about sharks on Shark Week starting on Sunday July 28th!
Supplies Needed:
Water
Paintbrush or Waterbrush
Painters tape
Salt
Start by right clicking and printing off this shark outline. This process can be duplicated with any other silhouette shape you desire. What will you turn into a painted galaxy? Whales would be lots of fun too!
Begin by taping the shark printable on the tracing box. Cover with the watercolor paper and then tape the paper in place.
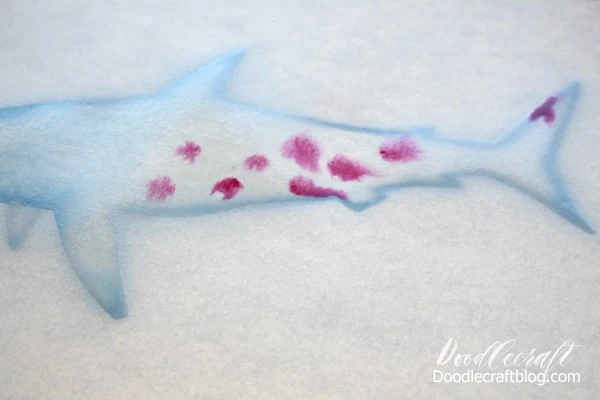
Next begin adding water to the outline of the shark. I grabbed a little blue paint, but then realized it would be easier just using water first. So first trace the outline of the shark with water.
Then fill the inside of the shark with a nice layer of water.
Just like pictured below. This will make the paint bleed and mix together when placed on the water surface. It will not go past the water line, and therefore keep it very shark-like. Just trace those edges carefully.
Now add dabs and dots of colors. Let the water naturally blend them around.
Add more colors, blues and purples. Complimentary colors; like red & green, blue & orange, and yellow & purple, will turn to brown when mixed...so try to avoid those colors touching.
Let it dry slightly, then go in with dark blue and add more color to the shark. These tropical paints do not come with a black, but I love the deep blue. My art teacher didn't want us painting in black, he said that pure black rarely shows up in nature. There are colors everywhere and even shadows have color.
Then sprinkle some salt on the shark and set it aside to dry. The salt will soak up the water and some of the color and leave amazing crystal-like patterns on the paper.
After drying, dust off the salt with your fingers. The crystalline pattern revealed is amazing! This is one of my favorite watercolor techniques that I learned in high school.
No need to go back in with a marker to add stars--the salt gives it a fun speckled finish.
That's it! Add some hand lettering, turn it into a greeting card or stick it in a frame to display. This work of art is out of this world!
Like, Pin and Share!
Here's some more fun Watercolor posts!
 Handlettering |  Alcohol ink |
 Alcohol Inks |  Gift Tags |  Birthday cards |  Stamp art |
 RAOK |  thankful |  Calligraphy |  Vinyl |
 Coasters |  Waterbrush |  Suncatcher |  Valentines |
 Watercolor Dye |  Watercolor cards |  Galaxy Art |  Watercolor |


-min.jpg)


Comments