No Tumbler Polished Rocks DIY
I love rocks! Whenever I hike or go to the beach, my bag or tote gets filled with stunning rocks.
I love how the rocks look so glossy, bold and amazing when they are wet.
However when they are dry, they are dull and unimpressive. It's a little bit disappointing, or at least anticlimactic.
I do have a rock tumbler and that works great for polishing and shining rocks.
But, it takes weeks...even months--plus it takes packets of consumable grit, tumbling for weeks, washing the rocks and rinsing away the grit and then repeating with smaller and smaller grit. It's a bit labor intensive.
These rocks I found were really smooth anyway but they just needed a little oomph.

See the difference between the rocks!?
Rocks look amazing and vibrant in the water and as soon as they dry, it's a little disappointing how dull they look.
Create shiny wet look rocks using one simple item and about 30 minutes of drying time!
This technique is perfect for all those Summer vacations of collecting rocks around the city, at the beach or while camping.
Please don't take rocks out of protected areas, National Parks, etc.
The trick is to collect really smooth rocks. Picking rocks and stones that are already river washed and smooth makes them easy to transform into polished rocks.

Supplies Needed for No Tumbler Polished Rocks:
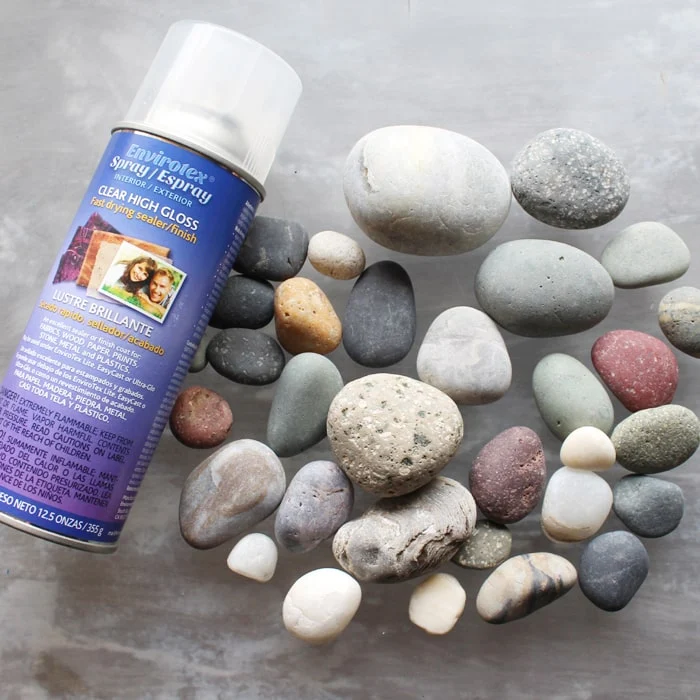
- Envirotex Clear High Gloss Spray
- Smooth rocks (these were curated near the ocean, so they are round and smooth)
- Disposable work surface like a cardboard box
This is resin in a spray can form, just a few coats of this high gloss finish will give these rocks the perfect shine that makes them look like they've been soaking in a cold river all afternoon.
It's amazing and gives everything a shiny and smooth resin-like finish, it's a great finish for shining up resin projects, acrylic paintings, painted rocks and other crafts too.
If you want to actually tumble your rocks it is awesome too--we've done it quite a few times, check out this post: Tumbled Rocks
Step 1: Place Rocks on Surface
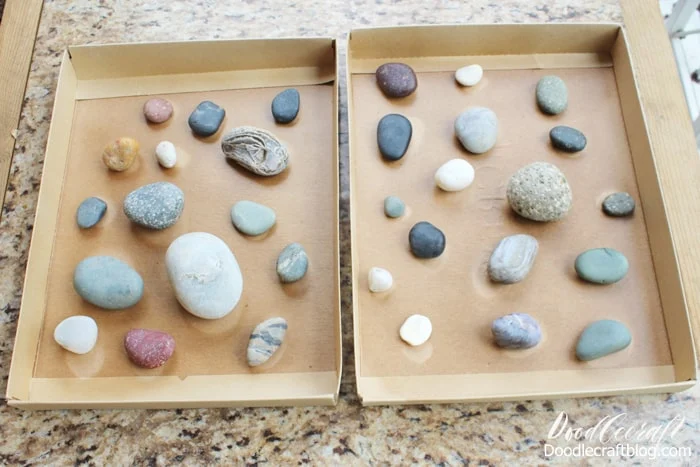
Set the rocks in a cardboard box or on a piece of cardboard, arrange them so that they are "upside down" if there is such a thing for the rock.
Set it outside in the sunshine and in a super well ventilated area.
I do not recommend spraying indoors.
Use the resin spray and give each rock a layer of resin.
Spray from about 6-8 inches away in light layers, you don't want it to be so thick that it drips. It just needs to be a light layer.

Then allow the rocks about 10 minutes to dry and give them a second coat of spray, wait again for ten more minutes and then give them a third and final light coat of resin spray.
Once they are completely dry, turn the rocks over and repeat the process for the other side.

Let the rocks dry and cure for four hours or a couple of days...I end up letting my projects dry for a long time because I'm so busy with other projects. So at least letting them sit overnight should be good.
Then put them in a dish, basket, in the garden, in a terrarium...and admire the ocean wet look on the rocks.
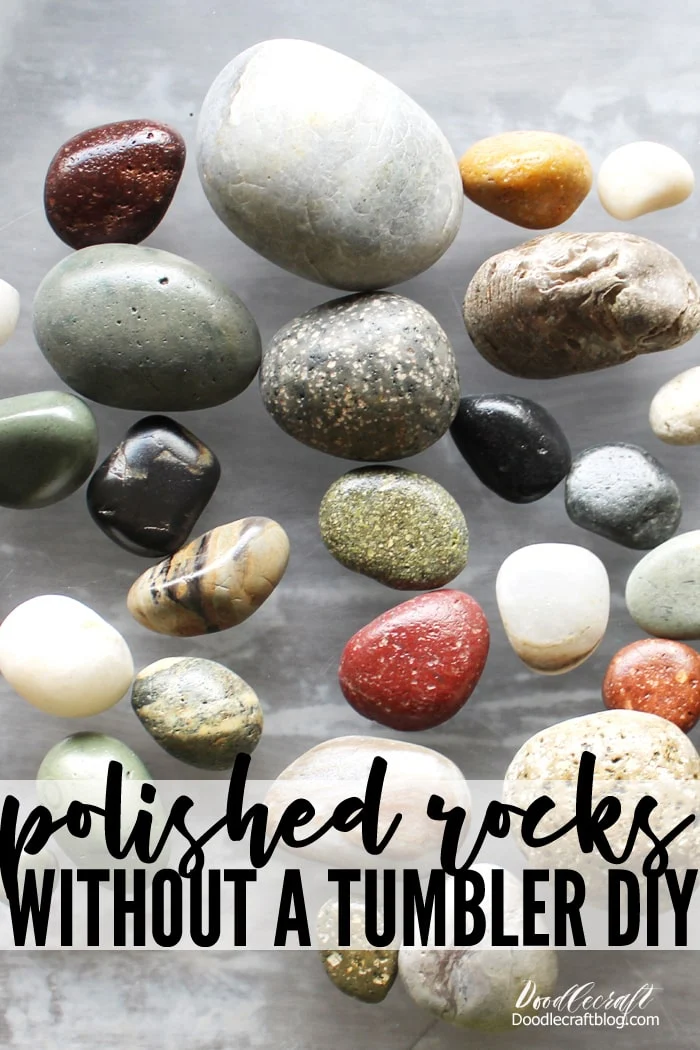
They are vibrant, shiny, colorful and much more impressive!
I love the super shine on the rocks!
Did I mention I love rocks!? I do.
Whenever we go hiking or to the beach, I end up with my pockets full of rocks. I might have even taken a few landscaping rocks from a parking strip because I love them so much. Am I the only one that hikes looking down because I'm checking out the rocks?
I painted some and returned them to the spot I took them as a fun surprise for someone else to find.
I love to paint rocks, here's my first painted rock ever at this post.
In fact, I love rocks so much that we redid our bathroom...we tore out the flooring and poured in cement. Then we added smooth, round, river washed stones on the floor of our bathroom and shower. We let the cement cure and then coated it all with high gloss resin (the 2 phase mixing variety). The floor is amazing, slightly bumpy, which is awesome for rolling out sore feet. It's easy to clean and we've loved it for 3 years now!
This hack for the perfect polished rocks, sprayed with high gloss resin spray, is my new go-to finish for my smoothest rocks.
They look like they spent months in a rock tumbler with various coarseness of grit to make them polished.
No one will know that this fun craft takes just some searching for smooth stones and spraying them with a few coats of resin in an afternoon.
If you have kids, they will feel like this is treasure, trust me!


-min.JPG)


-min.jpg)


Comments