Island in the Sun Reflective Iron-On Vinyl Running Shirt DIY
I love the song "Island in the Sun" by Weezer. I remember the street I was driving down in Salt Lake City in 2002 when I first heard the song on the radio.
Isn't it funny how music can transport you through time and space like that? It's been a favorite for years, so why not the theme of my running shirt.
This running shirt is made with reflective iron-on vinyl, so it reflects headlights when I run in the dark mornings.
Yes, I started running again the first part of August. I've been walking with a friend or two for nearly 2 years, then we decided we needed to kick it up a notch and start interval running.
It's been great and I feel like I am getting stronger and more endurant! Reflective shirts or vests are super important when running in the dark...like me at 5: 30 AM. Let's make one now!
Supplies Needed for Running Shirt:
Here's how to design the image
--and you then you can customize your own design based on your favorite song too!
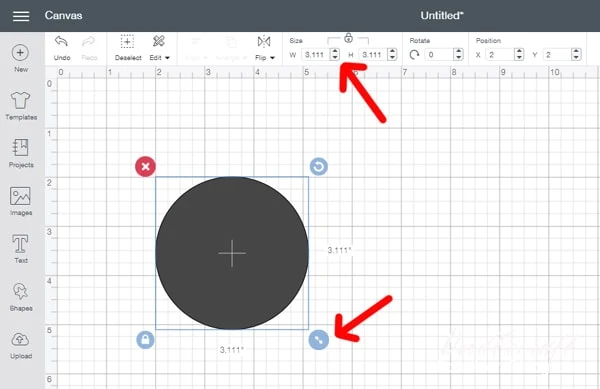
Begin by clicking the "Shapes" tool on the left sidebar, select the circle and create a big circle. Size it up to about 5-6 inches.
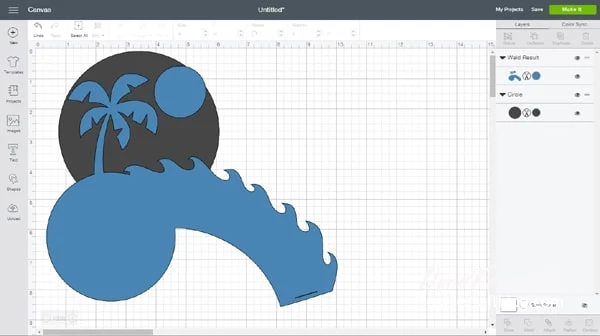
Next add in more shapes. I wanted to create the island in the sun vibe, so another circle for the sun and one for the island. I imported a palm tree and some beach waves. Place them where they look best.
Select all the layers except the large original circle and "Weld" them together.
Then select the welded layer and the circle and click the "Slice"button. This will create 4 layers.
Find the layer that appears the way you want it, with the shapes silhouetted against the circle. Then delete the other layers.
Now add the text and pick the desired font.
Then use the "Curved Text" feature to make the text circular. Add a few spaces after "sun" to give a little gap at the bottom.
And I added a little asterix * to separate the beginning and end of the phrase. Then size it up around the logo you created.
Select both the logo and the text and "Weld" them together.
Then change the size to the desired size for cutting out. I picked 9 inches across for the back of the running shirt.
Mirror the image, select the material and place the iron on vinyl on the cutting mat face down and hit the cut button.
After cutting is done, remove the vinyl from the mat and weed out the excess iron on. This reflective stuff has an additional layer that does not need to be weeded off. It will come off easily during heating.
You can see part of the palm tree I actually removed that extra layer completely, which is FINE, but tricky...so don't worry about it.
Place the iron on on the shirt while sitting on the EasyPress mat.
Then press according to the recommended settings
found here.
If you are putting a logo on the front of the shirt as well, do it now. Then let the shirt cool down completely. After cooling, peel off the carrier sheet...that extra layer will come right off at this point.
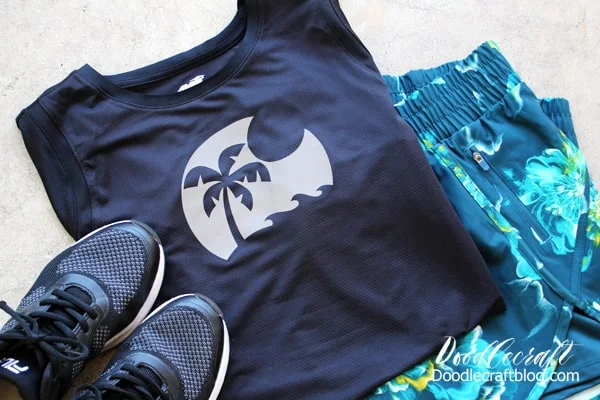
Then the shirt is finished! It's a cool white vinyl that shines bright when a light is flashed at it. This is the backside of the shirt:
And here's the logo on the front of the shirt:
Perfect running shirt for a beginner like me! I don't plan on winning any awards or making any records, but it feels great to become a little healthier!
Running shirts make a great handmade gift for runners too!


-min.jpg)


Comments