Agate Slice Nightlight Craft Project DIY
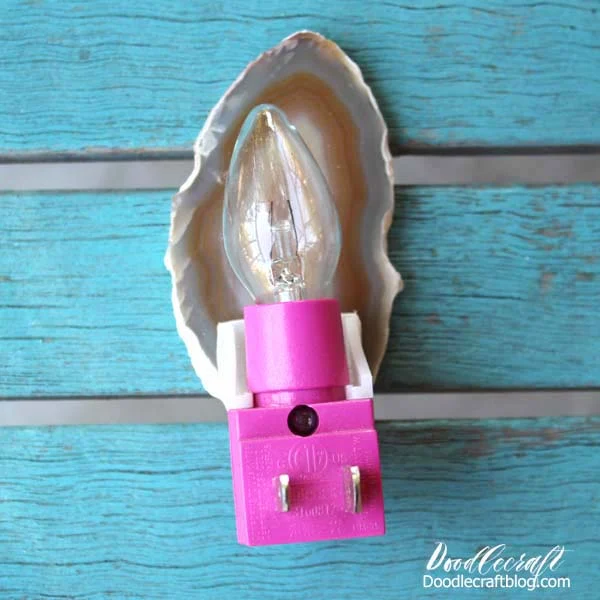
Make a fun Agate Slice nightlight in just a few minutes...with just 4 hours of glue drying time. Perfect sophisticated and last minute handmade gift for the holidays. Handmade gifts are my favorite but they take a little more time and effort than just simply clicking "add to cart". Let me show you how to make a stunning agate slice nightlight in just a few minutes perfect for all crafty skill levels.So night lights are a must around my house. To clarify, I sleep with the door closed tight and all the lights completely off. I don't even want the LED light from my phone glowing. Shadows on the wall is the scariest for me and I make my husband extinguish all "goblins" when we go to bed. But when I want some light, I love a great nightlight. I love how this one glows like a flame.

Supplies Needed: (affiliate links)
Plastic Nightlight from Dollar TreeAgate Slice
E6000 Glue
Scissors
Nail File
Begin by pulling the nightlight cover off of the light. Then use the scissors to cut off the little clip.
Use the nail file to sand all the edges of the plastic piece.
Try to cut off as much of the plastic off the clip as possible. Then sand it so that no image is remaining on it.
Then add E6000 glue to the front face of the clip...where the image was originally.
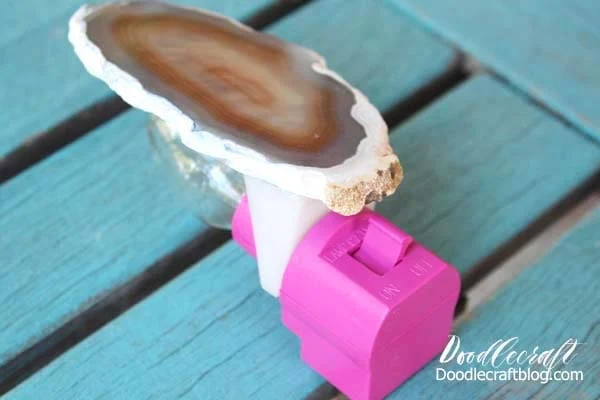
Then place the clip on the base of the agate slice. Now wait for the adhesive to dry and cure, at least 4 hours...or overnight.
Then slip the clip back on the nightlight and it's ready to light up!
Let this cute nightlight light up the face of someone deserving on Christmas morning or just to keep a glowing flame on during the dark night.
That's it!
Like, Pin and Share!
Check out this fun DIY Crystal Cluster Light project too!


-min.jpg)


Comments