This sponsored post was on Resin Crafts Blog previously, as part of their blogger team. All opinions are mine. Affiliate links included.
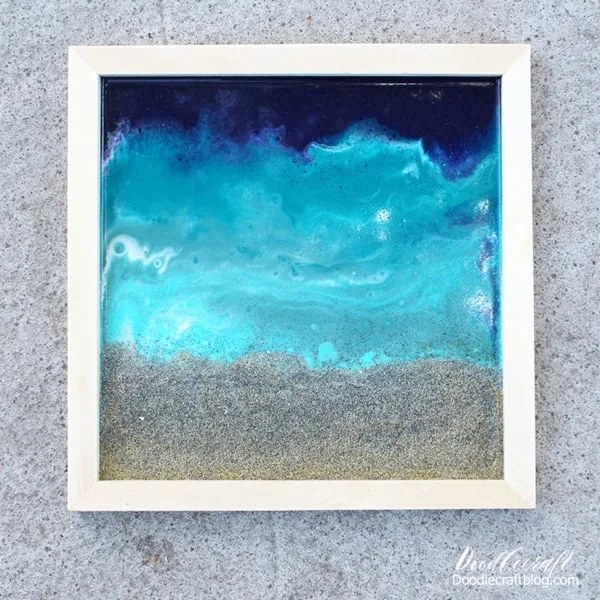
Ocean Resin Pour with Beach Sand DIY!
Beach or Mountains? I pick beach! I grew up and still live right at on the foothills of big, beautiful mountains...but I love the beach. I love the bright blue ocean, I love watching the waves.
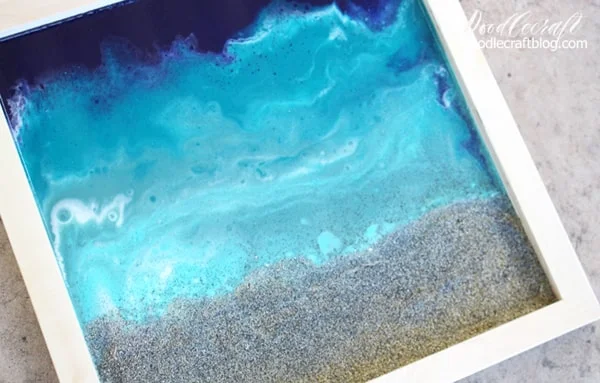
Use glossy resin to make the perfect ocean pour including a little beach sand. Great for beach-inspired home decor.
The most amazing ocean I've ever been to is in Turks and Caicos at Beaches Resort. Read more about my trip here. It was hot, humid and wonderful.
Here's the list of beaches I've been to:
La Jolla, California
Huntington, California
Venice, California
Long Beach, California
Oceanside, California
Gulf of Mexico, Panama City, Florida
Cocoa Beach, Florida
Caribbean Sea, Puerto La Cruz, Venezuela
Carribbean Sea, Grace Bay, Turks and Caicos
What beaches have you been to? Where is your favorite beach?
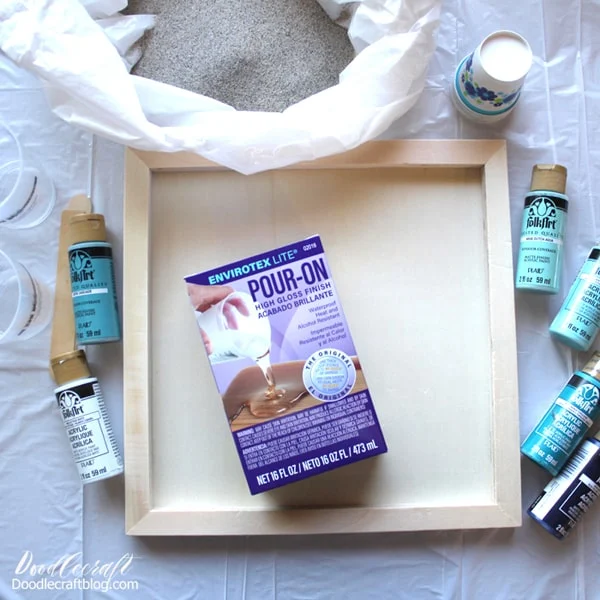
Supplies Needed for Ocean Pour:
Wood Canvas with frame edge
Acrylic Craft Paint in shades of blue (plus mix your own shades with blue, greens and whites)
Beach Sand
Mixing Cups, Stirring Sticks, Disposable Gloves, Worksurface
Small mixing cups
Step 1: Mixing the High Gloss Resin
Begin by reading the directions for the resin and mix according to the package in the 2 phase process.Step 2: Mixing Color with Resin
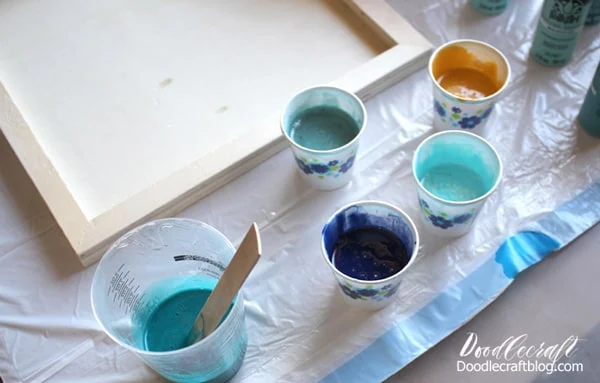
Then pour the resin into smaller cups and mix some acrylic paint with each of them.
Mix the resin and paint together until it is well blended and opaque.
I mixed up a bunch of yellow because I thought I'd like it under the sand. In future, I'd just use white or clear resin.
Step 3: Pour the Resin
Once all the resin is mixed with paint it is ready for pouring.
Begin with the beach line at the bottom. Use clear or white resin, not yellow like me!
Pour the darkest blue at the top edge, followed by the next darkest color.
Continue adding colors in order of the their color. Empty the entire cup of resin out in each section.
Then use the white resin in thin lines where every new color begins.
Step 4: Blow Resin Waves with Blow Dryer
Use a blow dryer or embossing tool to move the resin around carefully.
It swirls the resin together and makes little bubbles just like the ocean waves.
Step 5: Add Beach Sand
Once the resin is swirled to satisfaction, add handfuls of beach sand along the bottom edge. The sand will soak up the resin and become solidly adhered in place.
Then let the resin piece sit overnight to dry and cure. Then turn it over to release any sand that has not stuck to the resin art. Believe me, there was only a few tiny pieces on mine. Now it's ready to hang up and enjoy the beach year round.
That's it!
Like, Pin and Share!


-min.jpg)


Comments