How to Make Ghostbuster Costumes Made with Cricut DIY!
Who you gonna call? Ghostbusters!
Make the perfect Ghostbusters jumpsuit costumes for cosplay, Halloween or for a comic convention!
You could dress up like a Stranger Things crossover--like Dustin, Mike, Will and Luke dressed up as Ghostbuster!
I loved the old school Ghostbuster movies, at least the first film. It's a classic. I'm not crazy about the reboot with the ladies...and I haven't seen the latest.
What do you think about the movies? Which is your favorite?
This effective costume was super simple and put together in just a few minutes thanks to Cricut!
My Cricut machine is worth its weight in gold, seriously...I love it.
I work with Cricut, but will remain a loyal customer forever. Here's everything you need to know before buying a Cricut!
This little ghostbuster logo is iconic and most likely has a copyright, so do not make these to sell. Whip one up for loyalty to the show and excitement for more merchandise.
Make a killer cosplay to wear to the fandom convention. Let's get started!
We got these tan jumpsuits when a local business was cleaning out their extra stock.
They instantly said Ghostbusters to me and they worked perfect!
Supplies Needed for Ghostbuster Costumes:
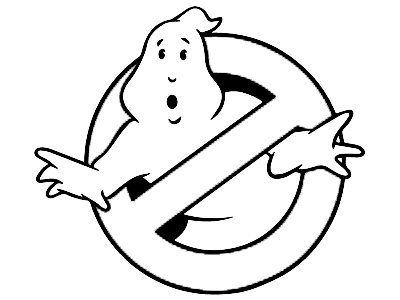
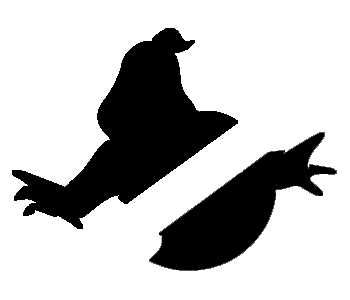
Alright, and of course, you need the logo:
I've separated it into 3 colors. Right click to save off each image or download them to your phone. They are all png files, so they are easy to import into Cricut Design Space. If you are making this for a smaller size costume, just size them accordingly.
This image needs to be cut out in black:
This is the white ghost layer:
And finally, this one is the red layer:
Step 1: Big Ghostbusters Logo for Back of Jumpsuit!
Load the 3 files into CDS and change the colors so you know which colors to cut each pass.
Line them up to make sure they fit. When sizing the image, select all 3 of them at the same time to keep the ratios the same.
Then place the iron-on vinyl on the cutting mat with the shiny side down, mirror the image and cut out each one.
After they are cut, weed out the excess iron-on. When they are flipped over, they are going the right direction.
Stack up the layers of iron-on carefully with the white on the bottom, red in the middle and black on top.
Step 2: EasyPress in Layers!
Then place them on the back of the shirt or jumpsuit. Remove the top 2 layers, leaving just the white ghost body behind.
Now use the EasyPress to press the iron-on. Check this guide for the recommended settings.
Lift off the EasyPress and let the shirt cool. Then peel off the plastic carrier sheet.
Then layer on the vinyl again, this time, just the red layer.
Cover with a protective sheet or teflon, then press again.
Again, wait for it to cool, remove the plastic carrier sheet and place the black outline iron-on on top. Then press a final time.
Let it cool and remove the plastic carrier sheet. It's done!
If you are doing just a shirt, this is all you need to do...or take it a step further!
Step 3: Small Ghostbusters Logo for Sleeve on Jumpsuit!
Now add any other details you desire. I decided to add the ghostbusters logo to the sleeve and a name patch to the front.
I resized the logo and cut 2 small ones out of each layer color.
Then I created a black rectangle in CDS and added text names and cut them out as well.
Repeat the iron on process for the ghostbusters logo on the sleeve, but this time, the EasyPress Mini makes it so simple!
Just 3 little layers of iron-on to create the perfect Ghostbusters logo.
Step 4: Name Patch for Front of Jumpsuit!
Now press the black iron-on on the front of the jumpsuit or shirt on the top left pocket area.
Again, using the EasyPress Mini is so simple, but any size of EasyPress would work great.
I do not recommend irons--they just do not get evenly hot or hot enough to make a good press--it's worth the extra money to have the right heat press or you will waste so much iron-on.
It's a waste of materials, although I did it for years.
Layer on the name and press again.
What name will you pick? Egon Spengler was my choice!
I picked Spengler for myself, because I'm the nerdy/smart one...and of course Venkman for my husband, because he's the main guy.
But go ahead and get your crew together and make Stantz and Zeddemore too!
That's it! Super simple costumes that everyone will recognize and love! Wear it this year and save it for next year!
I love how easy it is to make these using my Cricut Maker.
If you are considering a Cricut, check out this post!
I am thrilled with how this ghostbusters uniform turned out--pair with combat boots!
They are perfect for the costume box and using over and over. Great for movie premieres, Halloween costumes, Costume parties, Stranger Things Crossover Cosplay, Fan Conventions and more!
Amp them up another step by making a ghost trap and own proton pack with an old backpack with some spray paint, build out foam pieces or just use more iron-on vinyl...and attach a hose with a hot glue gun or twisty ties.
That's it!
It's easy to make the coolest ghostbuster costumes that are sure to stand out!
Turn the Ghostbusters costume into a family costume theme! Dress up some Ghostbusters, the baby can be Stay Puft Marshmallow Man, dad can be slimer! So many fun ideas.
Just get some tan colored pants and shirt, a jumpsuit or just a tee shirt and add some awesome layered iron-on vinyl cut with Cricut.
Here's the Ghostbusters Font and the Ghostbusters Name Tag Font freebies to finish it off!
Like, Pin and Share!
Here's a bunch more DIY Costume ideas!
Indiana Jones
Doctor Costume
Naruto Cosplay
Simple DIY Pirate Costume
Young Maleficent Costume
Legend of Zelda Link Costume
Fortnite Enforcer Costume
Greek Goddess Costume
Ron Weasley Costume
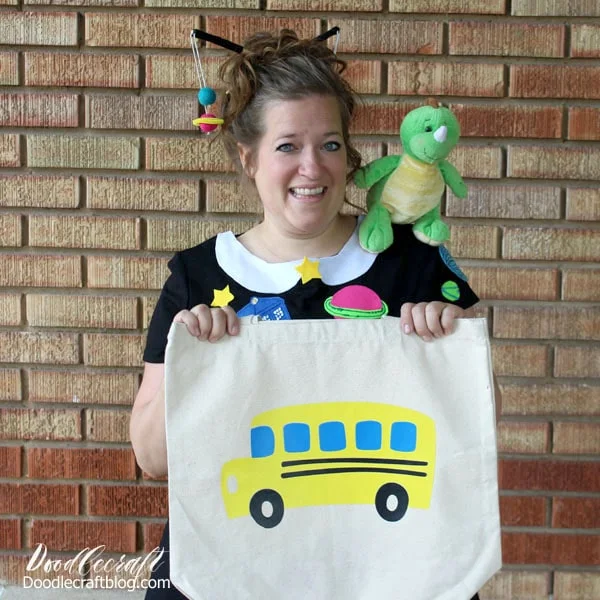
Miss Frizzle Costume
Alice in Wonderland
Or this aqua blue dress?
Naruto Headband DIY
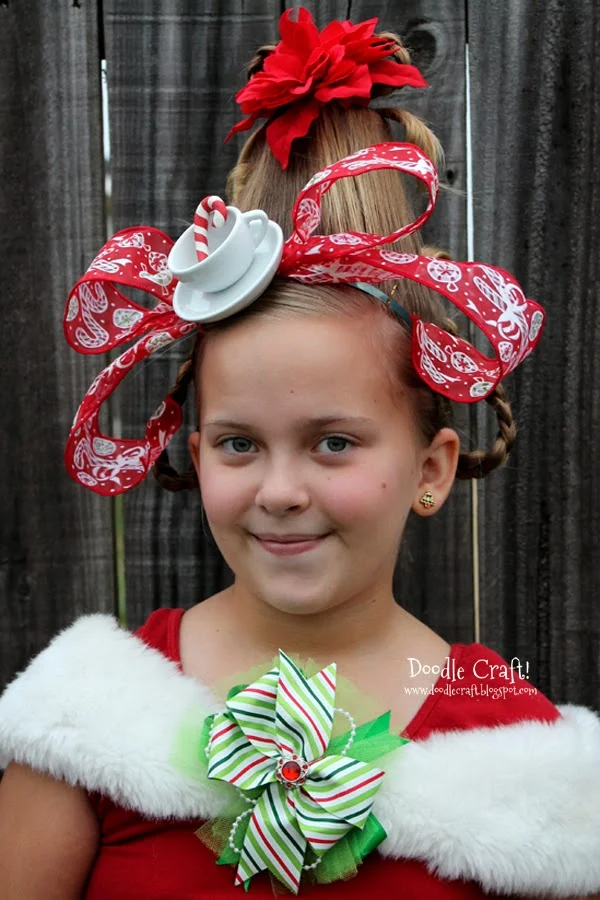
Cindy Lou Who
20 Minute Cape Tutorial!
Creepy Doll
Rapunzel Braid
French Maid
Egyptian Mummy
Maleficent Costume
Harry Potter
Nurse
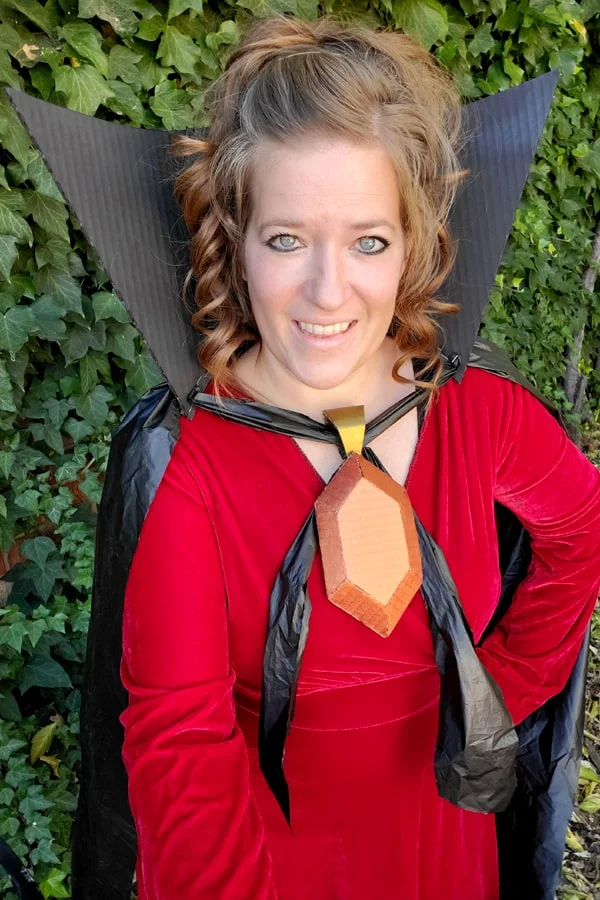
Vampire Costume made with Cardboard!
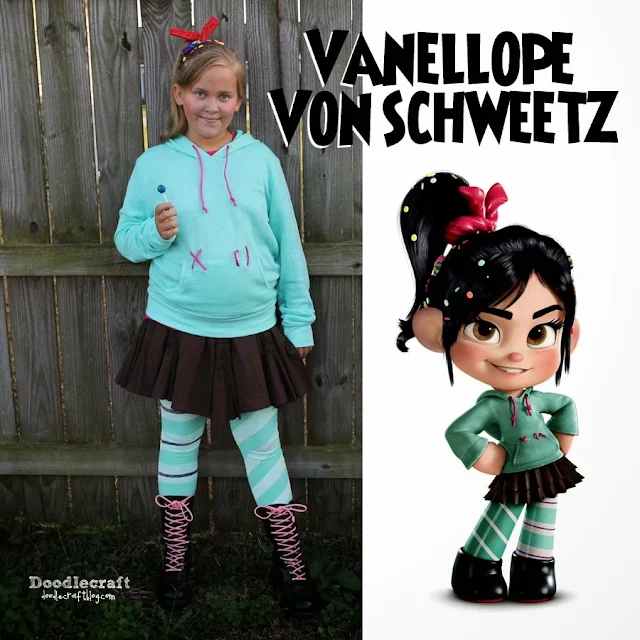
Vanellope Von Schweetz Cosplay
Elf Ear Headband
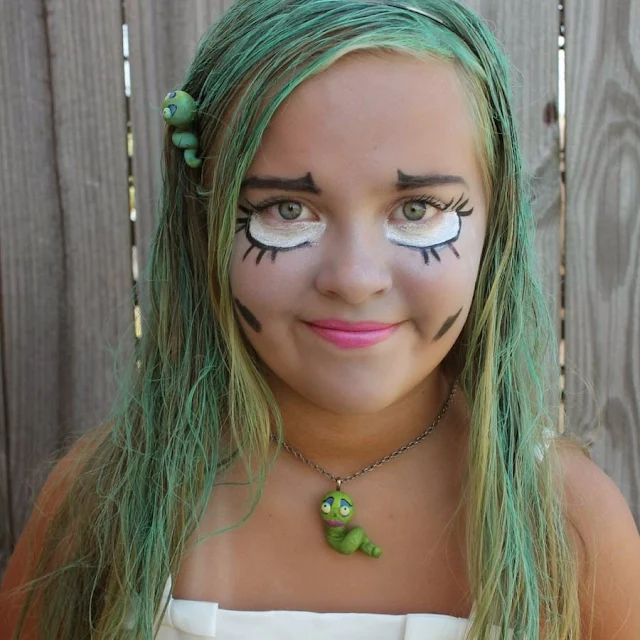
Corpse Bride with Maggot Worm Cosplay
Soos from Gravity Falls Cosplay
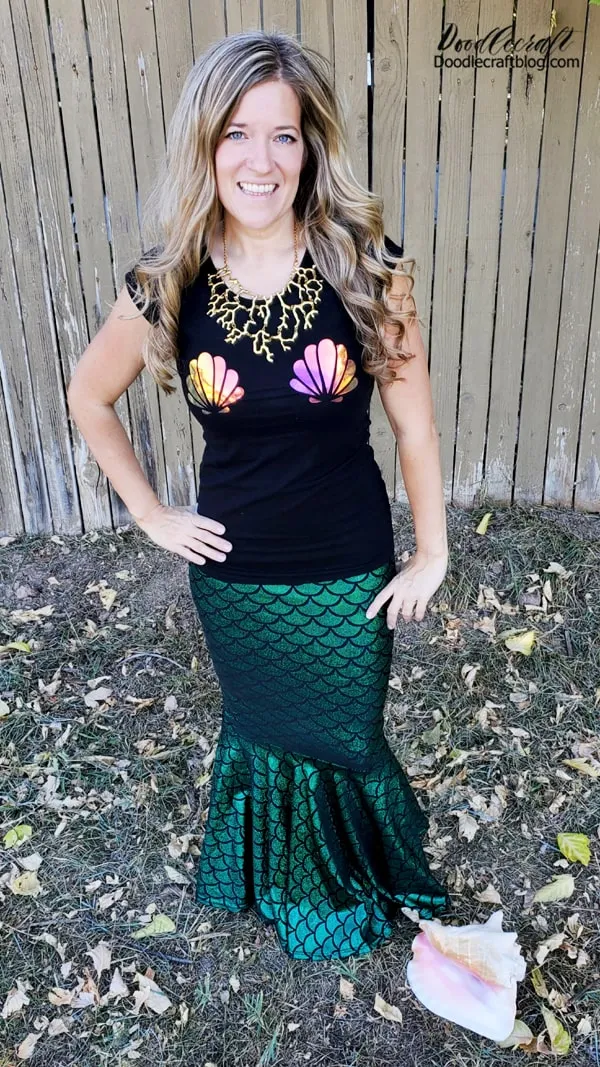
Steampunk Mermaid
Once Upon a Time's Belle Cosplay
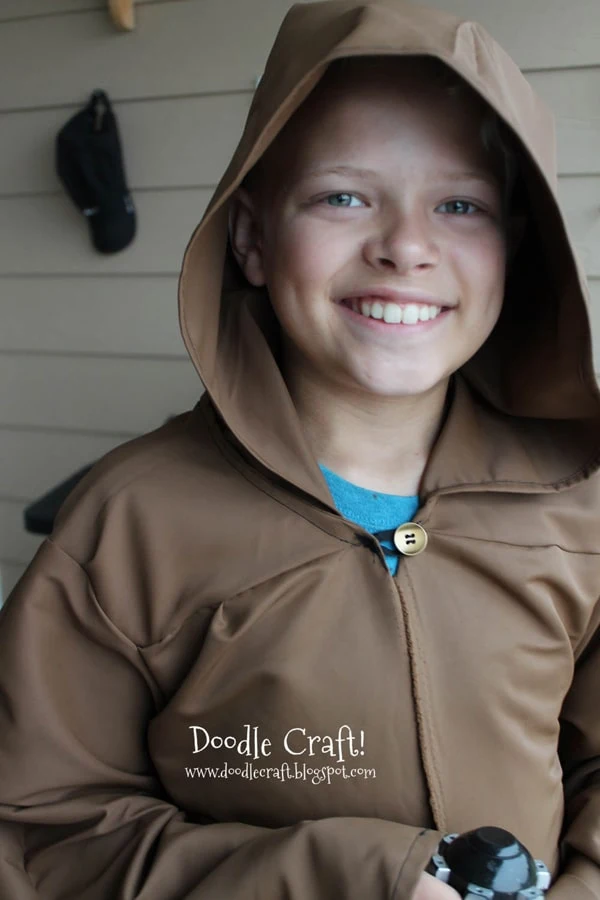
Jedi or Wizard Robes
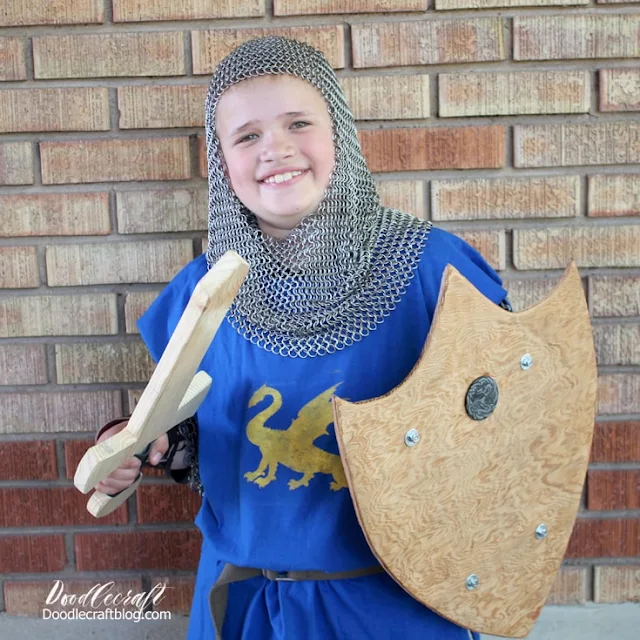
Knight/Paladin/King Costume
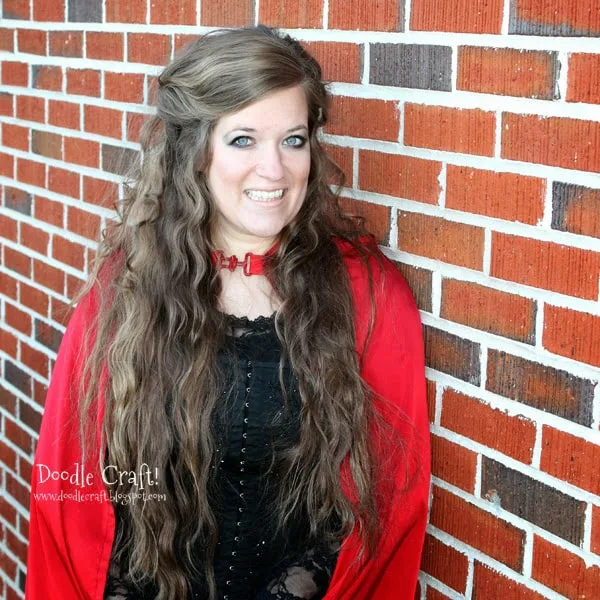
Morgana from Merlin Cosplay
Draco Malfoy Costume
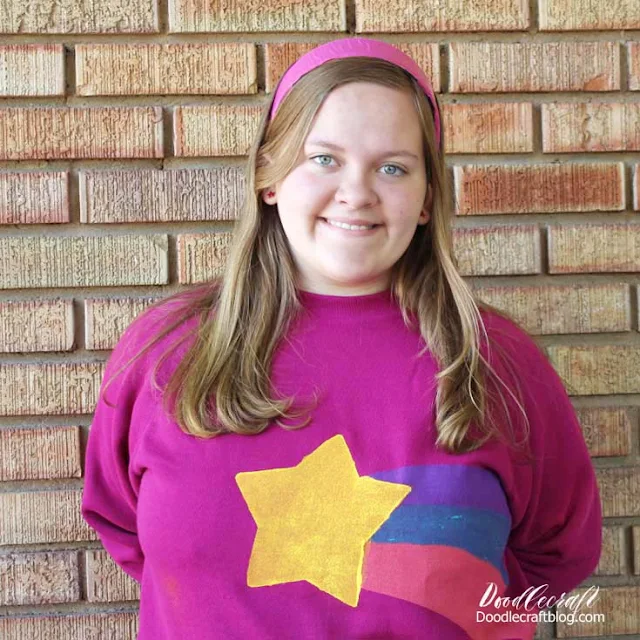
Mabel Pines from Gravity Falls
Queen Amidala Cosplay




-min.JPG)
-min-min.JPG)

-min.jpg)

.jpg)
-min.JPG)
-min.jpg)
-min.jpg)

-min.jpg)
.JPG)
-min%20(1).JPG)

-min.jpg)

-min-min.JPG)

-min.jpg)







-min.JPG)




-min.jpg)


Comments