Hibiscus Tea Dyed Face Masks DIY!
My favorite flower is the hibiscus! My neighbor gave me a bag full of hibiscus blossoms to make hibiscus tea. Little did he know I was going to turn it into a full Do-it-Yourself post on tea dying...especially because I don't drink tea and I'm allergic to smelly flowers, so drinking perfume does not sound pleasing.
Use fresh hibiscus tea and tie dye face masks for the perfect natural dye!
Hibiscus come in many varieties ranging from warm temperate climates to tropical. I think they must be my favorite flower because they are tropical and I love the tropics. I love their bright petals and delicate look.
Did you know that a hibiscus blossom only lasts one day? They stay pretty bundled for a while and then--boom! They burst open and smile for just one day.
I bought 8 hardy hibiscus plants rated for my temperate zone (even though we get snow in Utah, these are rated for my area) and planted them in my fairy garden.
Here's some pictures of their blooms over the past week.
Supplies Needed for Hibiscus Tea Dying:
Hibiscus Flowers (we had way more than we needed)
or
Pot of Boiling Water
White Vinegar
Step 1: Prepare the Dye
Begin by boiling the flowers using half the water on the directions. I used 3 cups of flowers and 2 quarts of water. It made a lot of dye!
Then add 1 tablespoon of White Distilled Vinegar per cup of water into the mix. Bring to a boil.
I received these white cotton face masks from Buttonsmith in exchange for this post. They are high quality, 2 layers and have a filter pocket. They are comfortable too!
Step 2: Twist the Masks
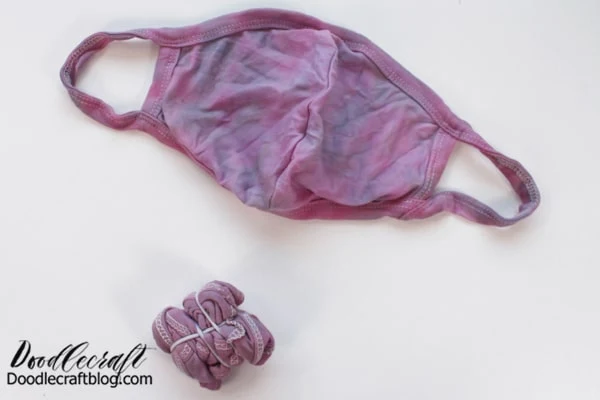
Then twist up the masks and band them tightly with elastics.
I used hair elastics and they worked great. Zip ties will work too. The tighter the bands are on the masks, the more white lines the finished product will have.
Step 3: Dye the Masks
Now set the masks directly into the boiling pot.
Use a spoon to stir it around and make sure it's totally submerged. Let the masks boil for 15 minutes.
Step 4: Rinse the Dye
Then remove them from the pot and rinse in the sink until the color runs clear.
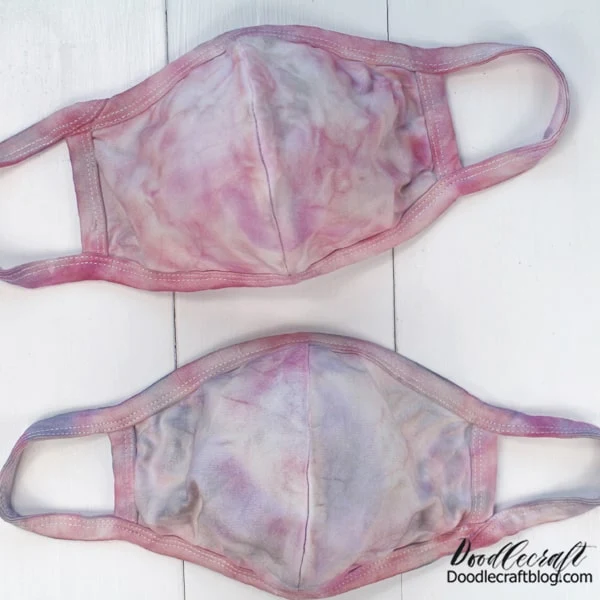
Unwrap the bands and lay out the mask. I love the pink, purple and blue tones in the dye.
Now let them sit out in the sunshine for a few hours.
The dye will lighten up a little bit.
Step 6: Add some Iron-on
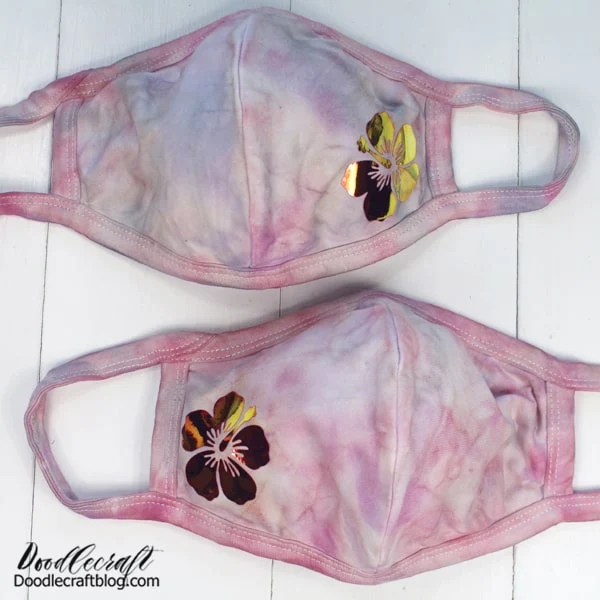
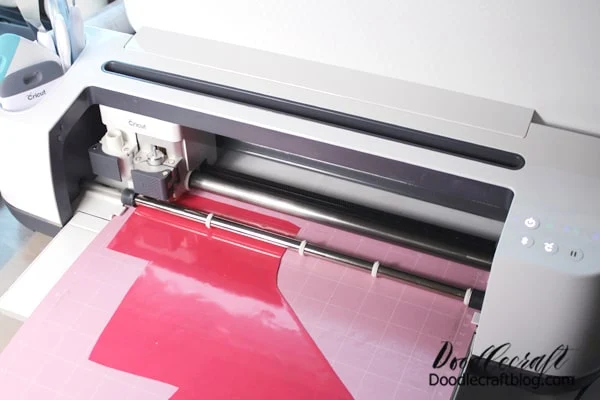
Now the masks are ready for some personalization. Cut out a cute little hibiscus flower in holographic iron-on vinyl with your Cricut machine.
Then trim and weed the vinyl pieces. Warm up the EasyPress mini and set the mask on a EasyPress mat.
Warm up the mask with the Easypress, then place the holographic iron-on on the warm mask.
Press on high for 30 seconds with the EasyPress. I love the Mini! It's so nice for small projects like this.
Let the iron-on cool and then peel off the carrier sheet. That's it! These naturally dyed masks are ready to wear!
That's it!
Like, Pin and Share!
Check out these tie dye masks too:


-min.jpg)


Comments