Resin Monster Eyes Perfect for Costumes Cosplay DIY
Need a third eye? Maybe you need some extra vision for your Halloween or cosplay costume!?
Resin eyes are definitely useful when making dolls, monsters, puppets, dragons or third-eye wearables and bag flair. Regardless of the final destination, resin eyes are a great resin craft for any experience level.
SUPPLIES NEEDED FOR RESIN EYES:
Round Knob Mold (or this silicone cake pop mold would make it a little easier)
Round Dome Mold
Various Acrylic Craft Paints
Disposable work surface, mixing cups, stirring sticks and gloves
Mold Release Spray (not pictured)
STAGE 1 FOR RESIN EYES: PUPIL
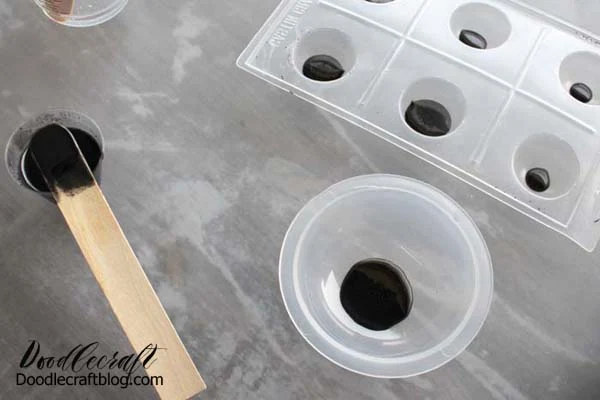
Start by prepping your molds by gently misting with the release spray.
Begin by reading the directions for the EasyCast resin. Mix an ounce of resin to begin, one part resin and one part hardener. Follow the instructions and stir the mixture for 2 minutes. Then transfer into a new mixing cup and stir with a new stick for 1 minute.
Failure to mix properly can keep resin from curing properly.
For the knob mold, keep the resin to the size of a pea. Let the molds cure overnight. If I could give any hindsight advice at this point, it's keep this little black pupil as small as possible.
STAGE 2 OF RESIN EYES: IRIS
Next day mix up some more resin with the 2-phase mixing process.
Slightly more resin is required for the iris part of the eyes than previously with the pupils. Pour the mixed resin into smaller mixing cups and add a drop of paint to add the color.
Then pour a small amount of color over the black resin pupils, but leave room for a band of white to show. As before, let the resin cure overnight.
STAGE 3 OF RESIN EYES: SCLERA
The next day the process is very similar…mix resin in the 2 phase mixing process. Much more resin is needed than previously to fill in all the remaining space with white. Add a few drops of white acrylic craft paint to the mixture and pour into the molds.
Now let them cure overnight.
STEP 4: REMOVE RESIN EYES
Pop the eyeballs out of the molds the next day and see what is staring back at you. Perfect to add on dolls, dragons, monsters, puppets…sky is the limit!
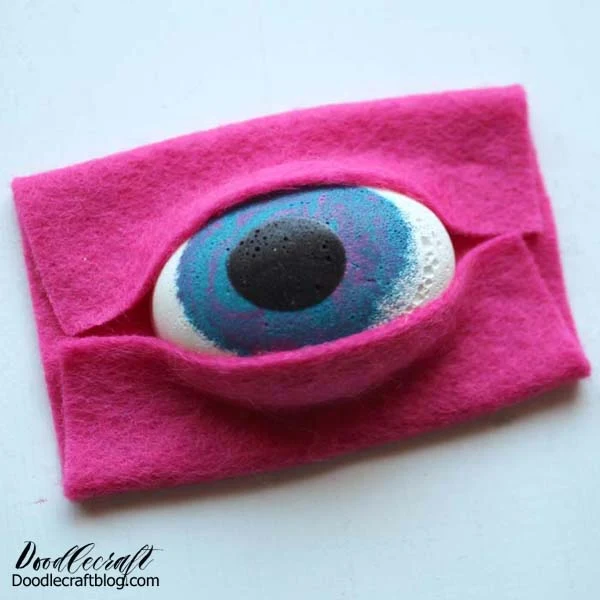
STEP 5: ADD EYELIDS
Now that the eyes are finished, complete the human-like effect by adding eyelids. You will need felt, scissors and hot glue/gun.
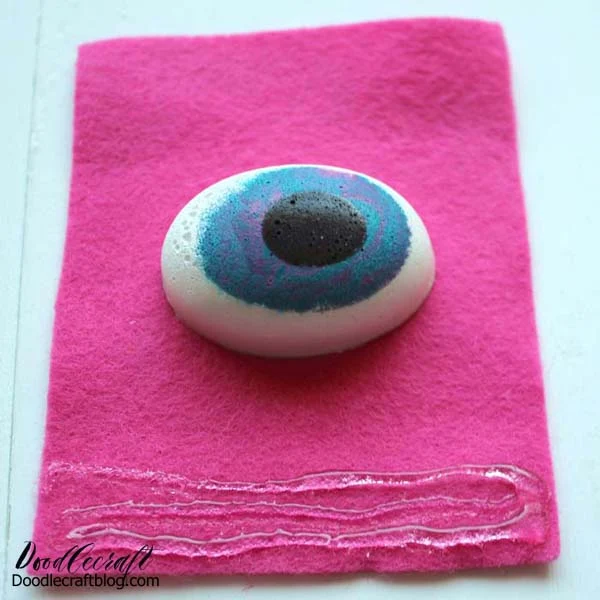
Cut a piece of felt larger than the eyeball and hot glue the eye in the center. Then add some hot glue to the bottom edge of the felt.
Next, fold the edge of felt up and overlap it slightly onto the eyeball. Press the felt down firmly.
Repeat the same process as above for the other eye lid.
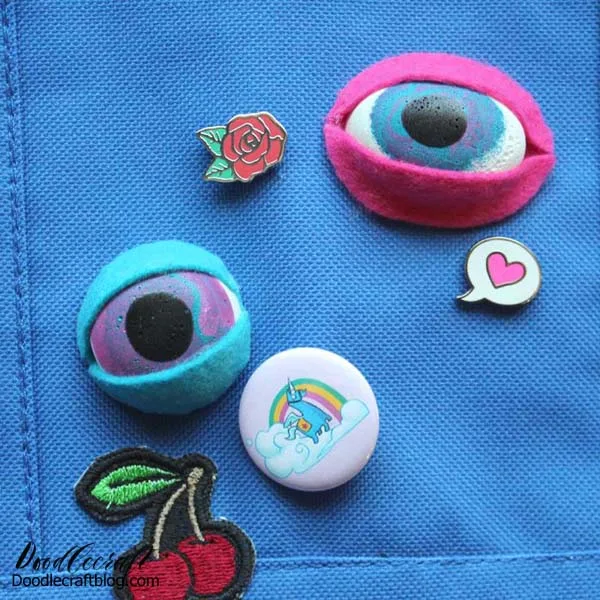
Now the eye is enclosed and looks uniquely creepy.
Finally, trim around the eye lids as desired. The air bubble holes in the resin add to the creepiness of these resin eyes.
Repeat the process identically for each eye.
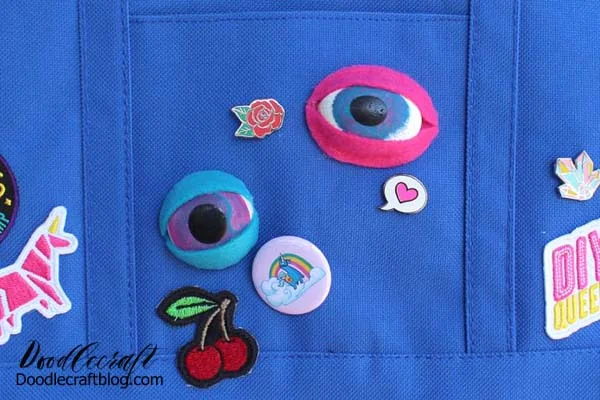
Once the eyes are complete they can adorn anything, like this tote bag for example. Simply stitch the felt to the bag like a patch or hot glue them in place. Furthermore, you could add a necklace bail and chain for a third-eye wearable accessory.
Great for making puppets or a fun Halloween costume!
That's it!
Like, Pin and Share!










-min.jpg)


Comments