How to Use Cricut Infusible Ink Transfers!
I love Cricut Infusible Ink Transfers. Infusible ink creates the most seamless finish on shirts, totes and other select surfaces. This shirt craft is perfect for any skill level, even beginners. This post is sponsored by Cricut with affiliate links.
Supplies Needed for Cricut Infusible Ink Shirt:
Brayer
Green Cutting Mat
Step 1: Cricut Infusible Ink
Begin by placing the Cricut Infusible Ink Transfer on the green cutting mat with the ink side up. Don't over handle the Infusible Ink. Make sure you have clean and dry hands. The Infusible Ink Transfers will look dull before the heat, and then they pop vibrantly!
Cut the image mirrored using the Cricut Maker. All Cricut cutting machines can cut infusible ink, but the Cricut Maker is my choice every day of the week. Check out this post for all the ways the Cricut Maker rocks!
Step 2: Weed the Infusible Ink Transfer
The Infusible Ink is like a thick paper sticker. It weeds very easily, but try not to touch the ink too much or it can warp or damage the finish.
Step 3: Press the Infusible Ink
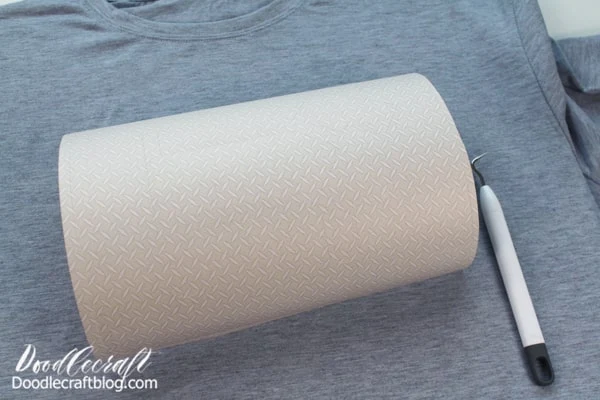
Warm up the shirt with the EasyPress 2. Then place the Infusible Ink Transfer ink side down on the shirt. Then cover it with the included butcher paper.
Then press the EasyPress on the shirt for 40 seconds at 400*.
Then lift off the EasyPress, remove the butcher paper and then carefully pull off the transfer.
All the ink has vanished off the transfer and is vibrant and vivid on the shirt!
I saved the negative space images and pressed them onto the sleeve for added fun. I love saving all my scraps for other projects!
The seamless, smooth finish is awesome! This cute shirt takes about 10 minutes to make, which is perfect for handmade gifts...even last minute ones!
That's it!
Like, Pin and Share!


-min.jpg)


Comments