How to Make a Mosaic Cake Stand with Resin!
Resin crafting is awesome, there are so many different applications for resin.
Here's a fun cakestand that makes a great resin project for a beginner, without looking like a beginner project!
Upcycle an old cake stand with a glass mosaic finished with high gloss resin to give it new life.
I love upcycling old items and making them fresh and new again. This time of year is perfect to make some custom serving ware as the holidays approach.
If using it for food service is fine, but don't put the food directly on the resin, use a cardboard round or parchment under the cake. Perfect for serving cupcakes!
Design the mosaic however you like. Will you decorate it randomly or take the time to lay the pieces in an orderly pattern?
SUPPLIES NEEDED FOR THIS CAKE STAND UPCYCLE:
Watered down Mod Podge or Ultra Seal
Mixing Cups
Stirring Sticks
Disposable Gloves
STEP 1 OF HOW TO MAKE A MOSAIC RESIN CAKE STAND:
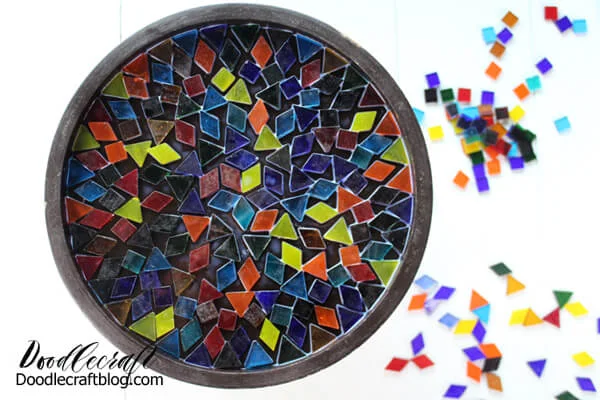
Begin by sorting your glass mosaic pieces and deciding on the colors, shapes you want to use. You can do a dry run if you'd like.
Then pour a little watered down Mod Podge or Ultra Seal on the top of the cake stand. This will hold the pieces in place long enough to arrange them, without making it set in stone immediately.
This gives some flexibility as you are setting pieces. Because of the round shape of the cakestand, I wasn't able to keep a steady pattern, so I went with a chaotic arrangement, mixed with some order.
Then fill in the top of the cake stand with glass mosaic pieces.
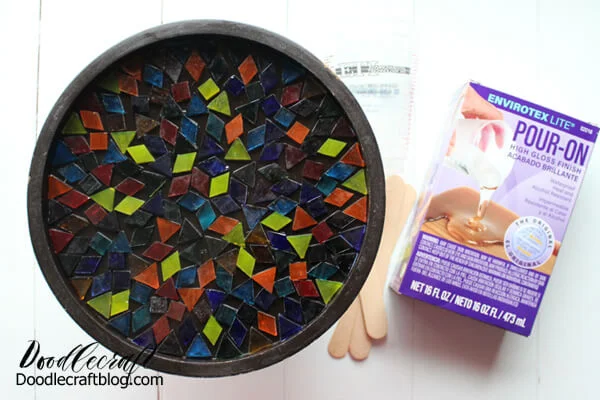
Let the cake stand mosaic pieces dry completely about 4 hours.
STEP 2 OF HOW TO MAKE A MOSAIC RESIN CAKE STAND:
Secondly, mix up the high gloss resin according to the package directions. Mix 1 part resin and 1 part hardener together for 2 full minutes.
Then transfer into a second cup and use a new stick to stir the resin for 1 more minute. Proper mixing is the only way to ensure the resin will set properly.
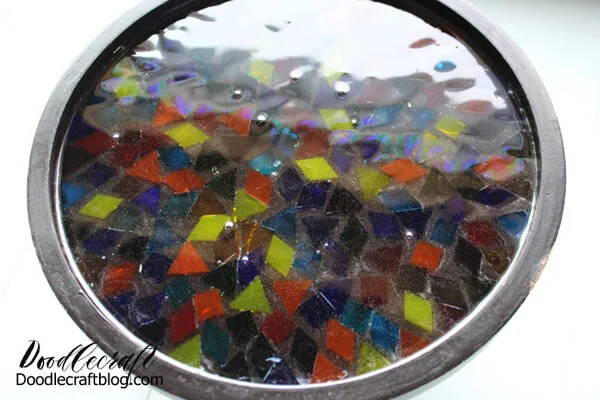
Next pour the resin on the top of the cake stand. Tip the cake stand around to let the resin fill the entire top surface. The resin is self-leveling, so it will smooth out when set on a level table.
Use the heat or embossing gun to pop the bubbles that have formed in the resin. Let the cake stand sit for 20 minutes and then use the heat gun to pop any more bubbles that have formed.
Then let the cake stand sit overnight to cure and dry completely. Now the cake stand has a new lease on life and will add pizzazz to a table or party. Perfect for a few cupcakes! We recommend not putting direct food on the cake stand, use a cardboard insert when placing a cake on the stand.
Great for party hosting during the holidays, or even to give as a gift!


-min.jpg)


Comments