Woven Leather Bench with Hairpin Legs!
Make a super chic bench for the entry way, front porch, or mud room by weaving strips of leather on a wood base with hairpin legs.
With the supplies gathered, this project can be completed in a couple hours or less.
This stylish bench will become the hallmark of the home, get all the praise and attention and start many conversations.
My adult son and I worked on this bench together and had a great time!
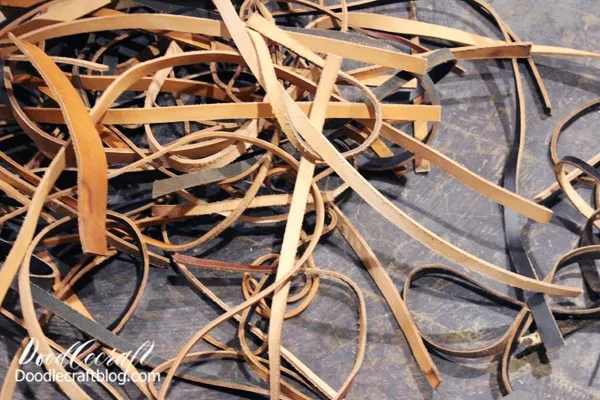
It all started with a neighbor brining over a bag of leather strips.
He thought my son might be able to make a stock whip out of them. He's the World Champion Whip Cracker!
But they are too thick and short and would take an unneeded amount of prep work...so a new plan was formulated!
This is what I've always dreamed of!
I've wanted to make a woven leather bench for a long time...and these freely acquired strips of leather were just what I needed.
Gather some old belts for the perfect upcycling project!
Supplies Needed for Woven Leather Bench with Hairpin Legs:
Step 1: Set Up!
Begin by getting everything set up.
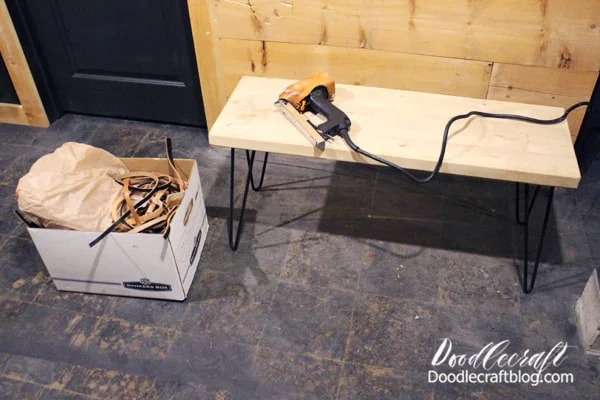
We got an old board from a neighbor when they moved and it was perfect for this bench.
We screwed in the hairpin legs to make it easier to work the bench top.
Step 2: Leather!
Then use strips that are 6-8 inches longer than the bench. Use the DuoFast Staple gun to hold the strips in the wood on the narrow side.
We got this DuoFast Staple Gun 18 years ago when my husband was installing carpet. We love it and use it all the time. My son actually uses it when he's making whips too.
If you don't have a staple gun and aren't ready to invest, you can always get upholstery tacks and use a hammer.
Fit the leather strips together side by side.
Vary the colors and widths for a more random finish...or get all identical sizes and colors for a uniform finish.
Step 3: Weaving!
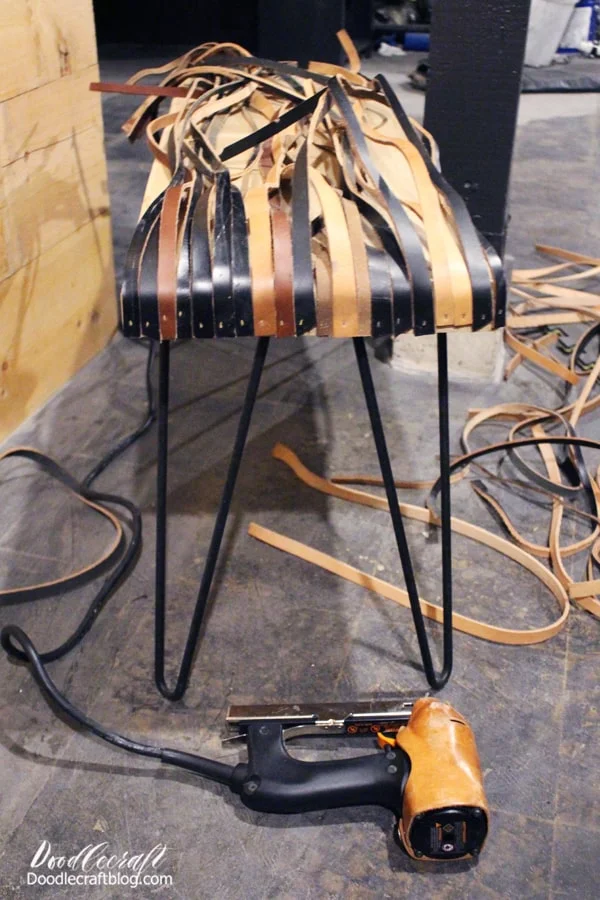
Then move to the front face of the bench. Repeat the tacking in process, but leave a space in between the strips.
Our leather was too thick to weave if they are all tacked side by side.
Then start the fun process of weaving! Over, under, over, under, etc.
Pull the leather firmly and tack the strip on the other side of the bench. Repeat for the next strip.
Pull the leather as tightly to the next as you can, keeping it as straight as possible.
Step 4: Finish!
Once it's all woven, tack the long pieces down on the other end and it's done!
Trim up the leather strips however you like. I love the uneven, different lengths.
I took great care to cut each piece exactly as pictured.
The leather adds just enough cushion to the bench to make it actually quite comfortable!
I love the different colors of leather.
The hairpin legs continue the chic look of the bench and they are so easy to screw into place.
Isn't the woven look wonderfully captivating!?
Some of the pieces are a little wonky, but I love the hand woven effect.
This cute bench is right at the bottom of our stairs and can be seen right as you walk inside our side door.
It gets lots of attention and use!
Weaving is such a fun craft!
Check out this post on our patio to see our upcycled porch swing with a similar woven pattern.


.JPG)


-min.jpg)


Comments