Color Shift Pop Socket with Resin DIY
Make a fun custom POP Socket craft using color shift pigment and Envirotex Lite Pour-On High Gloss Finish. Make your pop socket shine in the sunlight with this simple resin DIY.
This fun craft makes a great handmade gift too! The handmade touch on this pop-socket is the perfect combination of handmade and practical. It's so nice to add a custom touch to personalize something that is going to get lots of use.
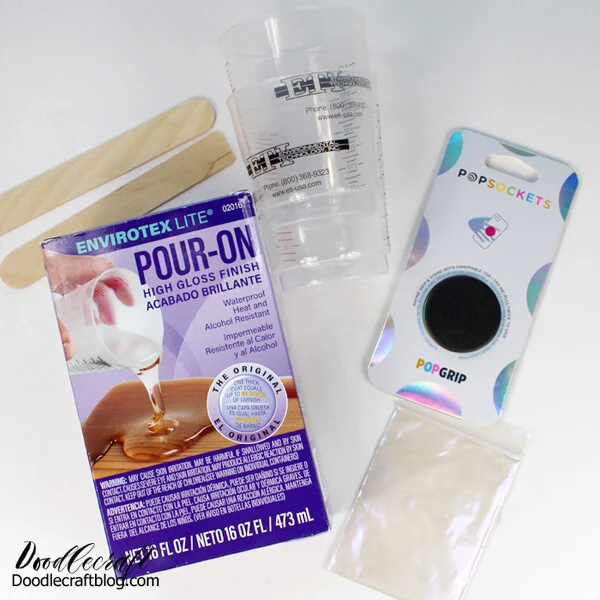
SUPPLIES NEEDED FOR COLOR SHIFT POP SOCKET:
Mixing Cups and Stirring Sticks
This amazing pigment shifts from blue to violet in the light. It’s filled with sparkles and glistens in the sunshine.
STEP 1:
Begin by twisting the top of the pop socket off the base. Place the top on a disposable work surface.
STEP 2:
Mix up a small amount of High Gloss Resin in the 2 phase process. The pop socket just needs a tiny bit of resin.
STEP 3:
After mixing the resin completely, add a small amount of the color shift pigment. Then stir it in to the resin.
STEP 4:
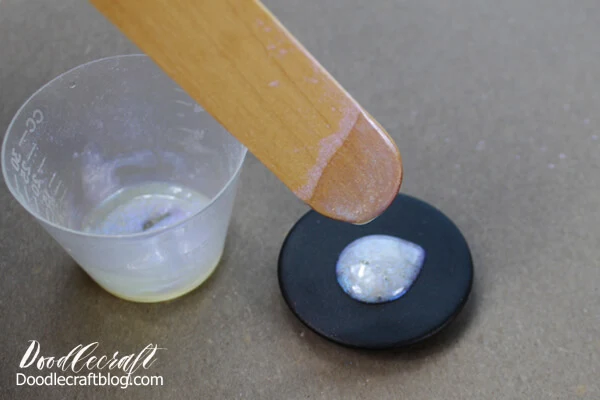
Then pour some of the resin on the top of the pop socket. Pour more right in the center.
Use the stick to spread the resin around the pop socket top carefully so it does not drip off the edge.
After 20 minutes, use a straw and gently blow through it near the resin to pop the bubbles. Then set the pop socket aside to cure overnight.
THAT’S IT!
Enjoy this especially stunning finish as the color sparkles and shifts in the sunlight.
As it shifts from violet to pink…
And from pink to blue.
Then attach the pop socket to your phone case and it’s ready to snap back onto the base and use.
This simple resin project is great for beginners and uses such a small amount of resin–it’s super cost effective. Any left over color shift resin can be painted on a rock to add luxurious shine and finish.
Like, Pin and Share!


-min.jpg)


Comments