How to Make DIY Marbled Christmas Ornaments with Easy Marble!
Deck the halls with this fun DIY project of marbling ornaments to give them the perfect marbled effect.
Update plain plastic "cheap looking" ornaments with Easy Marble in just a few minutes and transform them into stunning DIY marble ornaments.
The best part is that this fun Christmas ornament craft will have you looking around the house thinking of what else you can marble, let's get started!
EasyMarble is so fun and easy to work with.
It's an enamel paint, so it doesn't mix with itself, the colors stay true and vibrant.
It floats on the surface tension of water for the perfect marbling technique on all kinds of items, today I will show you the step-by-step instructions for DIY marble Christmas ornaments.
Marbling can be done on various surfaces...wood, paper, plastic, a clear glass ornament and more.
I love marbling and this is a great craft for all skill levels.
I taught a beginner class of marbling stationery at Pinner's conference a couple years ago and loved it.
Marabu Easy Marble paints are formulated to not blend together, so the color you pour is the color you get...so you'll want a bunch of different colors...or at least to pick the exact colors you want.
I am using white, black, and aqua for these marbled Christmas ornaments so they will match my holiday decor.
The enamel paint is thin and marbles beautifully...it's not the same as using drops of nail polish because polish is so thick and clumpy.
Supplies Needed for Marbling Ornaments:
- Easy Marble in 42 colors (or the Easy Marble Basic pack of 14 colors)
- Shatterproof Plastic Ornaments (it will work on glass ornaments, wood, plain white ornaments, unfinished ceramic ornaments and more)
- Plastic Disposable Cup of Water (or other disposable container)
- Toothpicks
- Disposable Gloves
- Acetone (optional for clean up)
Step 1: Marbling Set Up
Begin by setting up the supplies and the workstation. Wear disposable gloves if you don't want to clean up fingernails with acetone later.
Shake up all the Easy Marble (air bubbles aren't a concern) and open up the bottles of each of the paint colors you are using.
Fill the small paper cup or plastic container almost full of room temperature water, a little water displacement will happen when the ornament is submerged, so don't fill too high.
Hang a string for drying ornaments or have a plate or egg carton ready to set them on, the enamel paint dries fast.
Step 2: Add Easy Marble
Now add one drop at a time of your favorite colors of Easy Marble into the cup of water.
The Easy Marble will spread to fill the entire top of the water, which is why a small container works best, just big enough to dunk your ball ornaments into the marbling.
Then add a drop or two of the next color.
Just one drop is needed, but sometimes another one sneaks out.
A little paint goes a long way.
Then add a little bit of the next color of Easy Marble in the center of the cup, creating a bullseye pattern.
Continue layering the marbling paint this way until about 8-10 drops of Easy Marble have been layered into the cup.
It doesn't take much paint to create DIY ornaments.
The Easy Marble enamel goes a long way, and can be used on a bunch of projects!
Step 3: Swirl the Easy Marble
Now use the toothpick to swirl the Easy Marble around gently to create the marble look.
Typically a few long lines in a star shape or parallel lines work the best across the entire surface of the water to give it a great marble effect.
The Easy Marble will start to dry pretty quickly and although it does not clump up like cheap nail polish, there is a limited amount of time that the marbling is workable.
The first time can be a little bit chaotic, but you will get the hang of it in no time at all and want to marble all the things.
Once satisfied, it's time to dip!
Again from first Easy Marble drip to ornament dipping, it should be less than one minute or so...don't stress, the handmade ornaments always turn out amazing!
Step 4: Dip the Ornament
Get those disposable gloves on now, or it will destroy your manicure.
Now hold onto the top of the ornament with your 2 fingers firmly.
Dip the ornament into the cup and hold it under water.
NOTE: It does not need to be submerged completely or water will get inside of the ornament, just dunk it in an hold it in place.
Then use a toothpick or a popsicle stick to remove any excess Easy Marble that may still be floating on the surface of the water...otherwise it will stick on top of the marbling as you lift the ornament out of the water.
Then remove the ornament and gaze at the marbled surface of the ornament with wonder of the finish!
I love how it looks!
Hold the ornament for a little bit of time and it will dry pretty quick, or hang it up to dry.
Then just set it on the plate and dip another ornament.
It's so much fun to marble ornaments but you can marble so many other things too--it's addicting!
Now drop Easy Marble for the next ornament, then repeat the ornament marbling process for as many as you like, if the water starts to run low, add a small amount of water to the cup.
You can use new colors without the previous colors blending in...the old paint will sort of stick to the edges of the cup.
Happy Making!
Then you'll want to look around your house and find all sorts of other things to marble!
I've done paper stationery, notebooks, calligraphy pens, and many other favorite things!
I love the look of marbling and this is an easy Christmas craft that would make great handmade gifts!
This is a great way to upcycle ornaments or to make them match your Christmas decor too!
Every Christmas season I change up my color scheme and decorations for added variety.
This is a safe place for not sticking with the same traditional ornaments year after year!
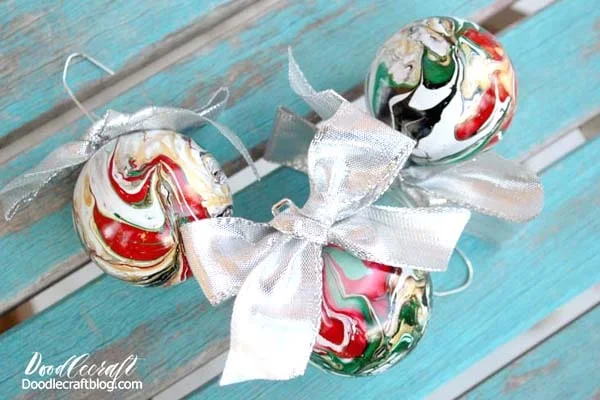
I think they look fabulous on my white and blue Christmas tree--just add an ornament hook and a velvet bow and they'll be fire.
I love the unique look of the swirls of color.
I used teal, black, white and gold Easy Marble.
I had a bunch of extra paint, so it's great for dipping Easter eggs and making homemade Valentines day cards too!
That's it!
DIY Marbled Christmas ornaments with Easy Marble for this holiday season craft time.
This easy DIY is fun and doesn't take much skill to create stunning ornaments.
A couple of ornaments would make a great handmade gift for family, friends and neighbors...or a fun ornament exchange!
Like, Pin and Share!
Check out these other fun ways of using Marabu's Easy Marble!
DIY Marbling Stationery: Classic Black and White
Water Marbling is an awesome marbling technique!
Fill shallow disposable containers with clean water and drop Easy Marble into the water creating the marble effect.
Dip a piece of paper into the container and pull out to reveal the amazing afters!
Nothing is safe!
Remove the light switch covers from your walls and dip them in Easy Marble by Marabu for the perfect effect!
You'll get tons of comments and conversations on your new light plate covers!
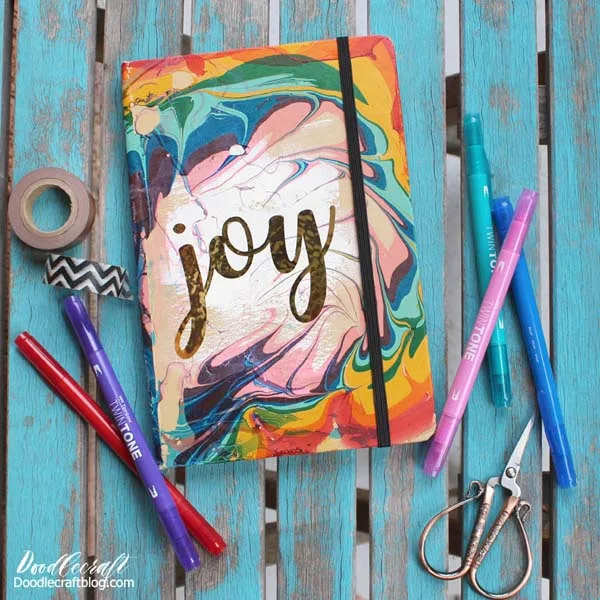
Dip a notebook cover right into a shallow container of water and Easy Marble for the perfect custom notebooks!
Add a little vinyl on top for a fun element!
Colorful Stationery Marbling
Make stunning and matching stationery with marbled elements using Marabu Easy Marble.
It's easy to use and is a fun craft project for any skill level.
EasySculpt Marbled Calligraphy Pens
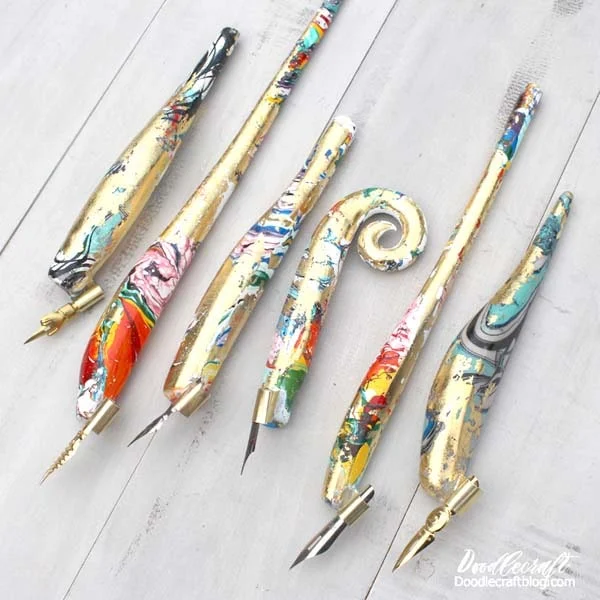
Make a marbled gold leaf resin calligraphy oblique holder.
Make a calligraphy pen that fits your hand, works for a left handed calligrapher, or just to make something flashy to write with.
If you know someone that is interested in Calligraphy or learning calligraphy, this would make a great gift.
Oblique holders are so fun to use because they help with the angle of the nib and plus they look so cool.
HEY Porch Sign
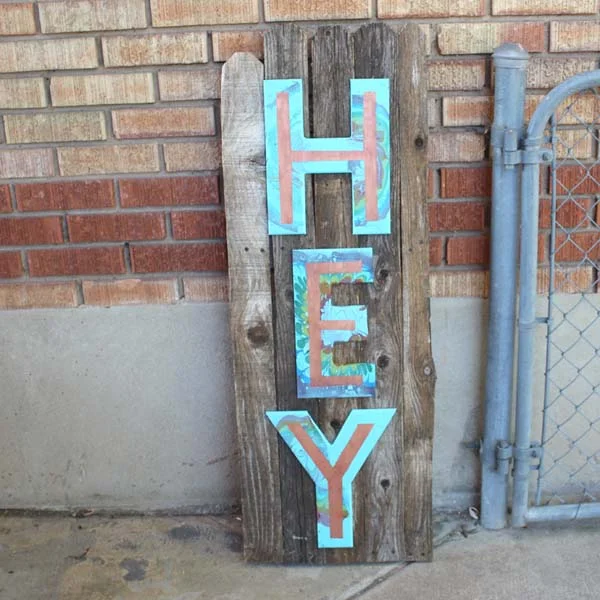
I love a great sign outside the house.
This is made of reclaimed fence boards and 12 inch letters.
All you need is paint and some Easy Marble to make them special.
Marbled Easter Painted Eggs
Marbling is my favorite past time--it is so fun and addictive.
Have you marbled anything yet?
I love marbling. It is very simple and easy to do.
It will make you start to look around to see what you can dip in the marbling.
Marbled Copper Edged Coasters
Make colorful marbled coasters and add a copper edge for the perfect finishing touch!
Marbled Ornaments
Dip plastic ornaments in EasyMarble and make stunning ornaments that look super chic!
These make great gifts or a fun upgrade to your holiday decor!
Paint Pouring for Beginners!
If you are a beginner, get pre-mixed paints...then you don't have to mess with flotrol or marbling medium, acrylic paint and making each cup of paint the consistency of warm honey!
Start with something easy--like pouring on rocks, small wood slices or a canvas.
Then let your skill take off with more complicated projects, pouring medium or the additional cost of resin.
The learning curve is not steep...one paint pour or marbling project and you'll be a pro.
Then you can prime your dresser drawers or coffee table with white paint and do big paint pouring projects and furniture upcycling--like a faux marble table.
It's so much fun--just get started!


-min-min.JPG)





-min.jpg)


Comments