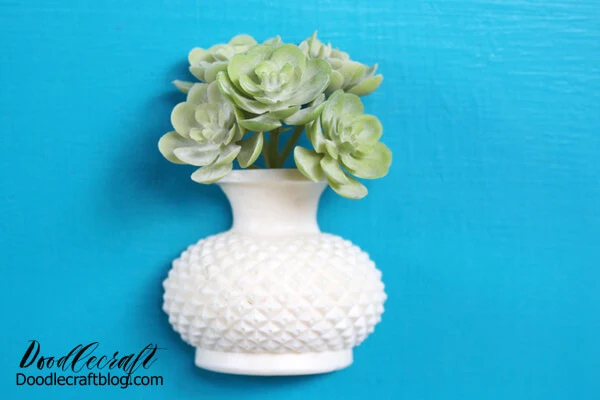
Succulent Vase Magnet using FastCast Resin
Make a cute succulent vase magnet with FastCast resin, a little faux succulent and a disc magnet, perfect for a fridge or locker ornament. I love filling my fridge with wedding invitations, cards, kids artwork and more…most days my fridge looks completely cluttered.
I love this little plant on my fridge though, it adds a little bit of Springtime in my kitchen, without the stress of watering plants.
SUPPLIES NEEDED FOR THIS SUCCULENT VASE MAGNET:
Half Vase Silicone Mold (here's one that's similar)
Stirring Sticks, Mixing Cups, Disposable Gloves and Worksurface
Drill and Bit
Magnet
E6000 Glue
STEP 1 RESIN CASTING VASE:
Begin by reading the instructions for the FastCast resin very carefully. The FastCast resin sets so quickly that everything needs to be set up and ready to use. Then mix one part of resin and one part hardener in a mixing cup.
It’s important to be as precise as possible for the best possible outcome. Stir for 1 full minute. Then pour the resin into a separate cup and use a new stick to stir the resin for 30 more seconds. Then pour the resin into the mold.
STEP 2 FOR RESIN CURING:
Next let the resin set for 15 minutes until it has hardened. The resin will begin clear and then turn a milky white as it sets and cures.
STEP 3 FOR RESIN SUCCULENT VASE:
Use a drill to pilot a hole through the top of the vase to hold the succulent.
Drill just a small enough hole for the stem of the succulent pick to fit into.
Then insert the succulent into the hole in the vase. Next use the E6000 glue to adhere the magnet to the backside of the resin vase.
Let the glue dry for at least 4 hours before using. Then it’s ready to hang on the fridge, put in the locker or on a filing cabinet.
This cute succulent adds a little bit of greenery and life to office decor or the kitchen during a gloomy Winter.
Adorable right!? It's a fun little piece of Springtime to hang on the fridge, locker or in the office. No watering or care needed!
That's it!
Like, Pin and Share!


-min.jpg)


Comments