Halloween Mugs with the Cricut Mug Press
Halloween is just a month away! I love the shift of seasons...from the heat of Summer to the bundling up, cool breezes and falling leaves of Autumn. I love the smell in the air--it just smells like Halloween!
Incidentally, I love mugs too, so Halloween mugs were the perfect addition to the hot chocolate bar. Let me show you how easy it is to make mugs using Cricut Infusible Ink Transfers and the Cricut Mug Press. I received these products from Cricut in exchange for this post.
Mugs are the perfect handmade gift too! If you are considering handmade gifts for the holidays, this one is a show stopper! These mugs are DISHWASHER AND MICROWAVE SAFE!!! Boom, the gift that keeps on giving.
The initial investment is the Cricut Mug Press...but it is amazing. I have done mugs in the oven for a year, but this tool makes things so nice and saves a ton of time.
or
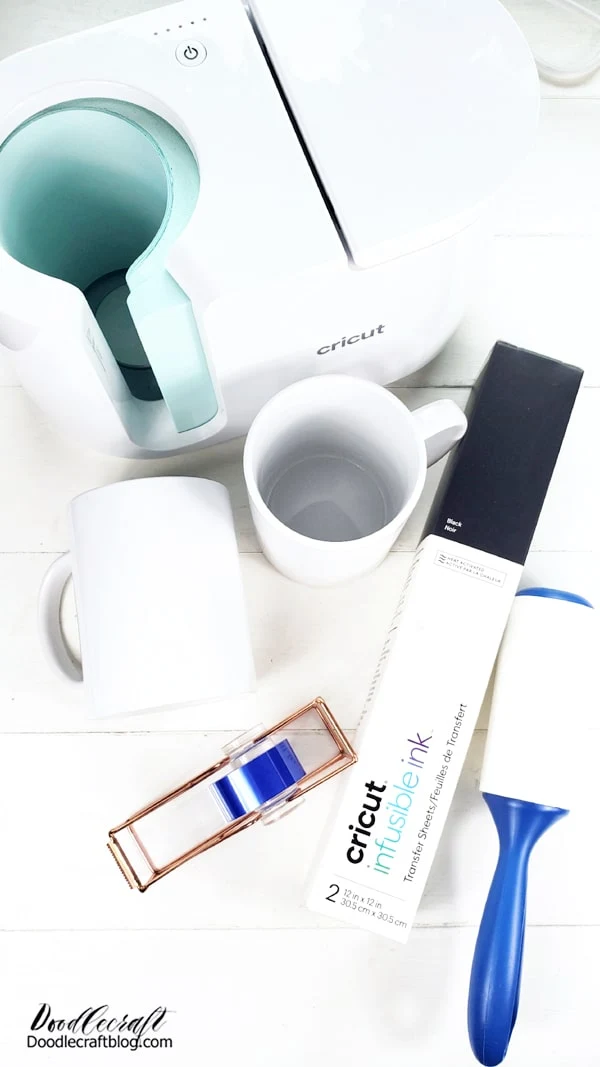
Supplies Needed for Halloween Mugs:
Cricut Maker (or equivalent machine)
Lint Roller
The Cricut Mug Press is easy to use! Here's a full tutorial on getting started with the Mug Press.
Step 1: Cut Infusible Ink
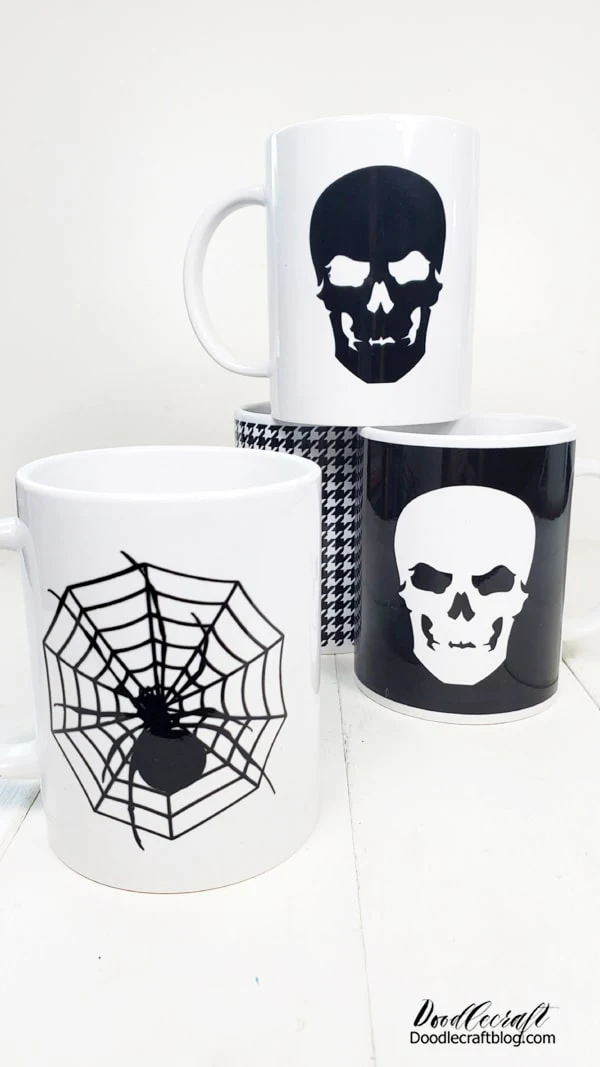
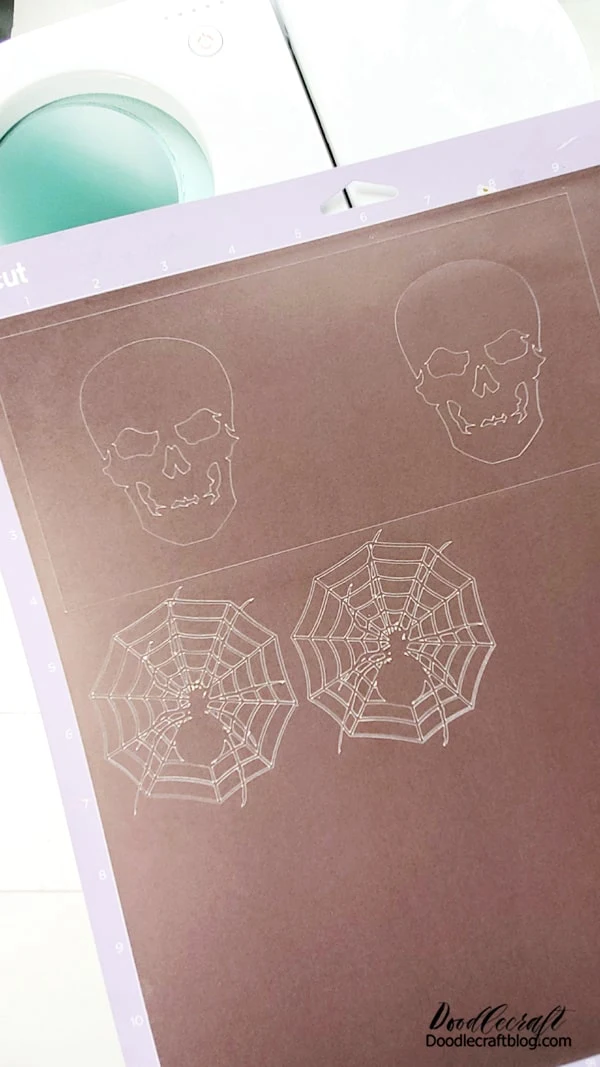
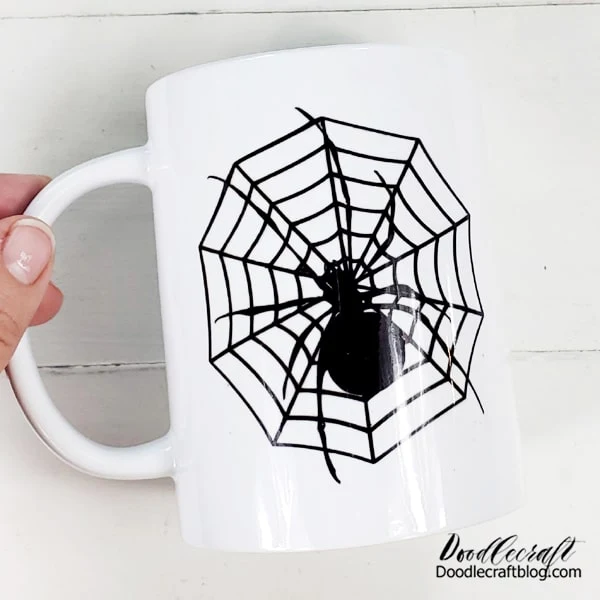
Begin by selecting a design from Cricut Design Space. I picked a skull and a spider in a web. I love that the skull released the shape that I could use on a second mug.
Design the canvas by selecting the square shape, place one on the canvas, then unclick the lock icon so you can change the measurements separate of each other. Make the width 8.75 inches and the height 4 inches.
Then add the skull image on both sides of the rectangle, slice the images together and boom, ready to cut!
Mirror the image. Place the infusible ink on the strong grip mat and use the brayer to roll it in place. touch it as little as possible.
Then select the material and cut it out.
Step 2: Weed the Infusible Ink
Using dry hands, carefully peel the excess Infusible ink away from the backing. Touch the ink side of the transfer as LITTLE as possible or ink will rub away. Peel it like a sticker.
Lift off the positive shapes carefully and you can use them as a second mug!
Step 3: Attach to Mug
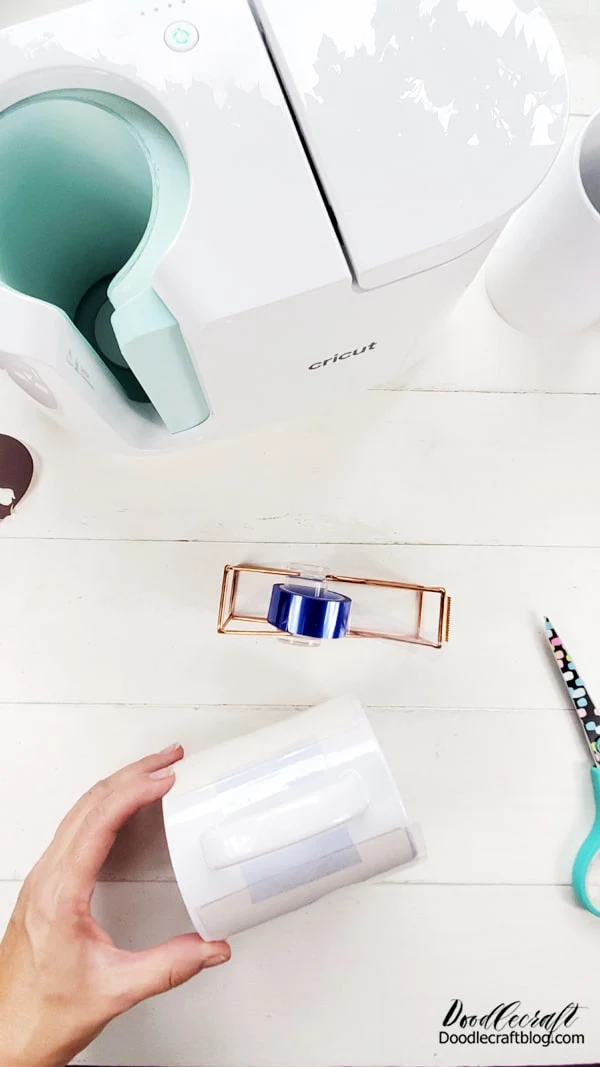
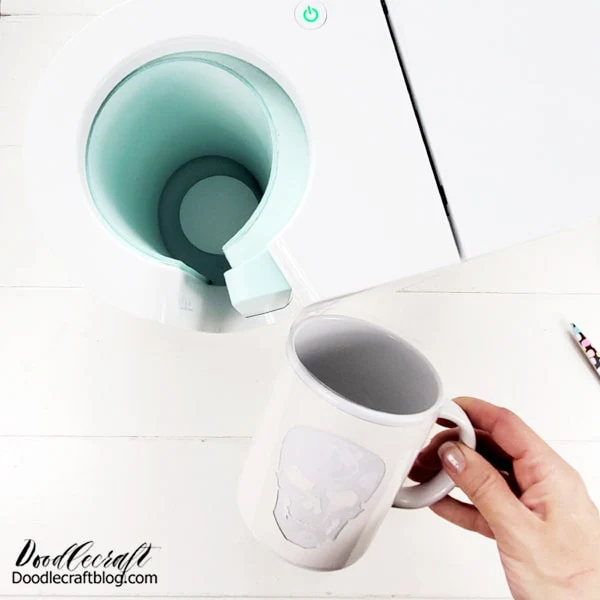
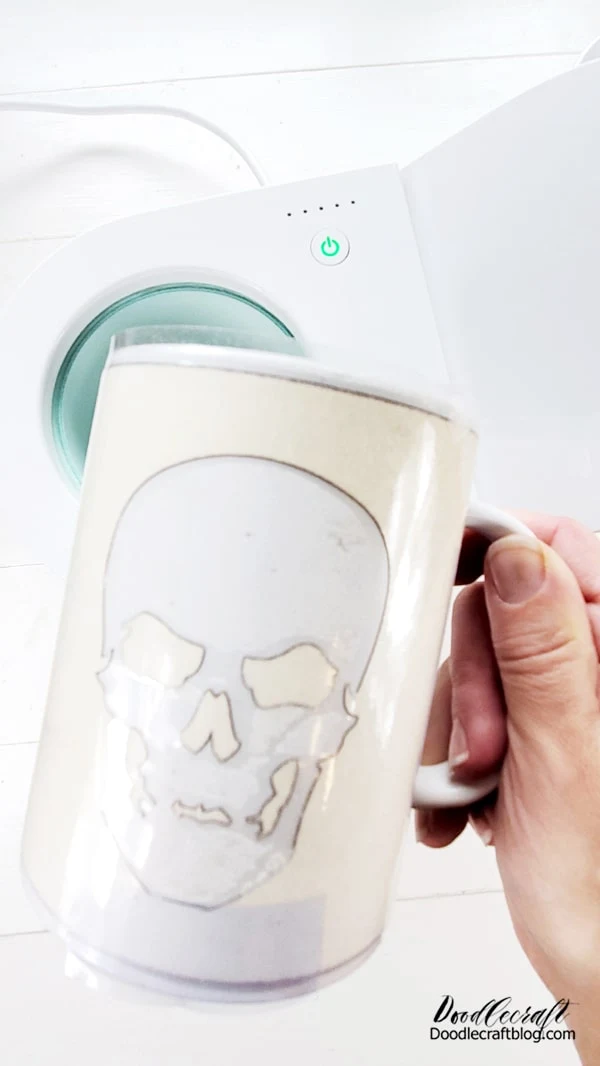
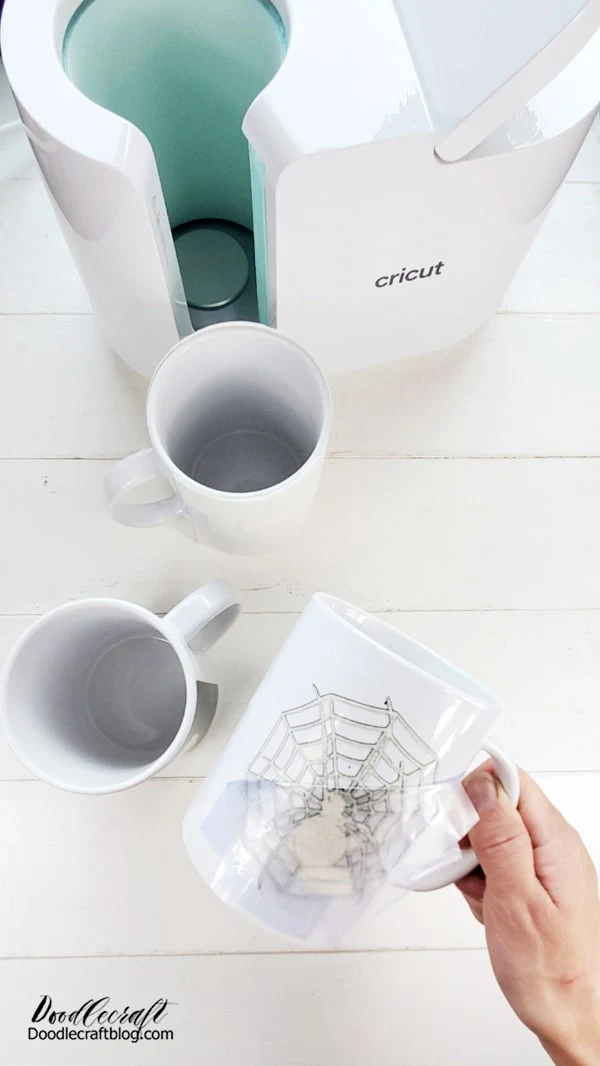
Now use the lint roller to remove any dust or micro debris from the mug. Wrap the infusible ink transfer around the mug and adhere in place with the heat tape.
**HELPFUL HINT**
A tape dispenser is super nice to have for your heat tape!
Step 4: Heat Mug Press
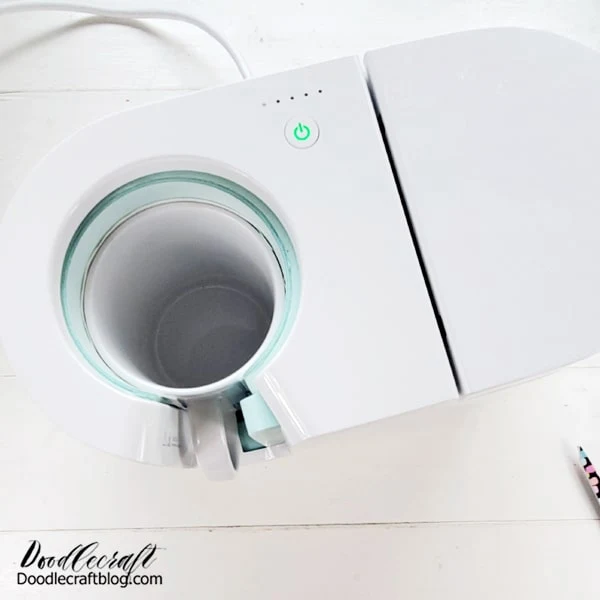
Plug in the Cricut Mug Press, if this is your first time ever, it will need to be connected to a computer and updated before beginning. After that, just plug it in and let it warm up. The light will turn green when it is ready for pressing.
Step 5: Press the Mug
Then lift the top flap and insert the mug into the opening. Then press down the flap and let it sit. The Mug Press will go through the series of 5 little lights at the top, it takes about 5 minutes to complete. Then it will beep.
Release the mug and carefully remove it by the handle...the rest of it is SUPER HOT!
Then the hard part---letting the mug cool down completely.
After the mug is back to room temperature, remove the heat tape and transfer. Watch the magic reveal itself!
Work on the other mugs while you are waiting for it to cool down, that helps.
Ta-da! Isn't this amazing! The Infusible Ink becomes bright, vivid and full of life! It is infused into the ceramic and cannot wash, peel or come off.
Perfect handmade gift for teachers, neighbors, friends and families! I love giving matching mugs as wedding gifts!
The best part is the time it takes. If you are quick in deciding your image, it can take just about 10 minutes or less to knock out a couple of mugs.
Make matching mugs for every holiday, make them for pencil holders, make-up brush holders or seasonal decor!
That's it! Any questions? Feel free to ask me anything Cricut related at maildoodlecraft @ gmail.com.







-min.jpg)


Comments