Rustic Wood Slice Pumpkin DIY
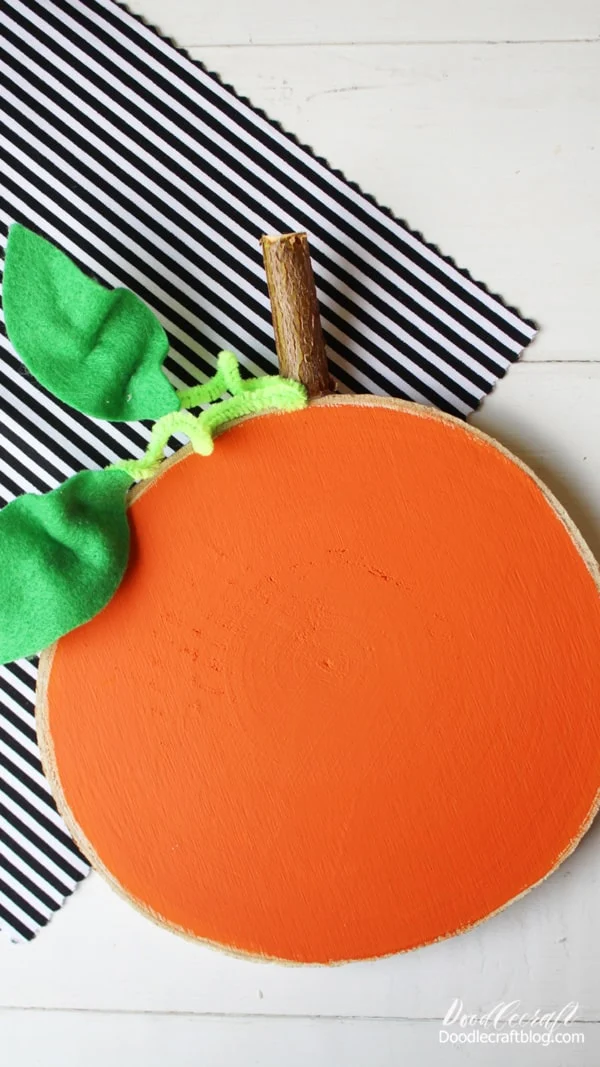
Pumpkins are the perfect symbol of Autumn. This rustic wood slice pumpkin is the perfect Fall craft DIY and just takes 5 minutes to complete!
This cute pumpkin can sit on the mantle with Autumn decor. Attach it to a wreath for the perfect front door decor. If you want to make it perfect for Halloween, get some black paint and give it a Jack-o-lantern face.
Supplies Needed for Wood Slice Pumpkin:
- Wood Slice
- Orange Craft Paint
- Tree Branch
- Paintbrush
- Green Felt
- Green Pipe Cleaner
- Hot Glue/Gun
- Scissors
Wood Slice Pumpkin Step 1: Paint
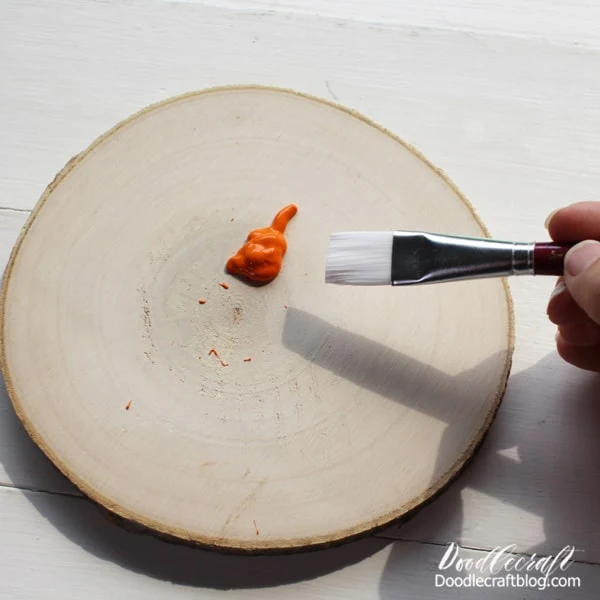
Begin by painting the top of the wood slice with orange craft paint. Then let the paint dry completely.
Add another coat of paint or let the wood grain show through slightly.
The paint doesn't take too long to dry, but doesn't count in the 5 minute craft time either. Just go do a load of dishes, paint your nails or watch an episode of your favorite show. Then come back to a dry pumpkin.
Step 2: Stem
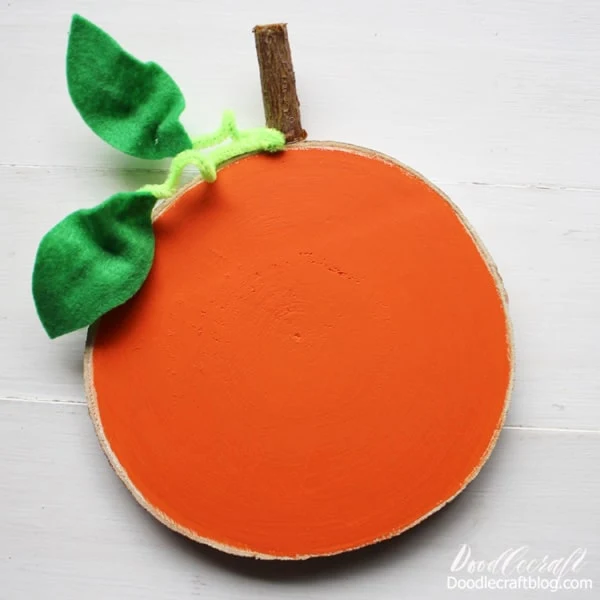
Now trim a small branch to make the perfect stem. Hot glue the stem to the top of the wood slice pumpkin.
If you don't want to use a branch, roll up some brown felt and make a stem.
Step 3: Leaves
Now cut some leaves out of green felt. These leaves are not really pumpkin leaf shapes, but they are just so cute.
Fold the pipe cleaner in half. Then hot glue the pipe cleaner ends to the felt leaves.
Repeat the hot gluing process for both leaves.
Step 4: Twist
Twist the pipe cleaner and crinkle the leaves up for a little visual detail.
That's it!
Now it's ready to stick on the mantle, attach to a wreath or paint a jack-o-lantern face on it. Perfect for all Autumn long!
Take it a step further by repeating the process on the backside of the wood slice and have a face on one side for Halloween and a bright orange pumpkin for Autumn.


-min.jpg)


Comments