How to Make Sublimation Ceramic Ornaments!
Learn how to make custom sublimation ceramic ornaments for the perfect Christmas tree addition, handmade gift or heirloom keepsake.
I love ornaments. There can never be too many! I love turning art, treasures and childhood trinkets into ornaments. Today I am showing how to turn custom art into high quality ceramic ornaments, easily!
These can be used for decorating the tree, of course, but also work great for gift toppers, drink charms, teacher or neighbor gifts, custom merchandise or heirlooms for grandparents, parents and children.
My 18 year old daughter is Kazoo Does Art! She is a youtube animator and has over 140K subscribers. She has been drawing custom avatars as commision pieces. I asked her to make one of me! It's so cute!
(she does commissions if you are interested!) DM her on Twitter
I used her art, my avatar--the hibiscus flower, her avatar--the thumbs up and the Giga Chad avatar she made for her brother, Renegade Mango and turned them into high quality ceramic ornaments, so we can always remember this time of life.
I made sublimation mugs last year for Christmas, and they are a great way to showcase children art too!
Supplies Needed for Sublimation Ceramic Ornaments:
- Ceramic Ornament Sublimation Blanks
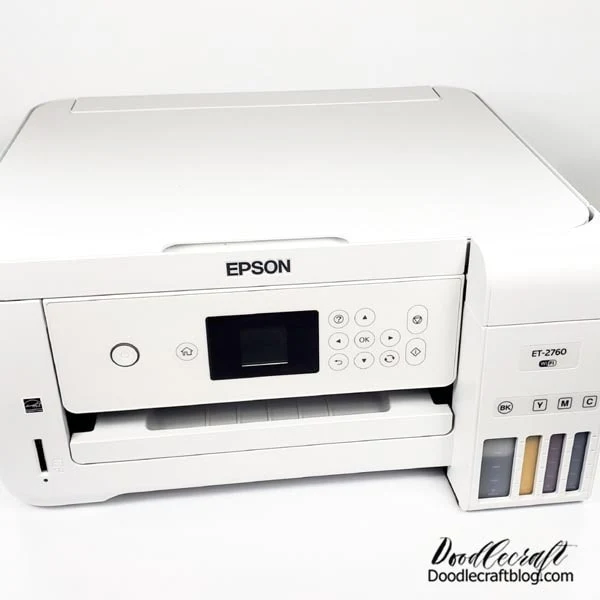
- Sublimation Printer
- Hiipoo Sublimation Ink for EcoTank
- Sublimation Paper
- Cricut EasyPress
- Cricut EasyPress Mat
- Butcher Paper
- Scissors
- Lint Roller or Tape
- Cricut Heat Tape
Step 1: Sublimation Print
Begin by printing out the images you love on sublimation paper using a sublimation printer. Make sure to reverse the images before printing, as the mirrored image is how they will appear when done.
The print turns out super dull, no worries, heating them will make them vivid.
Size the images at 2.7 inches diameter to fit the 2.75 inch ornaments. I use photoshop, but this could also be done in Cricut Design Space if the image is uploaded as a 'Print and Cut' file.
Step 2: Cut and Roll
Next, cut out the sublimation print. Be careful not to touch the ink with your fingers. the circle does not need to be precise, as the ink is the important part.
Then use the lint roller and roll the ceramic ornament to remove any lint.
Step 3: Heat Tape
Now use the heat resistant tape and tape the ornament to the paper. It's easiest to place the paper down on the surface and place the ornament on top of the paper...then tape it in place.
Then turn it over and place it on the Cricut EasyPress Mat.
Step 4: Paper!
Place the butcher paper on top of the ornament, with the paper up, and then heat up the EasyPress 2 to 400 degrees.
Step 5: Heat Press Time!
Now it's time to press the ornament.
Ceramic mugs in the Cricut Mug Press takes like 5 minutes, so these ornaments need 4 full minutes.
Begin by pressing the ornament firmly on the mat for 2 full minutes.
Then press them another full 2 minutes on a flat surface table without the give of the mat. If they don't get enough heat time, they won't be vibrant. If they don't get even pressure, the image won't appear evenly.
Press firmly, but don't "stand" on the press.
Step 6: Cool Down
Now let the ceramic ornaments cool down completely.
Then remove the heat tape and reveal your stunning custom handmade ornaments!
The glorious reveal is so much fun!
I love how these custom ornaments turned out!
Then tie the gold string (included with the ceramic ornaments) onto the ornaments. They are ready to hang on the Christmas tree, add to a wrapped present as a gift topper, or gift to grandma and grandpa as the perfect heirloom!
I love these custom drawn avatars of us!
I just need to get the other 2 of us drawn in her cute style.
I love custom gifts. I love handmade gifts.
I think that handmade gifts have much more thought put into them, they take much more time than just clicking a button. They are the highlight of my holiday season.
Give handmade.
Make sublimation ceramic ornaments for your holiday this year!
That's it!
Which one of these avatar pictures is your favorite?

-min.jpg)
-min.jpg)
-min.jpg)
-min.jpg)
-min.jpg)
-min.jpg)
-min.jpg)
-min.jpg)
-min.jpg)
-min.jpg)
-min.jpg)
-min.jpg)
-min.jpg)
-min.jpg)


-min.jpg)


-min.jpg)


Comments