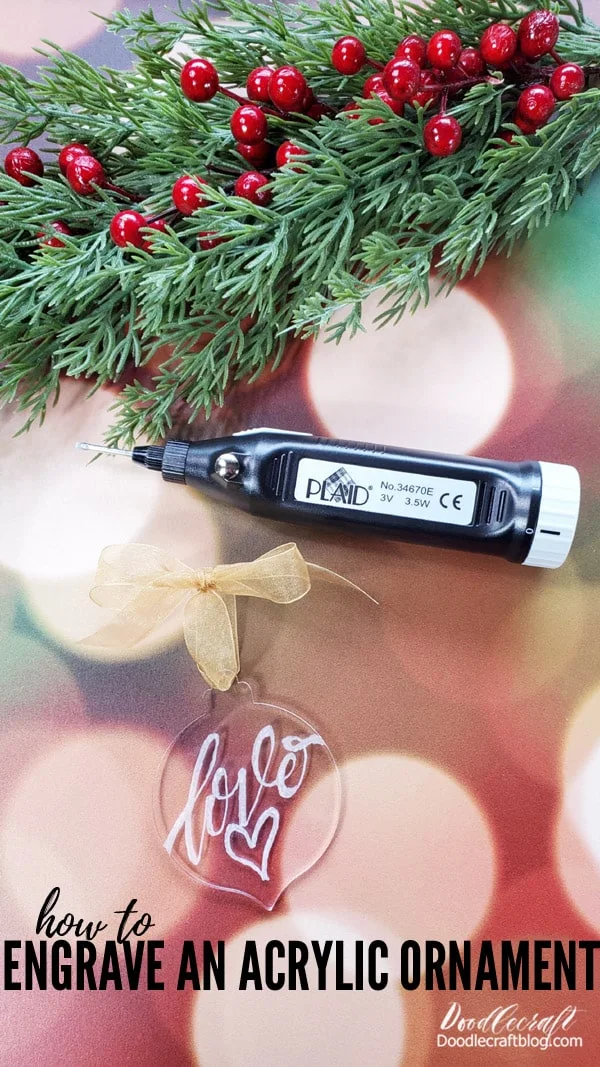
How to Engrave an Acrylic Ornament!
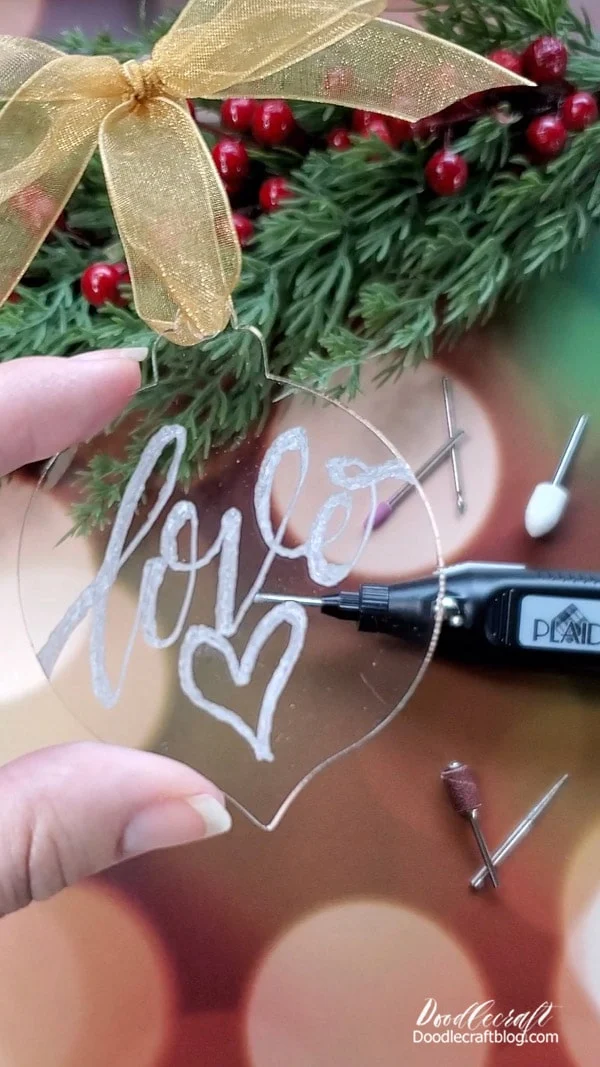
Let me show you how to hand engrave an acrylic ornament with no expensive and big machinery needed.
Add custom lettering, dates, and art to metal, stone, plastic, glass and wood!
Make a custom engraved acrylic ornament for everyone on your list--makes a really great gift tag too!
Let's talk about these clear acrylic ornaments:
My xTool S1 laser cutter (diode laser) is awesome and can cut some colors of acrylic, but not clear.
I found a supplier of acrylic blanks that made this craft so much easier.
Soto Laser Cutting is the best source for bulk acrylic shapes, cut outs, keychains and more.
They'll cut any color of acrylic, any size and they have tons of popular shapes.
They also do custom engraving and printing, so you can get all the custom work done without the work.
I'm using the Night Ornament in clear, 2 inch width. (They do glitter ornaments too!)
These are available in bulk orders of 25+ so they are perfect for company, church, school, neighbor and friend gifts.
Soto Laser Cutting sent me these ornaments in exchange for this post, affiliate links included.
~
Note: In the past I have engrave acrylic with my Cricut Maker, but this acrylic is too thick for the Cricut Machine to engrave...so a hand engraver rotary tool is the way to go!
Now, let's chat about the Plaid Engraver Tool!
With my discount code, it's less than thirty bucks!
This is the first time I've ever used an engraver and I really like it.
It's a rotary tool, so it spins the bit fast enough to cut into the surface.
Because of this, it's a little wobbly, so expect some bumpy lines.
As you practice, you'll get steadier and make smoother engravings.
Plaid Engraver Tool
If you purchase one at PLAID ONLINE, use my code: DOODLECRAFT15 for 15% off!
Supplies Needed for Engraving Clear Acrylic Ornament:
- Plaid Engraver Tool
- Night Ornament in clear
- Paper
- Pencil
- Ribbon
- Painter Tape or Washi Tape
Step 1: Draw
Begin by tracing the acrylic ornament shape on paper.
Then draw your design on the paper to use as a template.
Start with something simple so you can practice getting the hang of it.
Step 2: Tape
Next, place the acrylic ornament on top of the paper template and use painters tape to hold it in place.
This will prevent it from shifting around while engraving on it.
Step 3: Engrave
I picked the round tip bit for engraving.
There's a conical shaped bit and a straight, fine tip included too, that I haven't tried yet but will soon!
Insert the bit into the engraver by pressing in the button at the top and untwisting the tip of the engraver to open it.
Then slip the bit in and twist it tight closed.
Press the side button with your pointer finger while you are engraving to activate the bit.
Then gently write with it on the acrylic.
You will feel that downstrokes can be quite bumpy, so go slow, but going too slow can cause deeper grooves in the acrylic.
So this absolutely takes some practice.
It's really fun to engrave too!
Just follow the drawn template as best as you can, but go with the flow if you make a little mistake or two.
Step 4: Clean
After you are done with the engraving, remove the tape and clean off the acrylic ornament.
You can use more painters tape to remove the dust or a lint roller works great too.
Step 5: Ribbon
Finish off the engraved acrylic ornament with a gold ribbon and a bow!
Add whatever type, color and thickness of ribbon you desire.
These engraved ornaments would make a great gift tag for the top of a gift too.
You could add some paint to the back of the acrylic ornament for extra depth if desired as well.
There are a lot of options having a handy little engraver tool nearby.
I can't wait to try it on other surfaces too!
That's it!
How to engrave an acrylic ornament without expensive machinery and fancy programs!
I love that I can make a super chic keepsake with my handwriting on it.
Have you tried using a rotary engraving tool before?
What do you think--do you need this in your life too!?

-min.jpg)
-min.jpg)

-min.jpg)
-min.jpg)
-min.jpg)
-min.jpg)
-min.jpg)
-min.jpg)
-min.jpg)
-min.jpg)
-min.jpg)
-min.jpg)


-min.jpg)


Comments