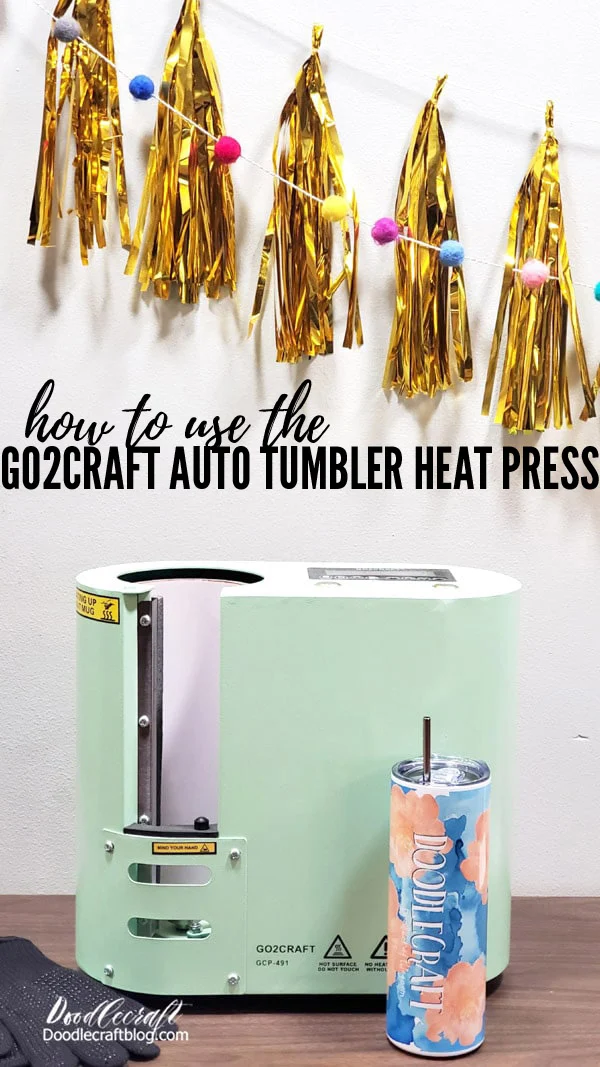
Go2Craft Auto Tumbler Heat Press Tutorial
Go2Craft just released a new auto seamless tumbler heat press that has a vertical orientation!
It's a cool design with added features that make pressing a tumbler so simple.
Let me show you everything you need to know about the Go2Craft Auto Tumbler Heat Press!
I've had the opportunity to review quite a few Tumbler Heat Presses this past year.
I love having so many options and can't wait to show you all about this one.
I'm making Doodlecraft merch for myself using my new Go2Craft Auto Tumbler Heat Press.
The Tumbler Heat Press was sold out right before the holidays, but is back in stock--and has a $50 coupon to clip right now too!
Check it out, not sure how long the coupon will last!
Features:
- Vertical Orientation
- Automatically rotates 180* for second heat
- Heats up to 400*F
- 12-30 oz Tumblers
- Ceramic Mugs
- Glass Cans
Must place a tumbler in the heat press during the warm up time.
I'm planning on picking up a used tumbler from the local Elementary school lost and found for this part.
For now I just used a spare tumbler.
Supplies Needed for Sublimation Tumbler:
- Sublimation Tumbler Wraps
- 20 ounce Sublimation Skinny Tumblers (bigger tumblers won't fit this wrap)
- Sublimation Printer (set up with sublimation ink)
- Go2Craft Auto Seamless Tumbler Heat Press Machine
- Sublimation Paper
- Heat Resistant Tape
- Tape Dispenser (optional but totally worth it!)
- Lint Roller
- Paper Cutter
One clearly says Doodlecraft and the other one is just the watercolor wash and peonies.
Step 1: Print
Begin by printing the Doodlecraft merch wrap on sublimation paper.
Print the design in reverse (or mirrored) so it prints in the correct orientation.
Step 2: Wrap Tumbler
Next, wrap the sublimation paper around the tumbler so the ink is touching the tumbler.
Use the heat resistant tape to hold the paper in place.
Step 3: Heat Press
Place a "dummy" tumbler in the Go2Craft Auto Seamless Tumbler Heat Press Machine.
Plug in the heat press and flip the switch on.
Then simply click the "tumbler" button and press start to let the machine heat up.
Once it gets to the correction temperature, remove the dummy tumbler with gloves on and place the sublimation tumbler inside the machine.
Press start.
The press will close, heat to the the set time and then rotate the tumbler.
It is supposed to rotate 180* and then re-press...mine didn't rotate quite that well, so I just rotated it by hand.
Step 4: Finish!
Let the tumbler cool down so you can touch it without gloves and then remove the heat resistant tape and sublimation paper for the big reveal!
I love seeing my branding come alive on my tumbler!
That's it!
Check out the Go2Craft Auto Seamless Tumbler Heat Press Machine and decide if it is the right tumbler press for you!
If you haven't, join the Go2Craft Official Community Facebook Group for more details, interactions and tutorials!
Like, Pin and Save!
-min.jpg)

-min.jpg)
-min.jpg)
-min.jpg)
-min.jpg)
-min.jpg)
-min.jpg)
-min.jpg)
-min.jpg)
-min.jpg)


-min.jpg)


Comments