
-min.JPG)
How to Make Glitter Resin Pen Holder DIY with Cup Turner!
Make a great statement piece for your desk, counter, or home decor with this ombre glitter resin pen holders DIY.
This glitter pen holder is beautiful and easy to make!
Learn how to make a gorgeous Resin Glitter Tumbler pencil holder with ETI Envirotex Lite and sparkly glitter--here's the full details!
-min.JPG "How to Make Glitter Resin Pen Holder DIY with Cup Turner! Make a great statement piece for your desk, counter, or home decor with this ombre glitter resin pen holders DIY. This glitter pen holder is beautiful and easy to make! Learn how to make a gorgeous Resin Glitter Tumbler pencil holder with ETI Envirotex Lite and sparkly glitter--here's the full details!")
It’s very simple to apply resin to a flat surface. Don’t be scared away by the shape of this project, once you try it, you’ll be hooked!
This resin glitter tumbler craft is so much fun and can be used in many other applications and new products.
This technique is great for embellished drink tumblers, water bottles, pencil cup, vases, planter pots, cosmetic products storage, a dry makeup brush cleaner container, resin decor and more! Plus the resin is food grade resin when mixed and cured properly!
Be sure to wear gloves, work in a ventilated area and work in a well ventilated area or wear a respirator mask when working with resin.
-min.JPG)
SUPPLIES NEEDED FOR GLITTER TUMBLER:
- Envirotex Lite Pour-On High Gloss Finish
- Plastic Tumbler (mine is from the dollar store--I think it's a cup holder trash can for a car)
- Acrylic Multi-Surface Craft Paint and Paintbrush
- Various Colorful Glitter
- Mixing Cups and Stirring Sticks
- Disposable Gloves
- Cup Turner
- Mod Podge
-min.JPG)
STEP 1: PAINTING TUMBLER!
Begin by painting the plastic tumbler the acrylic paint color of your choice...pick a multi surface paint so it adheres to the the plastic cup.
Just a light layer of paint is all that is needed.
Let it dry completely. just a half hour or so was plenty of time for my cup to dry.
Pick different colors based on your style, but most of the color will be covered with glitter.
-min.JPG)
STEP 2: GLITTER TIME!
Pour out some Mod Podge on a paper plate or palette and then dump a bunch of glitter into it.
You can never have too much glitter--contained in Mod Podge that is!
-min.JPG)
Glitter comes in shaker tubes of every color and size.
I love combining a variety of colors of glitter as well as a variety of sizes.
Fine dust particles of glitter as well as thick, chunky glitter makes the perfect coated tumbler.
For now, just mix in the fine glitter in the Mod Podge and mix it around thoroughly.
-min.JPG)
Mix it together and then paint the glitter all over the tumbler.
Then let the glittery adhesive dry completely, don't worry about small air bubbles in the mod podge.
-min.JPG)
Let the glitter and Mod Podge dry, it does not take long, about 30 minutes or so.
-min.JPG)
STEP 3: OMBRE GLITTER EFFECT!
After the glitter has dried, add more of the Ultra Seal on the mug and sprinkle additional colors of glitter on it.
Do one stripe at a time for an ombre effect.
I'm using blue and aqua for mine...but you can make a beautiful purple glitter pencil holder...or any color of your choosing.
-min.JPG)
Paint mod podge on the end of the cup and sprinkle a brighter shade of glitter over the top.
The quick view shows a bright stripe on the edge and it looks amazing!
-min.JPG)
Then paint the modpodge in the next section and sprinkle a lighter shade of glitter on that.
The small bits of powder glitter--of course get everywhere--and adhere exactly where they are supposed to!
-min.JPG)
STEP 4: CUP TURNING!
Now set up the cup turner.
A cup turner just gently rotates so that the resin will slowly cure evenly all over the cylindrical object.
It absolutely worth it.
The first tumbler I did I hand turned...not as even as I was hoping...but the electric cup turner does perfectly.
With a touch of a button the cup will spin around slowly and allow the resin to cure all around the cylinder shape.
The turner has a foam end so the cup can fit snuggly on it while it spins. (you can cover the foam with a plastic bag, wrapped tightly for easily cleaning later)
Place the cup turner on some thick cardboard because some resin will drip.
Get the cup in place and then mix up the resin.
-min.JPG)
Now mix up the Envirotex Lite High Gloss Resin according to the package directions in the 2 phase mixing process.
Wear gloves and work in well ventilated area.
For a Resin Glitter Tumbler this size, only 1 ounce of Envirotex Lite is needed.
After mixing completely, add some chunky glitter right into the resin mixture.
The use of mica powder and custom polyester glitters are also encouraged!
Do not use UV resin for coating the cup, but UV resin could be used for attaching charms or things after the high gloss resin cures.
(use resin close to its purchase date to ensure integrity compliance)
-min.JPG)
STEP 5: RESIN POURING!
Start the cup turner spinning then pour a little resin right on the tumbler.
Use your gloved hand to smooth the resin all over the tumbler, including the underside of some items, like this cup...you don't need to cover the base of tumblers.
Add more resin a little at a time until the entire tumbler looks coated.
In normal or such conditions, the resin just needs to turn for 6-8 hours or so to mostly harden...I just let mine run over night and check it in the morning.
-min.JPG)
Let the cup turner spin for 24 hours before stopping it. (My spinner will spin in the reverse direction if I click the button off and then back on, so I alternated every hour for the first 6 hours).
If you don't have a cup turner you can find them on amazon or at a retail store (like Hobby Lobby or Michaels)
-min.JPG)
After a full 24 hours of curing, turn off the cup spinner and remove the tumbler.
I love the thick glossy resin condition new with lots of shiny glitter!
The glitter returns view is spectacular and iridescent during peak periods of daylight!
-min.JPG)
The original state of this tumbler cup was so boring and now, it's sparkly and fancy!
I love having a catch all container for my markers and pens on my desk.
If I don't have the perfect item location for pens, they end up everywhere...so this glitter resin pen holder is perfect!
-min.JPG)
This resin pen holder is a great seller that takes less than 3-5 business days to make!
Really though, it's much cuter on my desk and makes a great back-to-school craft or gift!
-min.JPG)
THAT’S IT!
Now the Resin Glitter Tumbler is ready to fill with favorite art supplies and adorn your desk!
Resin and Glitter are a match made in heaven--no messy glitter falling off your pen holder--it's contained in the resin forever.
It sparkles and shines!
Make custom waterbottles as handmade gifts, add glitter and resin to a planter pot for a perfect Spring bloom.
So many fun ways to use Envirotex Lite Pour on High gloss finish!
Like, Pin and Save!
Here's some other fun resin projects you might love:

Emerald and Gold Leaf Knobs
Emerald green resin with gold leaf suspended inside and made into dresser knobs.

DVD Mosaic Tray
DVD mosaic serving tray with high gloss resin for smooth and glossy finish.

Resin Autumn Leaf Pendant Tutorial
Resin Autumn Leaf Pendant Tutorial
Autumn leaves are perfect for natural jewelry.
Go on a nature walk and collect some real fall leaves to make this great fall decor item!
-min.JPG)

Rainbow Acrylic Paint Pour
Rainbow acrylic paint pour coated in high gloss resin for a beautiful glossy shine!

Beetles Paperweights
Beetles or bugs in clear resin for paperweights or pendants--great way to preserve insects for specimens or fun!

Acrylic Paint Pour
Acrylic paint dirty pour technique round serving cheese tray coated in high gloss resin for long lasting finish.

Marbled Resin Wood Slice Table
How to make a wood slice hair pin leg table with a split cup or marbled resin flo paint pour.
-min.JPG "How to make a wood slice hair pin leg table with marbled resin flo paint pour.")
Resin Cameo Brooches
Cameo Brooches made with Fast Cast resin and high gloss resin with geek inspired pictures.

Glitter Light Switch Plate!
How to make a glittery light switch plate cover using glitter and resin!
Customize the color of glitter and top it off with High Gloss Resin for a smooth and shiny finish.
It’s a simple DIY craft (and hack light light) that just takes a few minutes of work time and overnight drying.

No Tumbler Polished Rocks
How to make polished shiny rocks without a rock tumbler using high gloss resin spray!
For best results, spray in warm temperature...but not hot or cold temperatures.
-min.jpg "How to make polished shiny rocks without a rock tumbler using high gloss resin spray")
Geode Resin Pour
How to make a geode resin pour canvas with glitter!
Making geode resin art projects for home decorations is a great option for resin crafting.

Vintage Lucite Resin Grapes
How to make Vintage Resin Lucite Grapes DIY with easycast resin.
This home décor resin art is an old crafting technique from the 50's!
Use different colors and make lucite grapes match your vibe.
Great project for someone that's worked with resin before.

Marbled Polymer Clay Earrings
How to Make Marbled Polymer Clay Earrings!
Learn how fun and simple it is to make marbled polymer clay earrings!
Polymer clay bakes is soft to work with and bakes hard in the oven.
Marbling the clay makes gorgeous quartz crystal effects, paired with gold leaf for the ultimate classy earrings.
-min.jpg "How to Make Marbled Polymer Clay Earrings! Learn how fun and simple it is to make marbled polymer clay earrings! Polymer clay bakes is soft to work with and bakes hard in the oven. Marbling the clay makes gorgeous quartz crystal effects, paired with gold leaf for the ultimate classy earrings.")
Resin and Wood Bookend
Geometric Resin and Wood Bookend made with EasyCast resin.

Steampunk Pendant
Steampunk gears and cogs set in ornate pendant with jewelry resin.

Resin Pour with Gold Leaf Gallery Art
Gallery Wall canvas resin paint pour with gold leaf finish.

Colored Pencil Vase
Make your own colored pencil vase with 216 colored pencils, Easycast Deep Pour resin and a lathe for wood turning.
This is definitely an advanced project, you'll need a lathe and a several steps, but this is an interesting craft if you are ready for new possibilities.

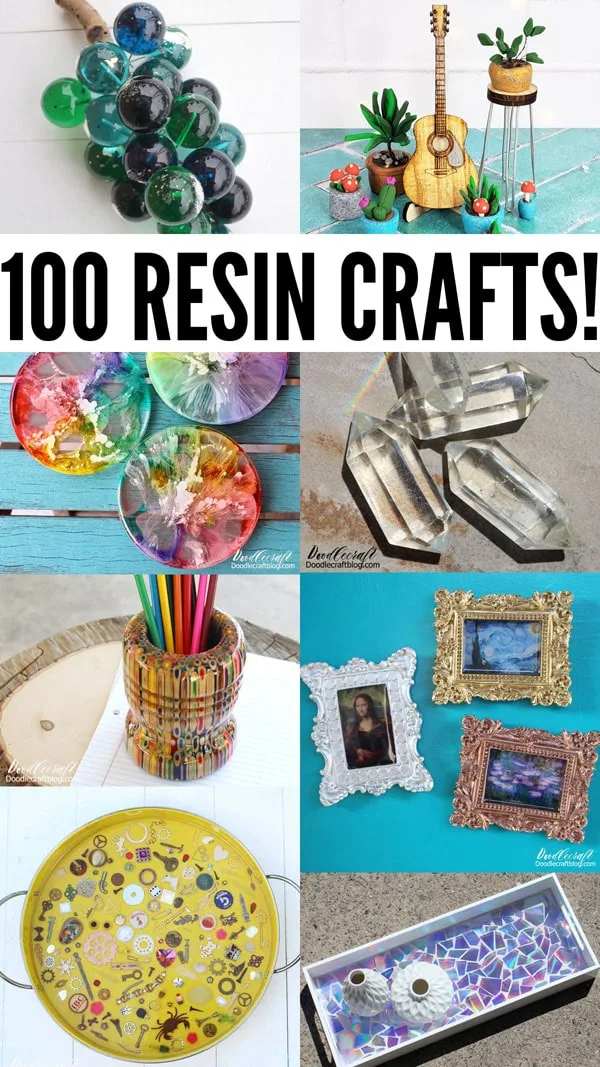
100 Resin Crafts!
There's a huge variety of resin products out there, so there are some things you should know.
Resin is magic. Okay, there's some science to it, but it basically is polymers that make a plastic.
There are different resins for different applications.
If it's your first time working with resin, I have a bunch of projects that are all really beginner friendly, simple projects and using different types of resin--and I've got step-by-step guides for all of them!


-min.jpg)


Comments