
-min.jpg "How to Make a Resin Geode Mirror")
How to Make a Resin Geode Mirror (Easy DIY Tutorial)
Learn how to upcycle a chipped mirror into a resin geode mirror with Amazing Clear Cast Epoxy resin, Color Creator Mica Powders, glitter and glass crystals!
This gorgeous mirror looks amazing and takes just a little bit of time to create this piece of art.
Maybe you have a mirror that already could use a face-lift or you can thrift one easily over the weekend and make a statement geode art piece for your home!
-min.jpg "How to Make a Resin Geode Mirror")
I love thrifting and upcycling. (National Thrifting Day is tomorrow--August 17th)
I found this awesome table top catch-all mirror at the thrift store and just couldn't resist...although it was clearly chipped on the edge.
It's easy to see why it was donated, as a chipped glass edge can be a risk for cuts.
This poor, sad mirror had a chip on the edge of it making it the perfect candidate for the junk yard. Instead of adding to the landfill, upcycle it into a gorgeous statement piece!
I knew that a little bit of resin would completely cover the chipped edge and give new life to this beautiful mirror, perfect for a coffee table conversation piece or on the vanity with various bottles of perfumes and hair pins.
This mirror came a long way in just a few minutes and will last for decades to come.
Let's get started upcycling!
-min.jpg "How to Make a Resin Geode Mirror")
I decided to go with gold and copper accent colors for my resin geode mirror, I love glistening gold!
You can decide the right colors for you and pick those resin colors throughout the process, maybe you prefer a silver and cool color theme...or something entirely different!
Make resin geode coasters to match for the perfect drink set for the coffee table...or give as a meaningful handmade gift!
-min.jpg "How to Make a Resin Geode Mirror")
Supplies Needed to Make Resin Geode Mirror:
- Mirror (in need of upcycling--find one thrifting, look how expensive a new one is!)
- Amazing Clear Cast Epoxy (only an ounce or two is needed)
- Color Creator Gold Mica Powder
- Color Creator Gold Glitter
- Colored Crushed Glass Pieces
- Mixing Cups/Stirring Sticks/Disposable Gloves
- Heat Gun or Blow Torch (optional)
-min.jpg "How to Make a Resin Geode Mirror")
Step 1: Mix Epoxy Resin
Gather all supplies needed for the project. Then read the directions for the epoxy resin before mixing.
Put on gloves and then mix the resin according to the package directions. Typically resin is 2 part epoxy. Mix in one part of the resin and one part of the hardener and stir for the exact amount of time for the optimal resin setting.
Once the epoxy resin is mixed pour it out into 2 different plastic cup or containers.
Add some gold mica powder to the epoxy resin to one of the cups full of resin and stir slowly.
-min.jpg "How to Make a Resin Geode Mirror")
Gently stir the mica powder into the clear resin to avoid whipping bubbles into it.
If you notice a lot of bubbles, gently pop them with a heat gun or small blow torch quickly.
In this project the resin spreads in a thin line, so bubbles aren't a big issue, especially with the addition of glass, glitter and mica powder.
-min.jpg "How to Make a Resin Geode Mirror")
Step 2: Pour Epoxy Resin on Chipped Mirror
Pour half of the clear resin over the mirror in a arch pattern, being sure to cover the chipped edge if this is your reasoning for updating a mirror.
Then smooth out the epoxy with your gloved hand or a stirring stick.
-min.jpg "How to Make a Resin Geode Mirror")
Next, pour the gold resin right in the center of the clear resin in long, thin stripes and again smooth out the gold resin lines a bit with your gloved hand or a stirring stick.
I just use my gloved hand because there's more control to move the resin exactly where I want.
-min.jpg "How to Make a Resin Geode Mirror")
Step 3: Crushed Glass and Glitter
Now follow the same curve of the epoxy and sprinkle a little gold glitter right down the center line of the resin.
The glitter will stick to the resin beautifully and won't dust all over the house after it sets, which is my favorite way to do anything with glitter.
-min.jpg "How to Make a Resin Geode Mirror")
Then sprinkle different colors of broken glass pieces along the same curve as the epoxy on the chipped mirror.
The crushed glass has a different texture than the glitter and resin, so it makes an awesome combination.
-min.jpg "How to Make a Resin Geode Mirror")
Fill the resin mirror with a variety of glass, glitter and sparkles until you are satisfied.
I used 2 shades of color creator glitter and 3 shades of crushed glass.
Remember when you are pouring over the resin to leave some of the resin showing.
Work in thin lines to give the geode look to the overall finish.
-min.jpg "How to Make a Resin Geode Mirror")
Then pour the rest of the clear resin over the top of the glitter and glass.
This final touch of resin will hold the glass and glitter in place securely and coat them smoothly to mitigate risk with any cuts from the crushed glass.
Leave any stray pieces of glass on the mirror until the resin is completely cured, then gently dust off the mirror into the trash or a dish to save the pieces for later.
This way you won't accidentally bump the resin, trust me, I know.
-min.jpg "How to Make a Resin Geode Mirror")
Step 4: Curing Time
Set the mirror aside in a "dust free" area and let it cure for 24-48 hours.
You can place it inside a box and close the lid to keep pet hair from floating into the resin while drying...it's hard to avoid dust and not critical, since there is so much texture on this project.
-min.jpg "How to Make a Resin Geode Mirror")
After the epoxy cures, it is ready to use as a gorgeous table top mirror catchall and conversation piece.
Perfect for the coffee table, nightstand or vanity and great for a handmade gift too. Resin crafting is a great way to update old pieces inherited from parents that aren't necessarily heirlooms or valuable but have some sentimental meaning.
I love taking a hand-me-down and making it my own.
-min.jpg "How to Make a Resin Geode Mirror")
Amazing Clear Cast Epoxy is the perfect casting and coating up to a quarter inch thick, it's clear and dries really really glossy and shiny...so shiny it's hard to take pictures of.
It's the best finish on canvas, wood surfaces, rocks, countertops and much more for massive shine--it's equivalent to over 50 layers of lacquer!
-min.jpg "How to Make a Resin Geode Mirror")
That's it!
I love being able to upcycle a chipped mirror into something showstopping using epoxy resin!
The sparkles, the glistening gold and the shine of the crushed glass give this upcycled mirror so much class!
The geode-like pattern, texture and color is just what a plain and boring mirror needs.
This beginner resin project takes less than an hour of work time and then a day or so of drying time, it's a great resin craft for anyone just getting into resin crafting.
Like, Pin and Save!

Here's more fun Resin Crafts to make today!
Glitter Resin Tumblers
Using glitter in all shapes and sizes is the perfect way to decorate a boring blank tumbler.
You'll want t cup spinner for this craft, but it's one of the great beginner resin projects!
How to Make Glitter Resin Tumblers!
Learn how easy and fun it is to make glitter resin tumblers.
These tumblers are super sparkly with a variety of glitter colors and sizes!
Customize these tumbler for any occasion! Wedding party color scheme, Graduation gift school colors, or just a favorite color!
-min.jpg)
Geode Resin Pour
How to make a geode resin pour canvas with glitter! Resin Geode Art is easy to make and super unique!
Making art projects for home decorations is a great option for resin crafting.
This gorgeous resin geode art pour is made on canvas and super fun to create...pick your favorite colors and make it your own!

Resin Faux Quartz Crystals
How to make faux quartz crystals using easycast resin!
Create beautiful items with a clear deep pour type of resin, that sparkle in the sunlight just like the real thing--they look just like real crystals!

Abstract Canvas with Gold Leaf
Gold leaf high gloss resin abstract painted canvas.
Perfect home decor with an easy painted abstract wall art.
I love having unique decor in my home--I have had this resin gold left wall art hanging in my home for years now...since 2017 and I still absolutely love it!
It's super easy to paint, add gold leaf and coat with high gloss resin for the perfect shiny and professional finish.

Resin Pour with Gold Leaf Gallery Art
Gallery Wall canvas resin paint pour with gold leaf finish.
Make a series of wall art pieces to match each other and fill a gallery wall. By pouring multiple canvases at the same time, the lines of resin can match up perfectly, giving a water-like movement.

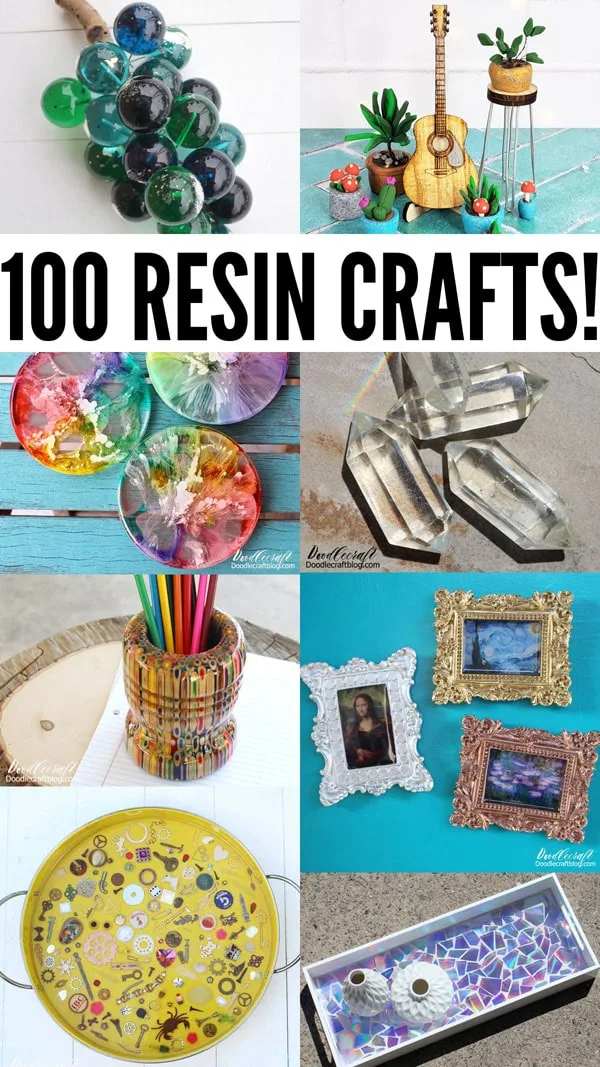
Here's 100 Resin Craft Projects to make!
Great for all skill levels and using different types of resin.
Which fun DIY resin project will you make first?
Those resin grapes? Maybe a glossy guitar? Or are you excited about alcohol ink rainbows?


-min.jpg)


Comments