HTVRONT Auto Heat Press 2 Review and Sublimation Sequin Pillow
Sublimate a handsome Squidward reversible sequin pillow for the perfect White Elephant gift idea, funny gift for a friend who has everything, or just to make your visitors laugh!
This sublimation pillow craft is easy and so much fun even if you aren't a big fan of Spongebob, you can make it of whatever you like!
I love giving handmade gifts and sublimation makes it a breeze--add a personalized photograph, a child's drawing or anything you can print off onto something amazing!
Plus, I'm reviewing the new HTVRONT Auto2 Digit Heat Press, and I'll tell you all about it in this post--be sure to watch the video tutorial too!
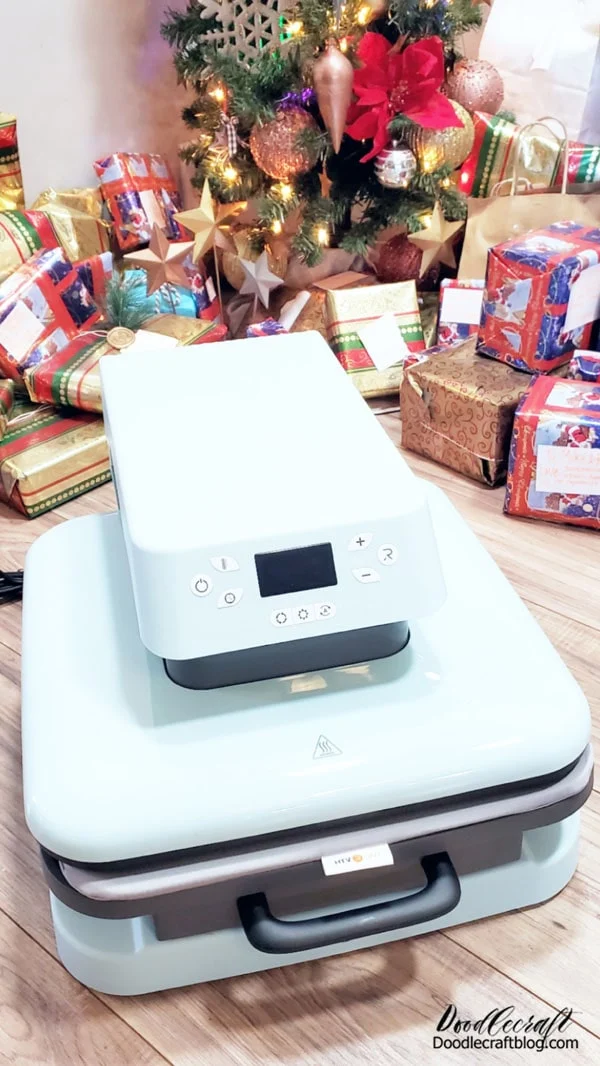
HTVRONT Auto Heat Press 2
The newest member of the HTVRONT family has arrived--the HTVRONT Auto2 Digit and it's amazing! I received it in exchange for review and I love it!
It's easy to use and works like a dream for all flat heat press and sublimation projects.
This machine is new and improved over the original Auto Heat Press and I'll let you know all the improvements in this post.
Full review, plus a reversible sequin Handsome Squidward pillow tutorial to show the HTVRONT Auto2 Digit in action!
■Discounts
Get a $60 discount on the new Auto Heat Press 2 -Digit with code KRAFT60
■Bundles:
Special Bundle Price Christmas Offer: $299.99 HTVRONT Auto2 Heat Press + Christmas Bundle(PUFF HTV*8+Glitter HTV*5+Christmas HTV*13+Sumblimation Paper*30+Sumblimation HTV + Transfer paper*6+PTFE Teflon Sheet + T shirt Rules + Weeding Tools≥104$)
* BF Offer: $319.99 HTVRONT Auto2 Heat Press+HTV & Sublimation Essential Bundle(36 sheets HTV+150 sheets Sublimation Paper A4+Sublimation HTV Roll+PUFF HTV*8+Tools Bu
■ BONUS!
SuperGiftSpy: If you post a video using HTVRONT products with the hashtag“#supergiftspy”on Facebook, Instagram, Youtube or Tiktok and upload the video information on the event page of HTVRONT website from November 7, 2024 to December 31, 2024, you can receive a gift box.
In addition, starting from November 21, 2024, we will select the best creators to receive new products and vinyl with a total value of about $10,000 for free for the whole year!
Pre-sale Dates: (11.1-11.20) 10% off for all the products with code: BF2024
Formal Sale Dates: (11.21-12.3) Spend $299, save $30 (e.g., Auto Press 1 at $188, Tumbler Heat Press at $135; extra $30 off when bundled) and Spend $89, save $40 on supplies.
I love testing out new heat presses with a sublimation project because the heat press needs to be hotter for sublimation than for vinyl.
In my honest opinion, the HTVRONT Auto2 Digit did an amazing job on sublimation and it's my new go-to heat press for everything.
The price point is awesome compared to heat presses in its class--absolutely a valuable addition to the craft room!
Get $50 off plus a $30 surprise box by ordering during the Pre-order until November 20th!
specs and favorite features:
- It's quiet! (the first Auto Heat Press made popping sounds when heating up, this is silent.)
- It's got pressure! (set the amount of pounds per square inch of pressure you want on each press...from 50-170 pounds)
- Sleek design
- Ease of use
- It's fast! (the element heats up super fast, faster heating than previous machine...reaches maximum temperature 410*F in 5 minutes)
- Digital Display is easy to read, adjust and has a user-friendly interface.
- Control panel features power button, start button, temperature button, time button and pressure button! (Super user friendly)
- Higher heating height--for taller projects up to 1.75 inches!
- Auto Lift feature
- Layers of thermal insulation
- Dual-zone heating engine
- Consistent results
- 15 minute Shutdown feature
- Can be used with HTV, Iron-on, Puff HTV, infusible ink, Sublimation, multicolor htv with multiple layers, and DTF
- Heat Plate size is 15x15
- Product weighs 43 pounds
*Be advised, the HTVRONT Auto Heat Press 2 is pretty heavy, but I store mine on a sturdy rolling cart in my craft room, so it's easy to use and move where needed. Plus it has shelves, so it can store all my sublimation blanks and supplies in one easy place.
Check out my rolling cart here.
Good news--the HTVRONT Auto2 Digit is now available for preorder on the HTVRONT website!
The screen pops up for easy viewing.
The work surface it big--15 inches.
The new HTVRONT auto heat press is perfect for making all kinds of craft projects, and now is the best time to get it ordered!
How to Make a Reversible Sequin Handsome Squidward Pillow
Now let me show you how easy it is to make your first project with the HTVRONT Auto Heat Press 2, a reversible sequin pillow of your favorite character, in this case, Handsome Squidward. (See my Handsome Squidward pin backs here)
Supplies Needed for Reversible Sequin Handsome Squidward Pillow:
- HTVRONT Auto2 Digit
- Sublimation Printer or Convert an Epson EcoTank Printer into Sublimation (more on this post)
- Sublimation Ink (if converting printer)
- Sublimation Paper
- Reversible Sequin Pillow Blank
- Heat Resistant Tape
- Sublimation Print
Step 1: Print the Image
These reversible sequin pillow blanks are 16 inch squares, so I wanted the picture to be larger than just 8.5x11.
I used photoshop and scaled up this handsome face until it was large enough for the pillow case.
Then reversed the image and printed it on my Epson ecotank printer that has been converted to sublimation printing.
Sublimation prints out really dull and drab...but do not fear.
Cut the edge of the second print and line them up perfectly and adhere them with heat resistant tape.
It just needs a couple of pieces to hold it together.
Then trim around the image with scissors.
Step 2: Heat Press
First thing, set the heat press to 400*F and wait about 5 minutes for it to heat up, silently--no loud plastic popping like the first auto heat press.
Then place the reversible sequin pillowcase on the HTVRONT Auto Heat Press 2 pull out mat/platform.
Make sure that the sequins are all facing the same direction with the white side facing up.
Then place a teflon sheet over the top of the sequins and push the platform into the heat press and click the start button.
It will press down and iron the pillowcase so it is ready for sublimation. (better than an ironing board!)
Just press for 10 seconds and then click the release button.
After the pillow is ironed flat, use a lint roller to clean off the blank of dust and debris.
Then place the handsome printout face down on the pillow blank and use heat resistant tape to secure it in place.
I work directly on the slide out heat press platform so my blank stays nice and straight and lined up for pressing.
HTVRONT auto heat press machine settings; 400*F, for 60 seconds and 50 pounds of light pressure is all that is needed, no heavy pressure necessary for this project.
Typically I would use more pressure on htv projects for excellent results.
400 is the desired temperature settings for any sublimation design.
Then cover the sequin pillow and the sublimation print with the teflon sheet or heat protective paper and push the platform into the HTVRONT auto press.
Then click the start (green R button) and the auto press will do it's thing--giving you free hands!
The large heating plate is perfect for larger projects like this sublimation pillowcase!
Once the countdown timer has counted down, the machine lifts the heat element up and you can slide the platform out again.
Let the pillowcase cool down a bit before removing the sublimation paper, as it's best to do a cool peel.
The safety features of the HTVRONT press with a auto-off feature, which will shut the machine off automatically after 15 minutes of inactivity, so there's no risk of leaving it on accidently.
Step 3: Reveal!
After letting the pillowcase cool down, remove the heat-resistant tape and pull off the used sublimation paper from the sequins.
I am always surprised at how colorful and vibrant the print becomes after it is sublimated!
The heat transfers go from dull and lifeless to vibrant and popping!
Every reveal is like the first time!
The entire design sublimated beautifully and there's no way of telling that we taped 2 pieces of paper together to make a larger transfer paper.
Final step is to stuff the pillowcase with a pillow form and it's ready to use as a fabulous throw pillow, gift as a meaningful and personalized gift, or use as a white elephant gift with a hilarious picture sublimated on to it.
If you are looking for a new heat press for your craft room, this is a fantastic option!
There's a new manual heat press, but it is a little more of your own work pressing it down...if you are looking for a fast heating, and easy to use heat press, definitely go for the HTVRONT Auto2 Digit.
A reversible sequin pillow is so much fun to flip the shiny side of the sequins over revealing the picture.
It makes a fun reveal on Christmas morning--just turn all the sequins to silver to hide the printed image and wrap it up so the recipient can reverse the sequins and be surprised by the picture!
That's it!
I hope you learned everything about the new HTVRONT Auto2 Digit and are heading over the HTVRONT to check it out and get it preordered.
It's easy to sublimate larger-than-mat size prints onto sequin pillows, just like this Handsome Squidward face, and now you can make reversible sequin pillows for everyone on your handmade gift list.
Like, Pin and Save!
Check out the amazing bundles, heat presses and more!
Check out more on all the awesome HTVRONT machines!
HTVRONT's second largest sale of the year is happening now until April 22nd!
If you are shopping for new crafting tools, getting a bundle is always the way to go.
Then you get all the supplies needed to get crafting with your new tool immediately!
Check out these deals:
HAT HEAT PRESS BUNDLE
AUTO TUMBLER HEAT PRESS MACHINE
AUTO HEAT PRESS MACHINE
Find out more on each of these HTVRONT heat press machines:
HTVRONT Hat Heat Press
Meet the New HTVRONT Hat Heat Press!
The HTVRont Hat Heat Press is arguably the best compact hat heat press on the market!
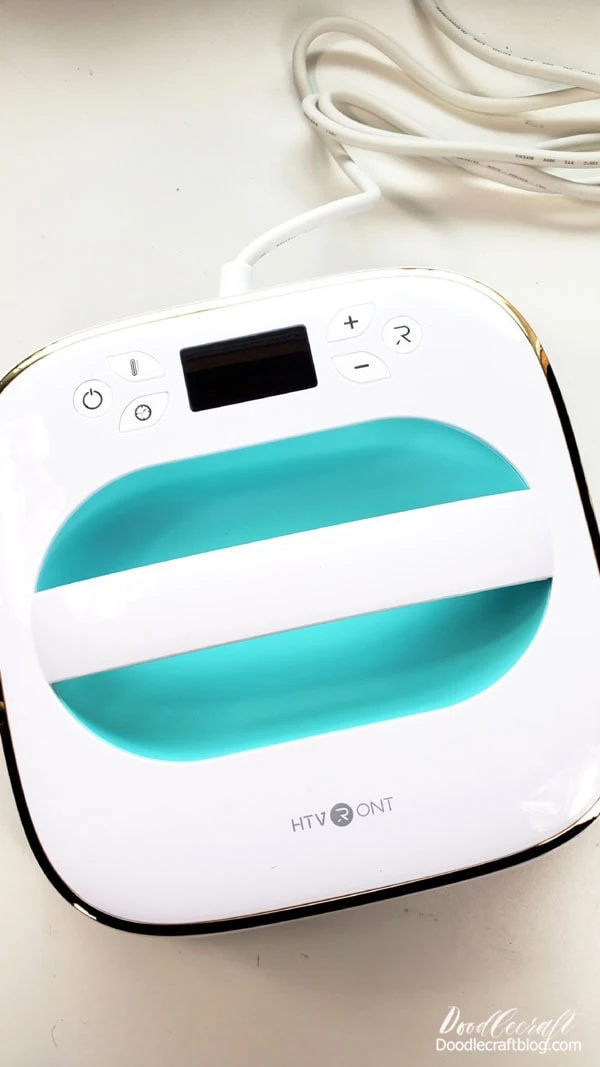
HTVRONT Mini3 Heat Press Review (Small Project)
Learn how to make an rose gold metallic iron-on tote using the new heat press mini.
The HTVRONT Mini3 Heat Press is the perfect small project heat press for iron-on, HTV, heat transfer projects, DTF Transfers and even gets hot enough for sublimation!
This post is a review on the Mini3 Heat Press and a quick heat transfer vinyl tote project to showcase it's awesome abilities!
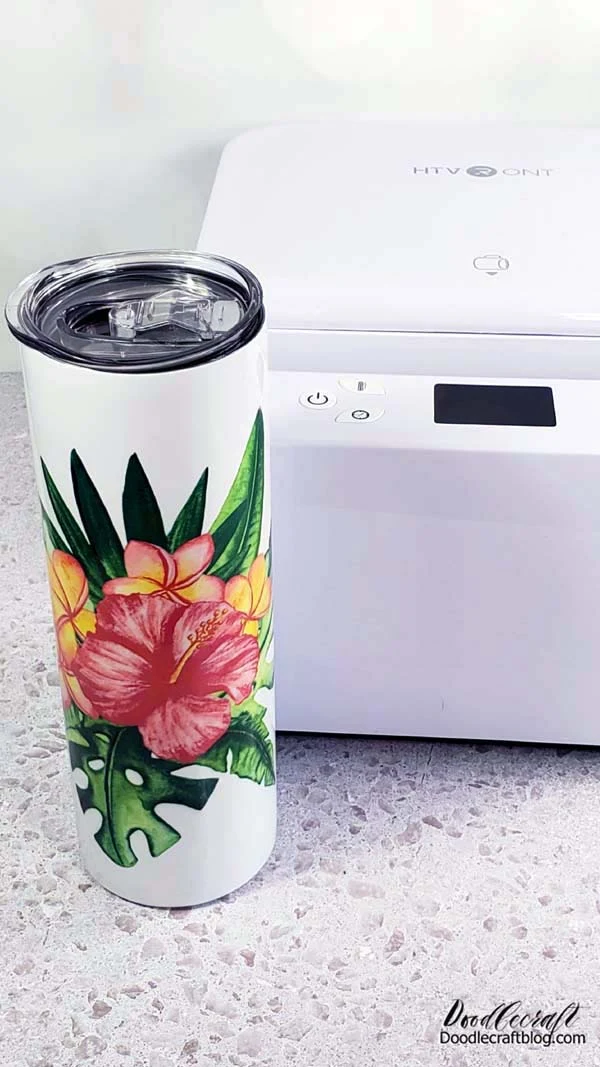
HTVRONT Auto Tumbler Heat Press
Making sublimation tumblers is so much fun!
There really is something so amazing about designing something or printing something off and then having it sublimated like magic onto a surface blank.
I love making sublimation things for custom gifts; perfect for teachers, birthday's, holiday gifts and more!
Learn how easy it is to use the HTVRont Auto Tumbler Heat Press to make custom tumblers and mugs for every occasion!
Better than the Cricut mug press because it can do glass cans and tumblers too!
-min.jpg)
HTVRONT Charity Event
I was honored to be asked to participate in HTVRont Cares & Tumbler Heat Press Charity event this year!
HTVRont asked me to help give back to my community by creating custom tumblers for a group of people.
Learn how easy it is to use the HTVRONT Auto Heat Press. It's a crafter dream come true. It is a total game-changer for heat transfer and sublimation projects.
No more stress about creating even pressure or all the little details...this machine does all the work for you--but if you are considering this auto heat press, check out the Auto Heat Press 2, it's better!
HTVRONT Autopress
-min.jpg)
HTVRONT Heat Press
Watch how easy and fast it is to customize a drawstring bag with HTV and HTVRont Heat Press!
As soon as Spring hits, I'm already dreaming of Summertime. I love everything to do with the beach, hibiscus flowers and a lot of sunshine.
How to Make Waterproof Stickers with HTVRont!
I love making my very own stickers.
They are so fun to customize mailers, give as gifts, add to handmade cards, slap on water bottles and more!
Learn how easy it is to create custom stickers for yourself, for handmade gifts, or to start a side hustle.
Making waterproof stickers with HTVRont sticker paper is easy and so much fun!
How to Make Custom Shrink Plastic Enamel Lapel Pins
Learn how to make your own enamel pins with this fun faux shrink plastic enamel pin technique!
Make a collection of full color pin badges in various shapes.
I'll show you how to make them every step of the way!

-min.jpg)
-min.jpg)
-min.jpg)
-min.jpg)
-min.jpg)
-min.jpg)
-min.jpg)
-min.jpg)
-min.jpg)
-min.jpg)
-min.jpg)
-min.jpg)
-min.jpg)
-min.jpg)
-min.jpg)
-min.jpg)
-min.jpg)
-min.jpg)
-min.jpg)
-min.jpg)


-min.jpg)
-min.jpg)
-min.jpg)
-min.jpg)
-min.jpg)


-min.jpg)


Comments