Make Pinback Button Maker Gift Tags DIY with HTVRONT
Make custom name button pinback badges with HTVRONT Button Maker and use them for personalized gift tags!
Do you have a name that is spelled uniquely? Is it hard to find personalized keychains at a gas station or gift shop?
This fun craft will solve all those problems--with making high quality button pin backs--use them as a name tag or a personal gift tag for those handmade Christmas gifts!
BACKSTORY:
A button maker was in my 10 year old girl's heart.
There was a boy in my class that had a book full of images and he would make you a button with next day delivery at school for one dollar.
I bought one button from him...but desperately wished that I had a button maker myself and could make as many custom button badges as I wanted.
Fast forward to my adult life and I have one, it's one of my favorite things! (I've used another brand as a hand press)
HTVRONT has a super easy to use button maker machine to make all the buttons you can dream of.
They are a great idea for cute tags for your own gift tags...but the button press makes an awesome gift too--plus, if you have the press these buttons are great for last minute gifts!
Any enthusiastic crafter will love a button press too, let's get started making these DIY Christmas gift tags!
Plus, check out how I made this Spongebob Squarepants inspired "I really wish I weren't here right now" button! Video here.

Supplies Needed for Button Maker Gift Tags:
- HTVRONT Button Maker from Amazon or HTVRONT Button Maker from HTVRONT
- HTVRONT Button Pieces (110 button sets included with button maker)
- Printed image (2 1/4") on thin, lightweight paper
- Scissors, 2 1/2" circle paper punch or Circle Cutter
Be sure to watch the step-by-step video too!
Step 1: Button Front
Begin by placing the shiny metal button front in the corresponding spot on the button maker press.
It fits right inside the bright green plastic press.
Step 2: Printed Image
Cut out the printed image that you are turning into a button and place it on top of the pin front.
You can use decorative papers, wrapping paper, or even do a print-and-cut option on your Cricut machine...but keep the paper as thin and lightweight as possible so it folds into the button properly.
Step 3: Mylar
Next, place a clear mylar sheet over the top of the printed image.
Carefully handle it so you don't get finger prints on the plastic.
Step 4: Pin Back
Place the pin back piece on the opposite side of the pin front on the press with the pin back level with the image.
Now the pieces are lined up and ready for pressing.
This process is super easy and simple...great for making custom buttons with an entire classroom of kids as a craft project this holiday season.
It's so much fun to add a button to a gift with some scrap fabric and ribbon tied or hot glue to the bottom of the tag to make it a little more fancy.
Step 5: Rotate and Press
Simply rotate the pin front under the press and clamp down on the lever firmly, making sure it presses down all the way.
Step 6: Pin Back Press
Now rotate the base plate around so that the pin back is under the press.
The pin front will stay up inside the press and line up perfectly with the backing.
Then press down firmly...pretty hard until you hear a pop or feel the pin back and front mesh together.
Step 7: Enjoy!
The last step is to rotate the base plate and pull out the completed button!
It looks amazing in the mylar cover--so shiny and professional!
Now you have the perfect name tag for a social event or party, a fun way to decorate a gift bag with a personalized gift tag, or a fun gift to give to someone that has a hard time finding their name on anything.
That's it!
Making fun gift tag designs and turning them into pin-back buttons is a great way to amp up your tag maker game this holiday season!
Add a personalized button badge, that can be used as a name tag or use other fun gift tag designs instead of pre-made tags taped on gift wrap!
If you know a creative person or need a new toy in the craft room, buy the button maker press, it's so much fun!
Like, Pin and Save!
Check out the amazing bundles, heat presses and more!
HTVRONT Manual Heat Press Review for Sublimation Tote
Learn how to make a sublimation and iron-on tote bag using the new HTVRONT Manual Heat Press, perfect for all kinds of heat needing crafts.
This manual heat press is my favorite for shirts, totes, flat sublimation blanks and much more.
It's compact, easy to use, versatile heat temperature and time dial and comes in a variety of colors!
HTVRONT Auto Heat Press 2 Review and Sublimation Sequin Pillow
Sublimate a handsome Squidward reversible sequin pillow for the perfect White Elephant gift idea, funny gift for a friend who has everything, or just to make your visitors laugh!
This sublimation pillow craft is easy and so much fun even if you aren't a big fan of Spongebob, you can make it of whatever you like!
I love giving handmade gifts and sublimation makes it a breeze--add a personalized photograph, a child's drawing or anything you can print off onto something amazing!
Plus, I'm reviewing the new HTVRONT Auto2 Digit Heat Press, and I'll tell you all about it in this post--be sure to watch the video tutorial too!
Check out more on all the awesome HTVRONT machines!
HTVRONT's second largest sale of the year is happening now until April 22nd!
If you are shopping for new crafting tools, getting a bundle is always the way to go.
Then you get all the supplies needed to get crafting with your new tool immediately!
Check out these deals:
HAT HEAT PRESS BUNDLE
AUTO TUMBLER HEAT PRESS MACHINE
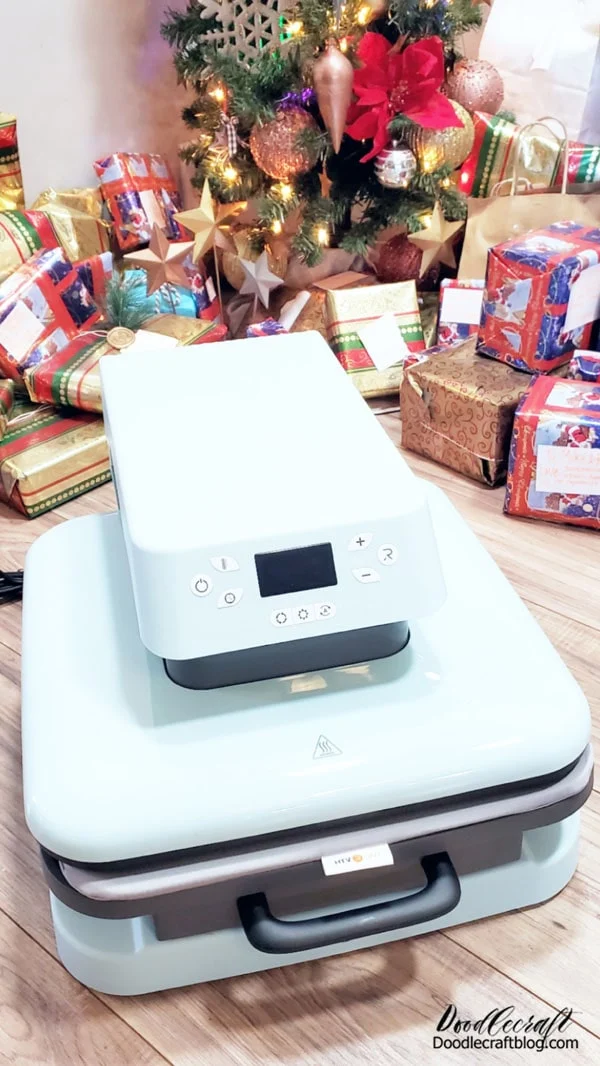
AUTO HEAT PRESS MACHINE
Find out more on each of these HTVRONT heat press machines:
HTVRONT Hat Heat Press
Meet the New HTVRONT Hat Heat Press!
The HTVRont Hat Heat Press is arguably the best compact hat heat press on the market!
HTVRONT Mini3 Heat Press Review (Small Project)
Learn how to make an rose gold metallic iron-on tote using the new heat press mini.
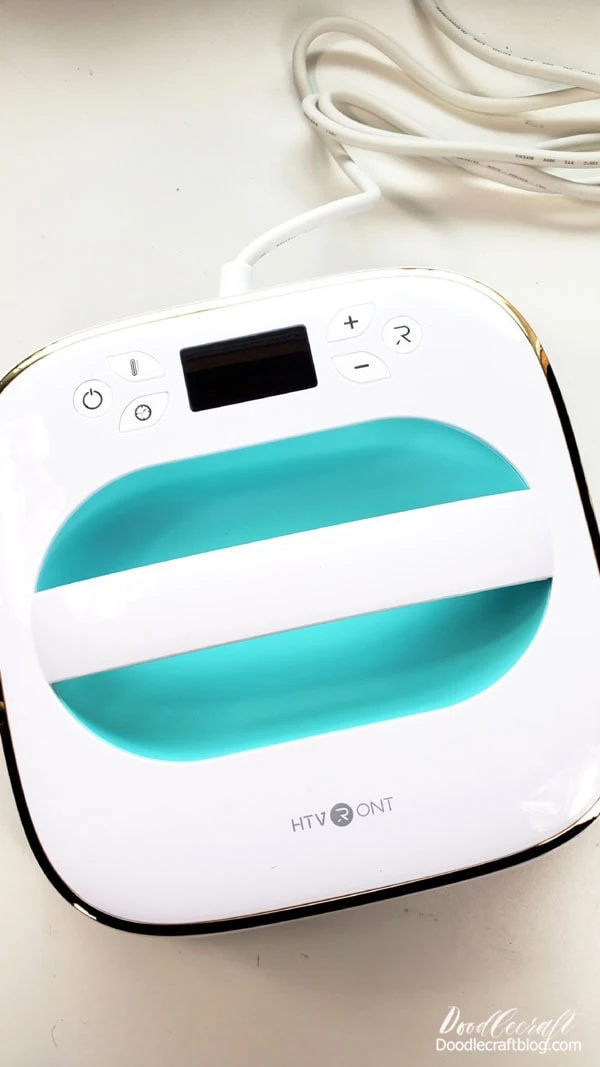
The HTVRONT Mini3 Heat Press is the perfect small project heat press for iron-on, HTV, heat transfer projects, DTF Transfers and even gets hot enough for sublimation!
This post is a review on the Mini3 Heat Press and a quick heat transfer vinyl tote project to showcase it's awesome abilities!
HTVRONT Auto Tumbler Heat Press
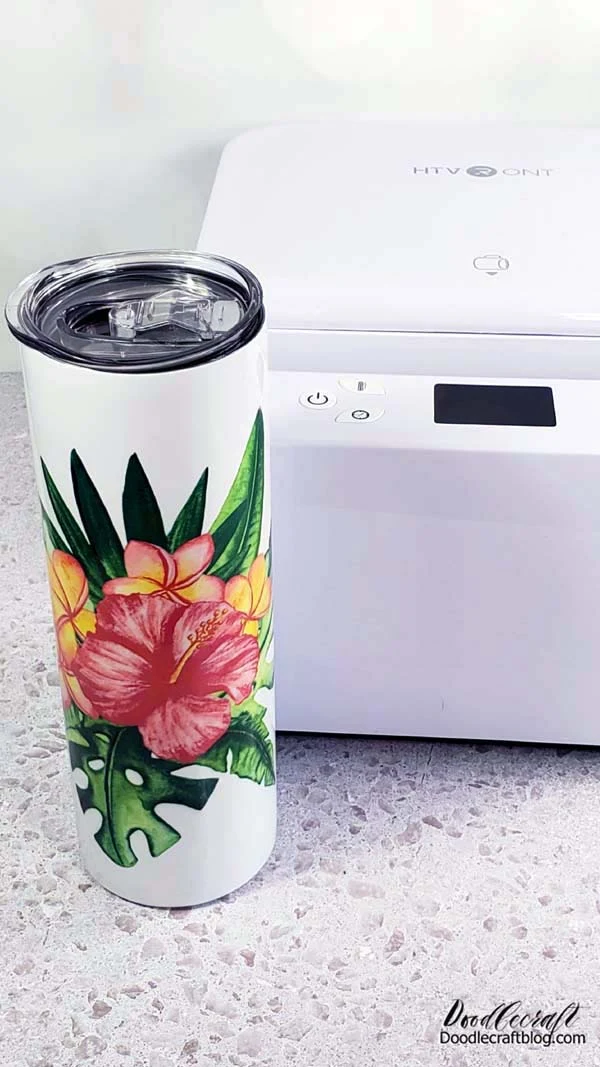
Making sublimation tumblers is so much fun!
There really is something so amazing about designing something or printing something off and then having it sublimated like magic onto a surface blank.
I love making sublimation things for custom gifts; perfect for teachers, birthday's, holiday gifts and more!
Learn how easy it is to use the HTVRont Auto Tumbler Heat Press to make custom tumblers and mugs for every occasion!
Better than the Cricut mug press because it can do glass cans and tumblers too!
-min.jpg)
HTVRONT Charity Event
I was honored to be asked to participate in HTVRont Cares & Tumbler Heat Press Charity event this year!
HTVRont asked me to help give back to my community by creating custom tumblers for a group of people.
Learn how easy it is to use the HTVRONT Auto Heat Press. It's a crafter dream come true. It is a total game-changer for heat transfer and sublimation projects.
No more stress about creating even pressure or all the little details...this machine does all the work for you--but if you are considering this auto heat press, check out the Auto Heat Press 2, it's better!
HTVRONT auto press
-min.jpg)
HTVRONT Heat Press
Watch how easy and fast it is to customize a drawstring bag with HTV and HTVRont Heat Press!
As soon as Spring hits, I'm already dreaming of Summertime. I love everything to do with the beach, hibiscus flowers and a lot of sunshine.
How to Make Waterproof Stickers with HTVRont!
I love making my very own stickers.
They are so fun to customize mailers, give as gifts, add to handmade cards, slap on water bottles and more!
Learn how easy it is to create custom stickers for yourself, for handmade gifts, or to start a side hustle.
Making waterproof stickers with HTVRont sticker paper is easy and so much fun!

-min.jpg)
-min.jpg)
-min.jpg)
-min.jpg)
-min.jpg)
-min.jpg)
-min.jpg)
-min.jpg)
-min.jpg)
-min.jpg)
-min.jpg)
-min.jpg)
-min.jpg)
-min.jpg)
-min.jpg)
-min.jpg)
-min.jpg)
-min.jpg)


-min.jpg)
-min.jpg)
-min.jpg)
-min.jpg)


-min.jpg)


Comments