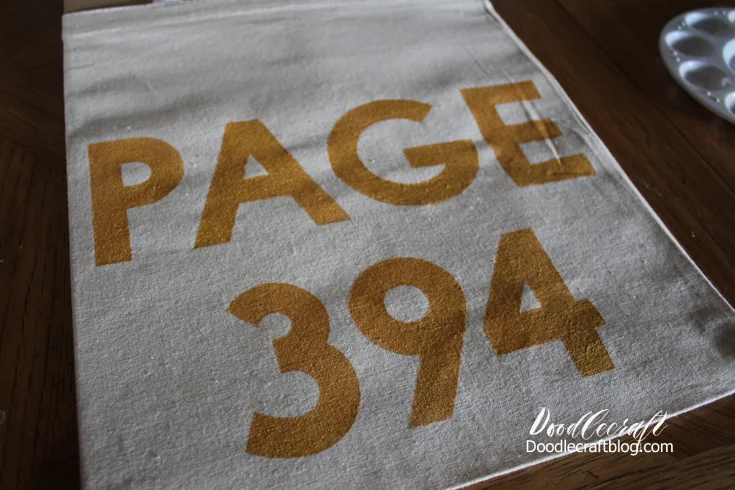
Page 394 Severus Snape Inspired Tote!
~
Turn to page three hundred ninety-four.
(admit it, you read that in Snape's voice)
I thought this would make a simple and quick DIY...it's easy for kids to help
with and would make a great gift for anyone that loves Harry Potter!
You will need:
Canvas Tote Bag
Freezer Paper
Gold Paint
Silhouette Cameo or a Hobby Knife
Iron/Board
Fabric/Sewing Machine
Webbing for Handles
I got this fabulous canvas tote bag from Oriental Trading.
They have all things party supplies, holiday fun, toys, art supplies and jewelry!
I get all my totes from them.
These ones are the BEST ones I've used. They are sturdy and a decent size.
I like the natural canvas too. I use these totes for everything.
They are sturdy enough not to line with fabric, but the fabric makes it so much fun!
Place a square of freezer paper with the shiny side down on your silhouette cutting mat.
If you are cutting by hand, then draw it out and cut with a hobby knife.
Set it with the blade at level 1...then I use the setting for regular printer paper.
It cuts it beautifully and quickly.
Peel off the negative space and iron it onto your tote bag.
The shiny side will adhere to fabric with just a medium ironing setting.
This seals the edges of the letters for a super crisp stencil image.
Then get the little inside pieces of the letters and numbers
Place them shiny side down on the bag where they belong.
And iron them with the tip of your iron.
Now to paint.
I used gold silhouette paint, but any fabric paint will work great.
You will also want a stencil brush.
This is where I bring in the kiddos.
The stencil is firm and won't shift, so it's perfect to let littles dab paint.
Just dab paint all over the letters and numbers...making sure to get the edges.
Then while the paint is still damp, peel off the freezer paper.
Remove the little inside pieces too.
Then let it dry.
You can call it good there, or move on to lining the tote with fabric.
I love to line it because it adds some stiffness and strength...and looks so cute!
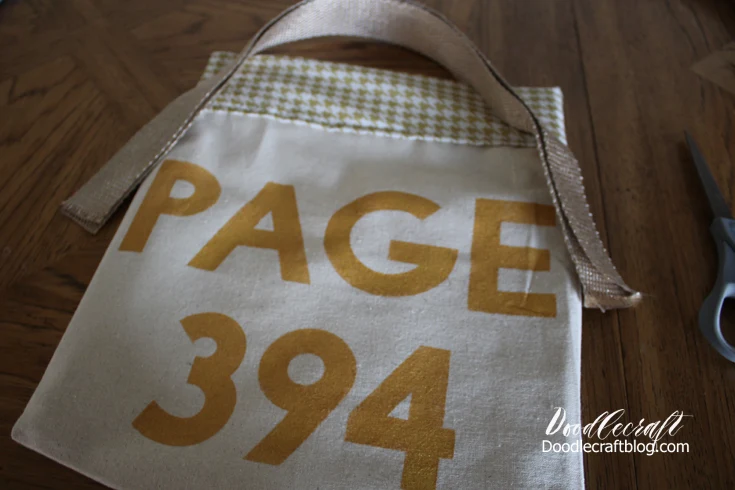
I used a gold houndstooth.
Cut 1/2 inch bigger on each side than the tote bag.
Turn so the right sides are together.
Sew down both sides, and the bottom edge...if it's not folded there.
Then insert into the tote bag, after cutting off the handles.
The lining will show bright inside the bag!
Fold down the top to make a cuff and fold it over the top edge of the tote bag.
Then sew around the cuff with a straight stitch.
Next handles. You could reuse the handles you cut off, but they are a bit flimsy.
I found some natural colored cotton webbing.
And sewed it on each side.
I love the wider, stronger and slightly longer handles.
Now it works great as a book bag!
Perfect for any one that loves reading and is a Potter fan.
I have tons of Harry Potter and other Geek craft ideas!
Check them out here:
GEEKERY!
This post published on Doodlecraft first


-min.jpg)


Comments